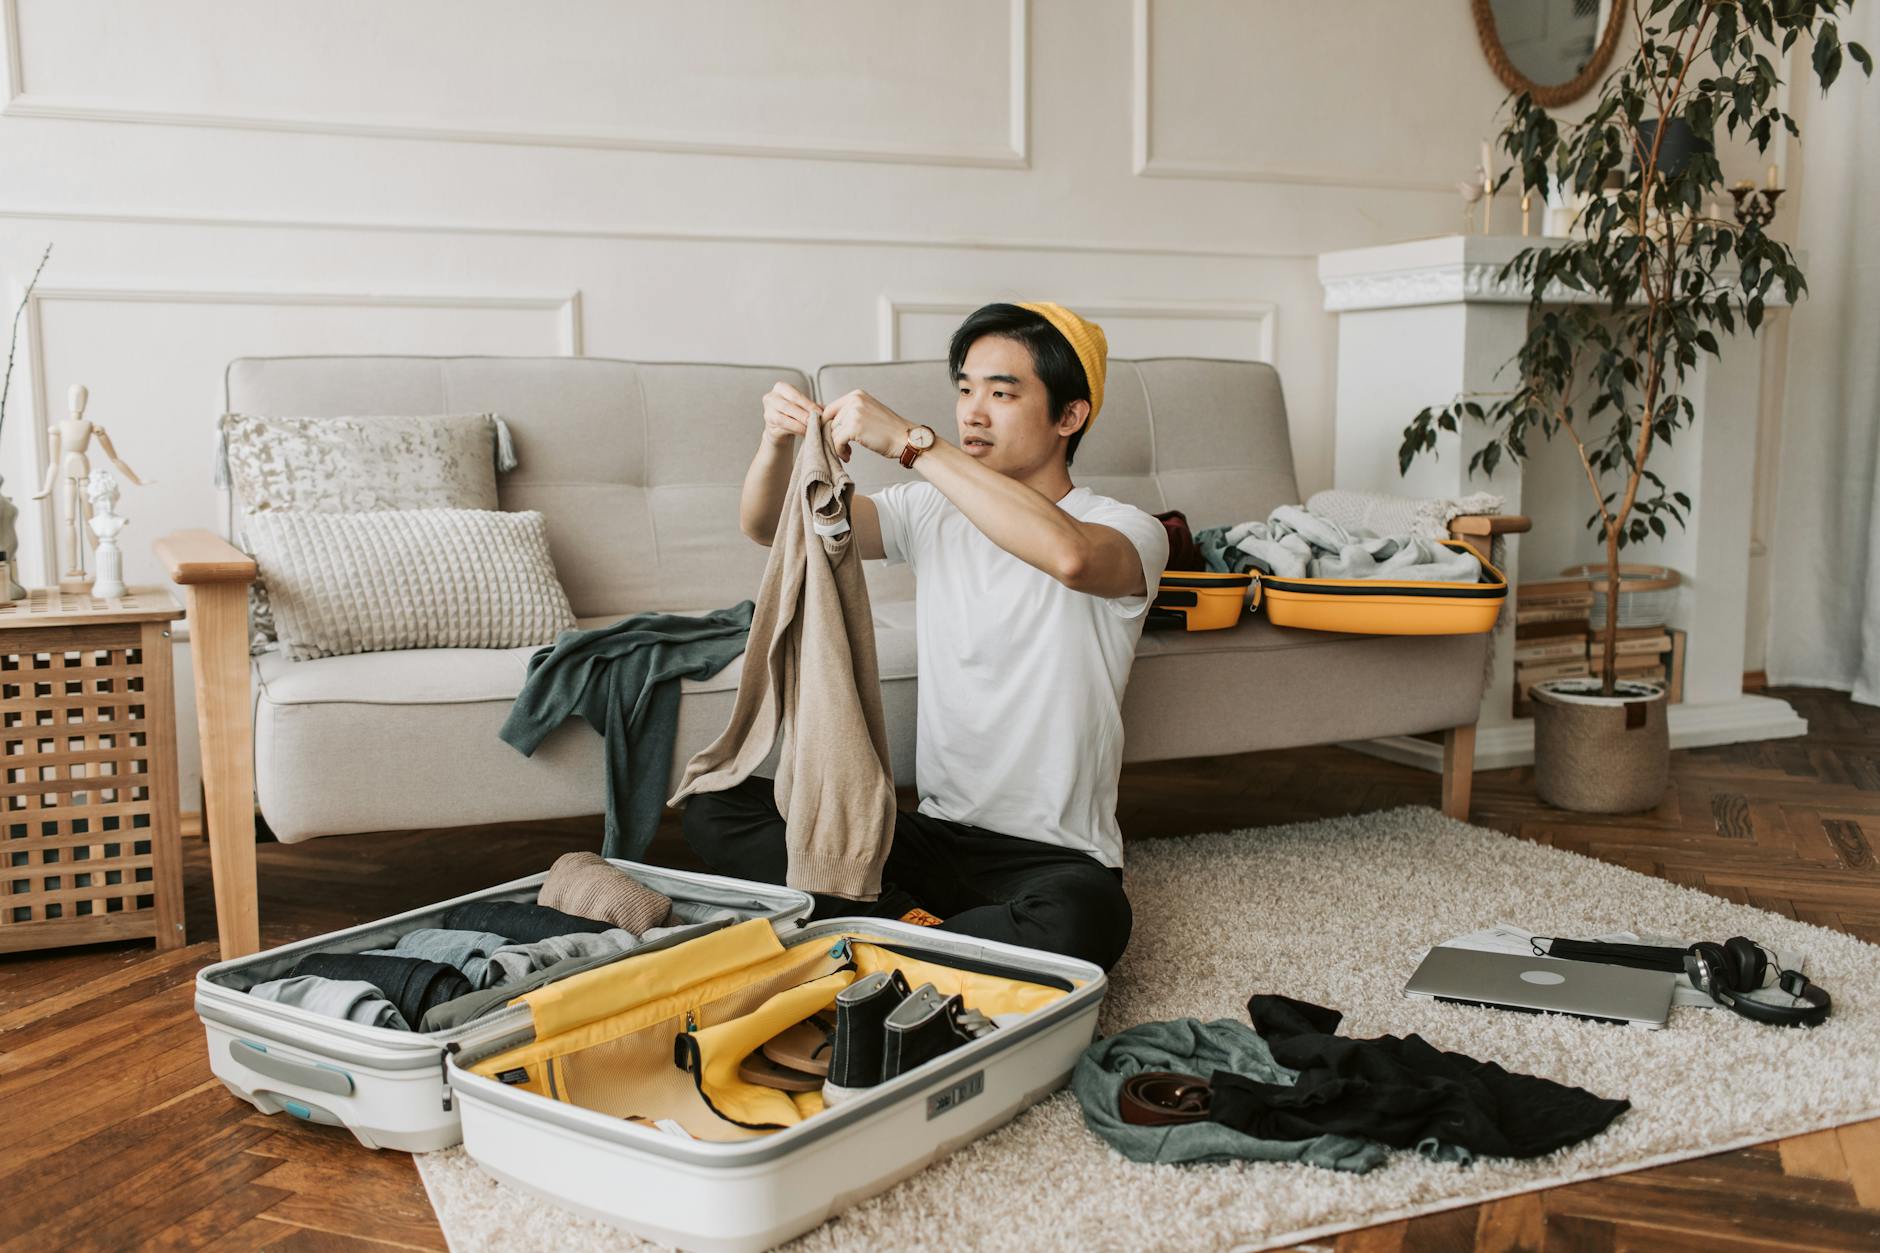
Life-Changing Packing Hacks I Mastered Before They Went Viral
Oh, the sweet, sweet agony of packing. For years, my travel narrative began not with a romantic sunset over a foreign shore, but with a frantic wrestle with an overstuffed suitcase, a frantic dash to the airport, and the inevitable "that'll be extra" at the check-in counter. My pre-travel ritual was less 'zen preparation' and more 'existential crisis in a pile of clothes.' I once missed a connecting flight from Bangkok to Chiang Mai because my backpack, bursting at the seams from a spontaneous shopping spree at Chatuchak Weekend Market, was deemed too large for the overhead bin and had to be gate-checked. The plane left without me, and I spent the night on an uncomfortable airport bench, cradling a backpack that felt like a brick, vowing that never again would I let my luggage dictate my travel destiny.
That fateful night in Bangkok was my packing rock bottom. It sparked a quest, a deep dive into the art and science of efficient travel. I started experimenting, failing, and eventually, discovering a suite of packing hacks that, back then, felt like top-secret insider knowledge. These weren't trends; they were hard-won wisdom, forged in the fires of budget airlines, multi-climate expeditions, and the sheer desire to reclaim my travel sanity. Fast forward to today, and some of these "secret weapons" have started popping up everywhere, from TikTok to glossy travel magazines. But trust me, I was doing them before they were cool. And now, I’m sharing them with you, so you too can travel lighter, smarter, and with a whole lot less stress.
Welcome to the future of packing, as seen through my rearview mirror.
---
1. The "Capsule Wardrobe" Blueprint: My Five-Piece Rule for Any Climate
Before "capsule wardrobe" became a buzzword for minimalist fashionistas, I was inadvertently applying its principles to my travel. My "aha!" moment came during a three-week backpacking trip through South America, specifically through Peru and Bolivia. One day, I was sweltering in the Amazonian humidity near Iquitos, the next I was shivering in the biting winds of the Bolivian Altiplano, and then trekking through the relatively mild Sacred Valley. My initial packing strategy was, predictably, a disaster. I had too many "what if" items, too many single-purpose garments, and nowhere near enough space.
The Hack: I developed my "Five-Piece Rule." This isn't just about five items of clothing, but about five categories of highly versatile, multi-functional pieces that can be mixed, matched, and layered to create a multitude of outfits for any climate.
How I Discovered It: After lugging around a heavy backpack full of clothes I barely wore, I started taking notes. What did I actually use? What could be dressed up or down? What dried quickly? The answer was always the same: merino wool base layers, a lightweight waterproof shell, a versatile pair of convertible pants, a few neutral tops, and a warm, compressible mid-layer.
Actionable Advice & My Story: My Peruvian adventure was the crucible. I started with:
- Merino Wool Base Layer: Two long-sleeve merino tops (one black, one grey). They regulate temperature, resist odor like magic (seriously, I wore one for three days straight hiking the Inca Trail and it barely smelled!), and dry quickly.
- Versatile Bottoms: One pair of durable, quick-drying hiking pants that zipped off into shorts. These were my MVP for everything from city exploring in Cusco to scaling Rainbow Mountain. I paired them with a comfortable pair of dark jeans for evenings.
- Neutral Tops: Three lightweight, quick-drying t-shirts or tank tops in black, white, and a muted color.
- Mid-Layer: A compressible fleece jacket. Perfect for chilly evenings in La Paz or layering under my shell.
- Outer Layer: A lightweight, waterproof, windproof shell jacket. Essential for unexpected downpours in the Amazon or high-altitude gusts.
With these core items, plus underwear, socks, and one pair of versatile shoes (hiking/walking), I could create dozens of outfits, stay comfortable in vastly different temperatures, and fit everything into a small daypack for short excursions. The key is choosing neutral colors and fabrics that perform. It meant doing laundry more frequently, but a quick handwash in the sink and hanging clothes overnight was a small price to pay for a lighter load. I even managed to look somewhat stylish sipping Pisco Sours in Miraflores with my black merino top and dark jeans!
---
2. The Digital Nomad's Secret Weapon: Cloud-Based Command Center & Offline Lists
Remember the days before ubiquitous Wi-Fi and reliable cloud storage? I do. My early travels involved stacks of printed confirmations, photocopies of passports, and handwritten packing lists that inevitably got lost or soaked. The turning point came during a rather stressful trip through Vietnam. I was in Hoi An, trying to check into a guesthouse, when I realized my printed booking confirmation was nowhere to be found. The Wi-Fi at the guesthouse was spotty, and my phone data was running low. Panic set in. Luckily, I had taken a screenshot of the confirmation, which saved the day. But it sparked an idea: what if everything was digital and accessible, even offline?
The Hack: Creating a comprehensive digital travel hub in the cloud, with critical information accessible offline, long before Google Drive was everyone's best friend.
How I Discovered It: The Hoi An incident, combined with a previous scare where I nearly lost my actual passport (thankfully found!), made me realize the fragility of physical documents. I started using early cloud services and even just plain old email drafts to store copies of everything.
Actionable Advice & My Story: My digital strategy evolved into a multi-pronged approach:
- The Master Folder (Google Drive/Dropbox): I created a dedicated folder for each trip. Inside, I stored scanned copies of my passport, visa, driver's license, travel insurance details, flight itineraries, hotel bookings, tour confirmations, and even a photo of my credit cards (front and back, with the security code blurred out, purely for reference if lost). This folder was shared with a trusted family member back home.
- Offline Access is King: Crucially, I ensured this folder was available offline on my phone and tablet. Back then, this meant manually downloading files. Now, it's a simple toggle. This saved me countless times in remote areas of Patagonia with no signal, or in bustling city centers where public Wi-Fi was unreliable.
- Offline Maps: Before Google Maps allowed easy offline downloads, I used apps like Maps.me, downloading entire country maps before I left. This was invaluable navigating the labyrinthine streets of Marrakech or finding my way to a hidden ramen joint in Tokyo without burning through data.
- Screenshot Everything: My golden rule. Flight boarding passes, hotel addresses, restaurant reservations, train tickets – if it's digital and important, screenshot it. These live in my phone's photo gallery, providing instant access even if an app crashes or there's no signal. This saved me from missing a bus in rural Thailand when the e-ticket wouldn't load.
- Emergency Contacts & Medical Info: A digital document with emergency contacts, my blood type, known allergies, and any essential medical information. Stored in the cloud and also as a screenshot.
This system meant that even if my phone was lost or stolen, I could access my critical documents from any internet cafe or borrowed device. It was my personal digital fortress, offering peace of mind that no amount of paper copies ever could.
---
3. Solid Gold Toiletries: The Liquid-Free Revolution You Didn't Know You Needed
The TSA's 3-1-1 rule (3.4 ounces/100 milliliters, one quart-sized bag, one bag per passenger) was my nemesis. My early attempts at "travel-sized" toiletries were a joke – tiny bottles that ran out after two showers, or worse, full-sized bottles that inevitably exploded in my bag. I vividly remember arriving in Jodhpur, India, after a particularly bumpy overnight train ride, only to discover my entire backpack reeked of coconut shampoo. My clothes, my books, even my passport felt sticky. That was it. I declared war on liquids.
The Hack: Transitioning almost entirely to solid toiletries and repurposing tiny containers for the few liquids I couldn't ditch. This was before solid shampoo bars were a mainstream beauty trend.
How I Discovered It: Desperation, pure and simple. I started looking for alternatives. My first solid shampoo bar was from a small, independent shop, an obscure product back then. It felt revolutionary.
Actionable Advice & My Story:
- Solid Shampoo & Conditioner Bars: These were my first converts. One bar lasts ages, takes up minimal space, and never, ever leaks. I'd store them in a small reusable tin or a breathable mesh bag. I still use them today, often from brands like Lush or Ethique, but back then, finding them required a treasure hunt.
- Toothpaste Tabs or Powder: Instead of a tube, I switched to chewable toothpaste tabs or powder. Zero mess, perfect portions.
- Solid Sunscreen/Bug Repellent: While harder to find in solid form, I sought out stick sunscreens and solid bug repellent balms. These are a game-changer, especially for tropical climates where both are essential.
- Bar Soap & Multipurpose Cleansers: A good old bar of soap for body and even face. Dr. Bronner's solid bar can literally do everything.
- Repurposed Containers for Essentials: For the few liquids I couldn't replace (a specific facial serum, contact lens solution), I invested in tiny, high-quality silicone travel bottles. But more often, I'd clean out old contact lens cases or even pill organizers to hold just a few days' worth of product. This was incredibly effective for things like foundation or a small amount of hair gel.
- Microfiber Towel: Not a toiletry, but related. Ditching heavy cotton towels for a quick-drying microfiber one was another early breakthrough.
My bag, post-liquid revolution, was lighter, cleaner, and I never had to worry about liquid restrictions again. Walking through airport security with a single, small bag of non-liquid essentials felt like cheating the system, a little thrill every time. No more frantic rummaging for my Ziploc bag!
---
4. The Strategic Compression: More Than Just Cubes, It's an Art Form
Packing cubes are everywhere now. Every travel influencer swears by them. But years ago, before they became a staple, I was already experimenting with intelligent compression and organization techniques that went beyond simply rolling clothes. My journey into strategic compression began with budget airlines in Europe – Ryanair, EasyJet – where every millimeter and gram counted. I once booked a ridiculously cheap flight from London to Rome for a weekend trip, only to realize the "personal item" allowance was laughably small. I needed to fit a full weekend's worth of clothes, shoes, and toiletries into a bag barely bigger than a shoebox.
The Hack: Mastering various compression techniques, from rolling and bundling to utilizing every inch of space, and later, early adoption of compression cubes when they were a niche product.
How I Discovered It: The sheer necessity of fitting more into less. I'd spend hours before trips, trying different folding methods, experimenting with vacuum bags (which, though effective, were often impractical on the road), and scrutinizing every empty space.
Actionable Advice & My Story:
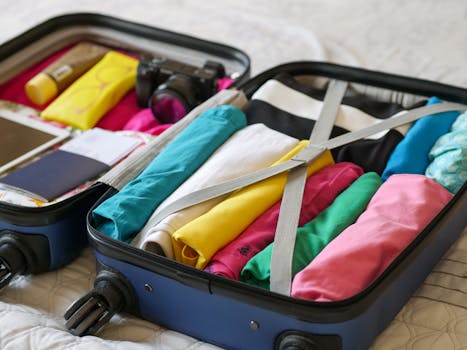
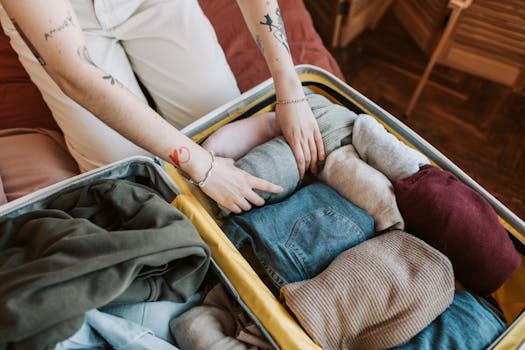
- The Bundle Wrap: This was my initial secret weapon. Instead of rolling or folding each item, I'd lay out my wrinkle-prone clothes (like shirts and dresses) flat, then place smaller items (underwear, socks, t-shirts) in the center, and wrap the larger items around them. This creates a compact, wrinkle-resistant bundle. It felt like magic the first time I unwrapped a shirt that looked like it had just come off the hanger after a 10-hour journey.
- Socks in Shoes, Belts Around Collars: Classic hacks, but I took them seriously. Every empty void in a shoe was filled with socks, underwear, or small electronics. Belts were coiled inside shirt collars to help them keep their shape.
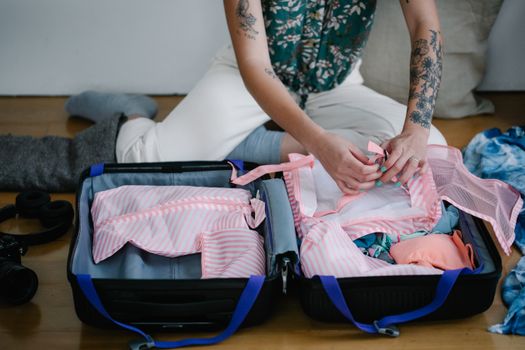
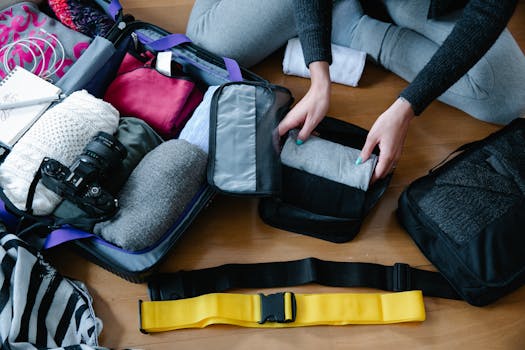
- The Early Compression Cubes: When I first saw these unassuming fabric rectangles, I was skeptical. But then I tried them. They weren't just about organization; the compression aspect was key. I'd pack all my tops in one, all my bottoms in another, then zip them down, expelling air and shrinking the volume. This allowed me to fit three extra outfits into my carry-on for a two-week trip through Southeast Asia, saving me a significant amount on checked baggage fees on multiple budget flights.
- Strategic Layering of Cubes: It's not just about using cubes, but how you arrange them. Heavier, denser cubes at the bottom, lighter ones on top. Think Tetris for your suitcase. I'd use a small, soft cube for my underwear/socks, a medium for tops, and a larger one for bottoms, all meticulously arranged to fill every crevice.
- Utilizing "Dead Space": The space between the handle rails in a wheeled suitcase, the pockets on the outside of a backpack – these are prime real estate for flat items like documents, maps, or even a thin pair of flip-flops.
This strategic approach to compression and organization meant I could consistently travel carry-on only, even for longer trips. It felt like I had unlocked a cheat code for beating airline baggage restrictions.
---
5. The "Emergency Kit" Mini-Vault: Your Pocket-Sized Problem Solver
Travel is unpredictable. While I love spontaneity, I've learned that a little preparedness goes a long way. My epiphany came during a hiking trip in Chilean Patagonia. We were several hours into a stunning trek, admiring the granite spires of Torres del Paine, when I developed a nasty blister on my heel. It turned a glorious hike into an agonizing shuffle. My friend, ever the Eagle Scout, pulled out a tiny, perfectly stocked first-aid kit from his daypack. Band-aids, antiseptic wipes, pain relievers – he had it all. From that moment, I swore I'd never be caught unprepared again.
The Hack: Assembling a compact, multi-purpose "emergency kit" in a small, dedicated pouch that's always within reach, long before "EDC" (Every Day Carry) was a popular concept.
How I Discovered It: The blister incident, coupled with countless minor inconveniences on the road: a loose screw on my camera in Japan, a split nail in Paris, a sudden headache on a cramped overnight bus in Laos.
Actionable Advice & My Story: My emergency kit, affectionately dubbed my "Mini-Vault," evolved over time. It's not just for medical emergencies, but for solving common travel woes. It lives in a small, brightly colored waterproof pouch, easily transferable between daypack and main luggage.
- Mini First-Aid: A few adhesive bandages (various sizes), antiseptic wipes, small tube of antibiotic ointment, pain relievers (ibuprofen/acetaminophen), anti-diarrhea meds, allergy pills, and blister pads (a non-negotiable after Patagonia!).
- Basic Repair & Utility:
- Mini Multi-tool: A tiny Leatherman or Gerber with pliers, knife, screwdriver. Invaluable for everything from tightening a loose camera screw to opening a stubborn package of snacks.
- Duct Tape (wrapped around a pencil): A few feet of duct tape can fix almost anything – a torn backpack strap, a broken flip-flop, even sealing a leaky water bottle.
- Safety Pins: For wardrobe malfunctions, temporary repairs, or even hanging wet clothes.
- Zip Ties: Surprisingly useful for securing luggage, temporary repairs, or organizing cables.
- Personal Comfort & Convenience:
- Earplugs & Eye Mask: Essential for noisy hostels, long flights, or bright rooms.
- Small Universal Adapter: I always carry a tiny, lightweight universal adapter, even if I think I won't need it. It's saved me more times than I can count when a hotel's outlets were unexpected.
- Power Bank & Short Cable: A small, fully charged power bank and a short charging cable for my phone. Lifesaver when out exploring all day.
- Headlamp/Mini Flashlight: For dark hostels, power outages, or navigating unfamiliar streets at night.
- Small Sewing Kit: A needle, a few threads, and a couple of buttons. For quick repairs, like the time a button popped off my shirt before a fancy dinner in Paris.
This tiny pouch, weighing mere ounces, has prevented countless headaches and saved me from minor disasters. It's the ultimate peace of mind, allowing me to embrace the unexpected without fear.
---
6. The "Wear Your Weight" & Personal Item Mastery: Beating Baggage Fees Like a Pro
The ultimate challenge for any budget traveler: avoiding checked baggage fees. This hack isn't just about wearing your bulkiest jacket; it's a strategic dance with gravity and airline regulations, particularly for the "personal item." I learned this out of sheer necessity on a series of budget flights from Europe to North Africa. Ryanair from London to Marrakech, for example, had a notoriously strict personal item size limit, but a generous (if you layered correctly) allowance for worn items.
The Hack: Intelligently layering clothes and maximizing the often-overlooked "personal item" to carry a significant portion of your essentials, effectively expanding your carry-on capacity without paying extra.
How I Discovered It: Staring down a hefty baggage fee for a flight from Berlin to Dublin, I realized my heavy hiking boots and bulky sweater were the culprits. I put them on. Then I put on another shirt. And another. It looked ridiculous, but it worked.
Actionable Advice & My Story:
- Strategic Layering: This goes beyond just wearing your jacket. I'd layer my heaviest sweater, my travel vest (which often has many pockets), and my jacket. If I had heavy hiking boots, they were on my feet. For a winter trip to Iceland, I boarded the plane looking like the Michelin Man, but my carry-on was blissfully light. Once past the gate, layers came off and were neatly folded or stuffed into my personal item.
- The "Pillow Trick": This is a bit cheeky, but highly effective. If you have a soft, compressible item (like a bulky sweater or a down jacket) that you just can't fit, stuff it into a pillowcase. Voila – you're carrying a "travel pillow," which is usually exempt from personal item counts. I've used this on several occasions for extra layers or even a pair of shoes.
- Personal Item Optimization: Your personal item (backpack, tote bag, briefcase) is your secret weapon.
- Soft-Sided is Best: Choose a soft, unstructured bag that can be squished into tight spaces. A small duffel or a flexible backpack is better than a rigid laptop bag.
- Heavy Items First: Pack your heaviest items (books, electronics, toiletries bag) at the bottom and closest to your back if it's a backpack. This distributes weight better and makes the bag easier to carry.
- Easy Access Essentials: Keep items you'll need during the flight (headphones, snacks, book, water bottle, emergency kit) easily accessible at the top or in outer pockets.
- The "Extra Bag" Trick: Sometimes, I'd pack a very lightweight, foldable tote bag or small backpack inside my personal item. Once through security, if I needed more space or wanted to shed some layers, I'd pull it out. This was particularly useful for souvenir shopping or day trips once at my destination.
Mastering the personal item and strategic layering meant I could often travel for weeks with just a carry-on and a small personal bag, avoiding baggage claim entirely and saving hundreds of dollars over multiple flights. It transformed the airport experience from a stressful gauntlet to a smooth, efficient transition.
---
The Road Ahead: Pack Smarter, Travel Freer
My journey from chaotic packer to minimalist maestro wasn't overnight. It was a series of trial-and-error, learning from mishaps, and constantly refining my approach. These hacks, discovered and perfected long before they were trending, have fundamentally changed how I experience travel. They've given me freedom – freedom from heavy bags, freedom from extra fees, and most importantly, freedom from the stress that often overshadows the excitement of a new adventure.
Imagine arriving at your destination, breezing past the baggage carousel, and heading straight for your next adventure. Picture yourself navigating a bustling market or a quiet cobblestone street, unburdened and ready for anything. That's the power of smart packing. It's not just about what you fit into your bag; it's about what you free up in your mind.
So, go forth, my fellow travelers! Experiment with these "pre-mainstream" hacks. Make them your own. And when you're effortlessly gliding through an airport or comfortably trekking through a remote landscape, remember that a little foresight goes a long, long way.
What are your tried-and-true packing hacks? Did any of these resonate with your own travel experiences? Share your wisdom in the comments below! Let's keep the conversation going and help each other travel better.
---