The Dish That Changed Everything: My Journey to Pro Food Photography
It was a chilly October morning in 2019, somewhere in a bustling Parisian boulangerie. The aroma of fresh croissants and strong coffee filled the air, and before me sat the most perfect pain au chocolat I had ever seen – glistening, flaky, a testament to culinary perfection. I pulled out my phone, snapped a quick pic, and then devoured it. Later, scrolling through my camera roll, I stared at the photo: a dark, blurry blob with harsh shadows, utterly failing to capture the magic of that moment. My heart sank. How could something so delicious look so… unappetizing?
That blurry croissant was my turning point. I was a travel blogger, exploring incredible destinations and savoring exquisite food, yet my photos consistently fell flat. I realized then that capturing the essence of a dish, the story behind it, and the vibrant flavors within, was just as crucial as the travel itself. It wasn't about having the fanciest gear, but understanding the craft. Fast forward to October 2025, and I've shot countless dishes across continents – from vibrant street food in Chiang Mai to Michelin-starred creations in Kyoto. And today, I’m sharing everything I’ve learned so you can transform your food photos from “meh” to “magnifique.”
Get ready, because by the end of this, your Instagram feed is going to be a feast for the eyes!
1. Gear Up (But Don't Break the Bank!): Your Culinary Camera Kit
Let's debunk a myth right away: you don't need a professional DSLR or mirrorless camera with a bag full of expensive lenses to take stunning food photos. While they offer unparalleled control and quality, your smartphone is an incredibly powerful tool, especially with the advancements we’ve seen by October 2025.
Your Smartphone is a Powerhouse: Modern phones (think iPhone 17 Pro, Samsung Galaxy S26 Ultra, Google Pixel 10) boast incredible camera systems. Their computational photography capabilities excel in challenging lighting and offer features like Portrait Mode (for beautiful bokeh), Pro Mode (manual control over ISO, shutter speed, white balance), and advanced HDR.
- Pro Tip: Always clean your phone lens before shooting! A smudge can ruin an otherwise perfect shot. Use a microfiber cloth.
- Accessory Must-Haves (Under $50):
- Small Tripod/Grip: Essential for stability, especially in low light or for overhead shots. I swear by my Joby Gorillapod; it wraps around anything!
- Portable LED Light: A small, dimmable LED panel (like a Lume Cube or similar) can be a lifesaver in dimly lit restaurants. Don't blast it, use it subtly to fill shadows.
- Reflector/Diffuser: A collapsible 5-in-1 reflector kit (often under $20) is invaluable. The white side reflects light, the black side absorbs it for moodier shots, and the diffuser softens harsh light.
If You're Ready for a Dedicated Camera (Mirrorless is King): For those serious about their craft, a mirrorless camera like a Sony Alpha series (e.g., a used A6400 or a new A7 IV) or a Fujifilm X-T series (X-T5) paired with a versatile prime lens (e.g., a 50mm f/1.8 or a 35mm f/1.4) is a fantastic investment. These lenses offer wide apertures for creamy background blur (bokeh) and excel in low light. You can often find great deals on previous-generation models that still outperform most phones.
- Personal Anecdote: I remember my first trip to Rome, trying to capture a vibrant pasta dish in a dimly lit trattoria with just my phone. The results were grainy and lifeless. The next year, armed with a small mirrorless camera and a 50mm lens, those same trattoria dishes practically glowed. The difference was night and day, truly making the food pop.
2. The Secret Ingredient: Mastering Light
Light is the single most important element in food photography. It can make a dish look irresistible or utterly unappetizing. Forget fancy filters; learn to control light, and you're halfway to pro status.
Natural Light is Your Best Friend: Always, always, always seek out natural light first. It’s soft, flattering, and free!
- Window Light: Position your dish near a window, but not in direct sunlight. Direct sun creates harsh shadows and blown-out highlights. Look for soft, diffused light, especially on an overcast day or when the sun isn't directly hitting the window.
- Backlight/Sidelight:
- Backlight: Placing the light source behind the dish (slightly to one side) creates a beautiful glow, highlighting textures and edges. Think of how light illuminates steam rising from a hot coffee or glistens on a glazed pastry.
- Sidelight: Light coming from the side creates depth and dimension by casting gentle shadows, making the food look more three-dimensional. This is often my go-to.
- Avoid Direct Front Light: Flash or direct overhead light flattens the dish, making it look dull and unappetizing. It’s the enemy of good food photos!
When Natural Light Isn't Enough (or Available): Sometimes, you're stuck in a dimly lit restaurant. This is where your portable LED light and reflector come in.
- Subtle Fill: Use your LED light on a very low setting, angled from the side or slightly behind, to mimic natural light. Avoid aiming it directly at the food.
- Reflect & Diffuse: Use your reflector to bounce available light (even from an overhead lamp) onto the darker sides of your dish. If the light is too harsh, use the diffuser panel to soften it.
- Personal Anecdote: In a cozy, candlelit bistro in Lyon last autumn, I was struggling to capture a perfectly seared duck breast. I discreetly pulled out my tiny LED panel, set it to its lowest warm setting, and angled it from the side, bouncing a little light with a small white card I always carry. The result? A moody, atmospheric shot that perfectly conveyed the bistro’s charm and the duck’s rich color, without disturbing other diners. It was a game-changer!
3. Composition & Styling: Making it Mouth-Watering
Good light gets you 50% there; compelling composition and thoughtful styling get you the rest of the way. This is where you tell the dish's story visually.
Angles Matter: Experiment with different perspectives to find the most flattering angle for your dish.
- 45-Degree Angle (Eye-Level): Great for dishes with height, like burgers, layered cakes, or tall drinks. It mimics how we'd see the food sitting at a table.
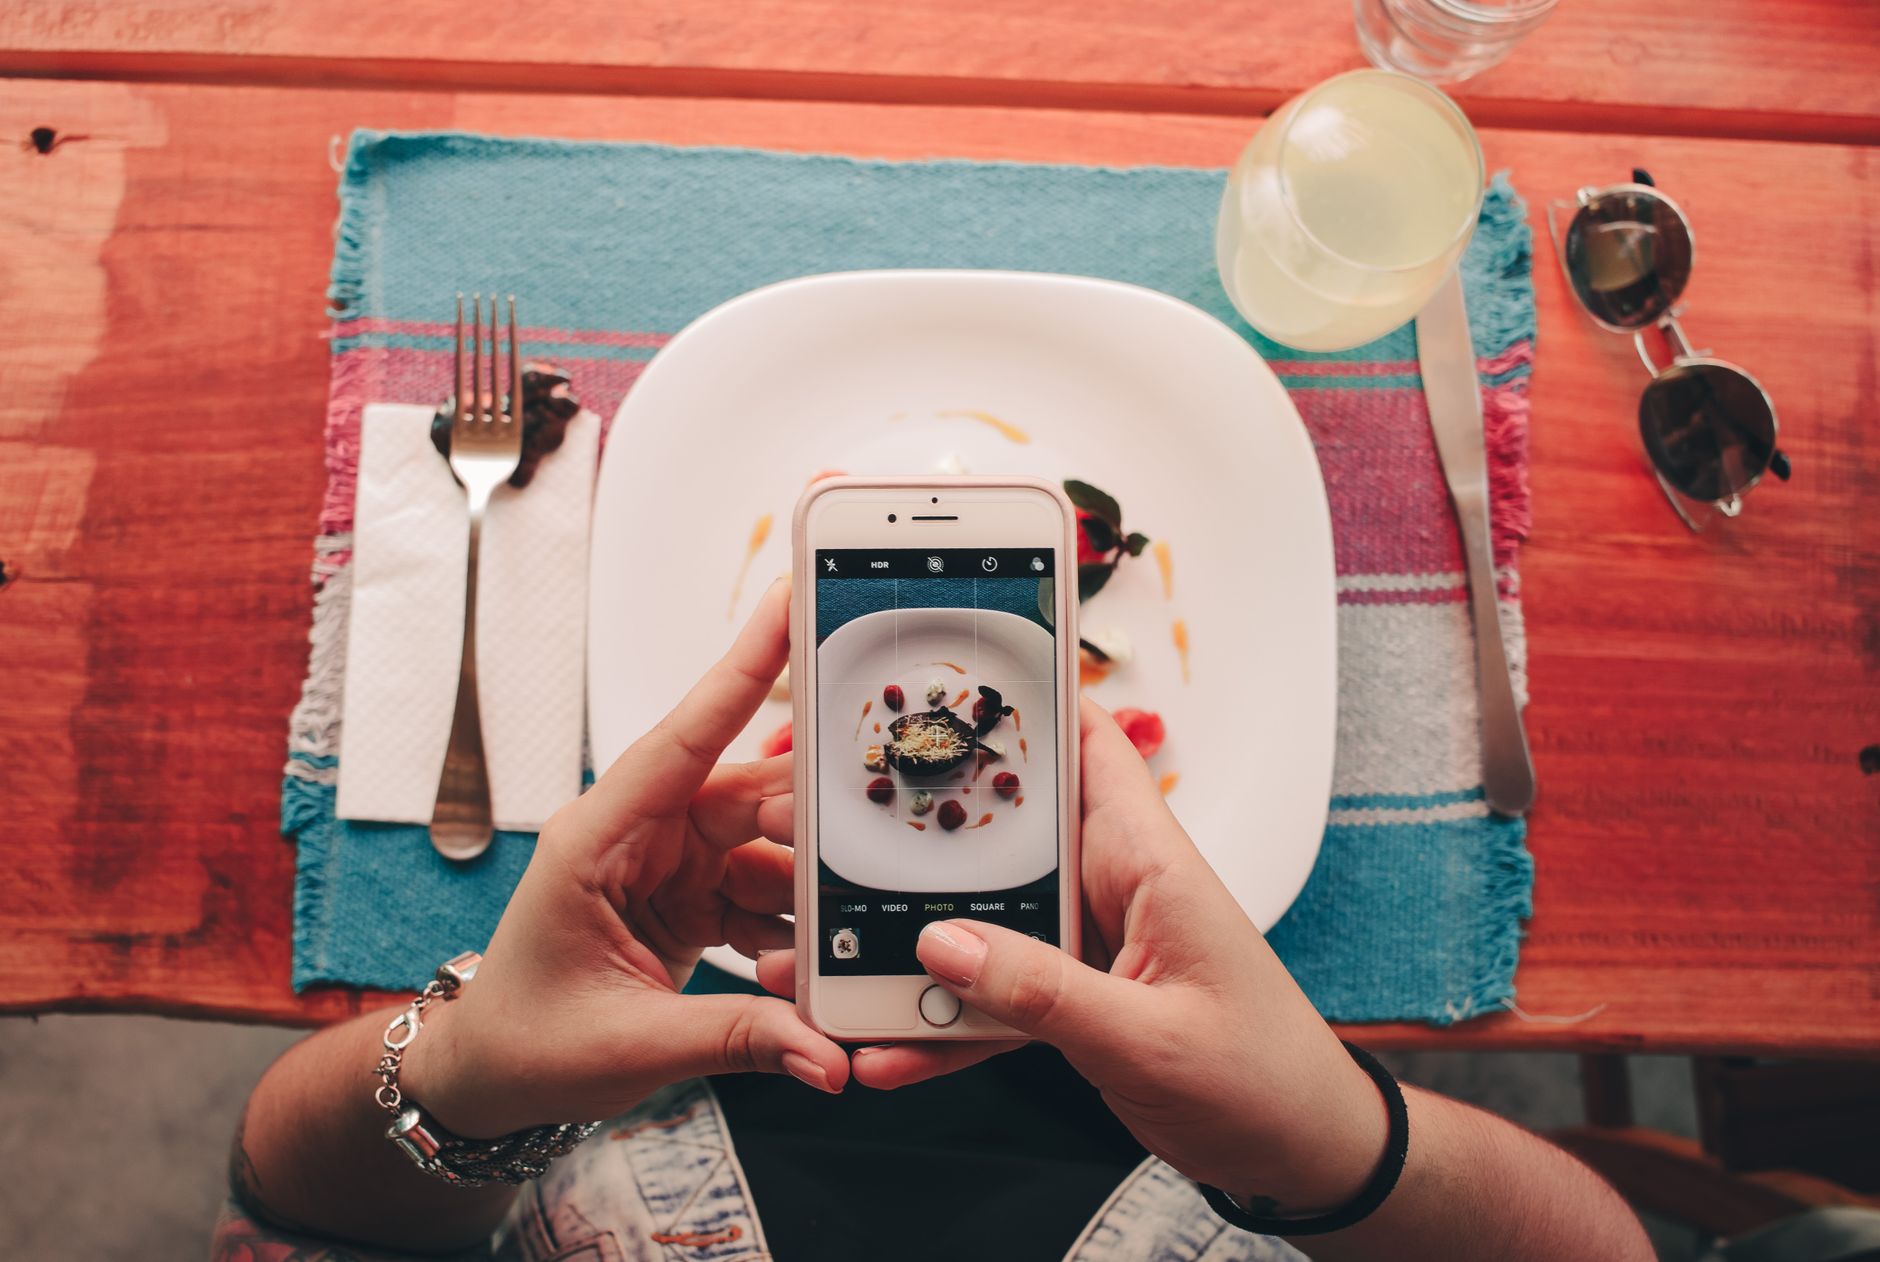
- Overhead (Flat Lay): Perfect for showcasing an entire spread, intricate plating, or dishes that are beautiful from above (e.g., pizzas, pasta bowls, bento boxes). Requires you to stand directly over the food.
- Close-Up/Detail Shot: Focus on a specific texture, ingredient, or detail – a glistening sauce, a sprinkle of herbs, the crisp edge of a cookie. This builds intrigue.
The Art of Styling: This is where you transform a plate of food into a visual narrative.
- "Deconstructed" Look: Sometimes, showing the ingredients around the finished dish can be incredibly effective. A few stray crumbs, a sprig of herb, a drizzle of olive oil, or a single raw ingredient can add context and freshness.
- Props & Backgrounds:
- Keep it Simple: Don't let props overpower the food. Choose items that complement the dish and tell a story (e.g., a rustic linen napkin for a farm-to-table meal, elegant cutlery for fine dining, a vibrant tile for street food).
- Natural Textures: Wooden boards, stone slabs, crumpled linen, or even a simple white plate can serve as excellent backdrops. Avoid busy patterns that distract.
- Color Palette: Think about complementary colors. A vibrant red curry pops against a dark background, while a delicate pastry shines on a light, airy surface.
- The Rule of Thirds: Imagine your frame divided into a 3x3 grid. Place your main subject (or key elements) along these lines or at their intersections for a more dynamic and pleasing composition than simply centering everything.
- Leading Lines: Use elements like cutlery, a breadstick, or the edge of a table to draw the viewer's eye towards the main subject.
- Negative Space: Don't be afraid of empty space around your subject. It gives the eye a place to rest and emphasizes the food.
- Personal Anecdote: I was once in Kyoto, trying to photograph a beautiful kaiseki meal – each dish a tiny, intricate artwork. My initial shots were too cluttered. My Japanese host, noticing my struggle, gently moved a small ceramic bowl slightly off-center and added a single, perfectly placed maple leaf (it was October, after all!). Suddenly, the entire composition breathed, telling a story of seasonal beauty and meticulous artistry. It taught me the power of simplicity and intentional placement.
4. Editing Magic: The Final Polish
Even the best photographers edit their photos. Editing isn't about creating something false; it's about enhancing what's already there, correcting imperfections, and bringing out the true beauty of the dish.
Essential Editing Tools (Mobile & Desktop):
- Mobile Apps (October 2025 Favorites):
- Lightroom Mobile: Powerful, professional-grade adjustments for exposure, contrast, colors, and selective edits. Many pro photographers use it on the go.
- Snapseed: Google's free, intuitive app with excellent tools for selective adjustments, healing, and perspective correction. Great for quick fixes.
- VSCO: Known for its beautiful filters that can give your photos a consistent, artistic look.
- Desktop Software:
- Adobe Lightroom Classic/Photoshop: Industry standards for comprehensive editing.
Key Adjustments to Master:
- Exposure: Brighten or darken the image. Aim for a natural look – avoid overexposure that blows out highlights.
- Contrast: Adds "punch" to your photos, making darks darker and lights lighter. Use sparingly to avoid an unnatural look.
- Highlights & Shadows: Recover detail in overexposed (highlights) or underexposed (shadows) areas. This is crucial for food photos!
- White Balance: Adjust colors so whites look white, not yellow or blue. This is critical for making food look appetizing.
- Saturation & Vibrance: Saturation boosts all colors equally; vibrance selectively boosts muted colors without overdoing skin tones. Use vibrance for food to make colors pop naturally.
- Sharpness & Clarity: Sharpness defines edges; clarity adds mid-tone contrast, making textures stand out. Don't overdo it, or your food will look crunchy!
- Cropping & Straightening: Always crop to improve composition and straighten horizons/angles.
- Personal Anecdote: I once photographed a hearty German goulash during an autumn trip to Bavaria. The restaurant lighting was warm, almost orange, making the rich stew look muddy in my initial shots. Back in my hotel, a quick white balance adjustment in Lightroom Mobile instantly brought out the deep reds of the paprika and the vibrant green of the parsley garnish. It transformed a dull photo into a comforting, delicious-looking meal. Editing truly saved that goulash!
5. Storytelling & Authenticity: Beyond the Plate
A professional food photo isn't just about the dish; it's about the experience, the culture, and the story behind it. This is especially true for travel blogging.
- Capture the Context:
- The Setting: Include elements of the restaurant's ambiance, the bustling street market, or the scenic view from your table. A blurred background showing a Parisian street or a Tuscan vineyard instantly adds character.
- The Hands: A chef's hands preparing a dish, a barista pouring latte art, or your own hands reaching for a bite can add a human, relatable element.
- The Process: If possible, capture a quick sequence of the food being made – dough being kneaded, spices being added, or a final garnish.
- The People: A candid shot of friends sharing a meal, or a local enjoying their food, adds authenticity and warmth.
- Embrace Imperfection: Not every shot needs to be perfectly staged. A few crumbs on the table, a slightly messy bite taken from a pastry, or steam rising from a hot bowl can add realism and appeal. Authenticity resonates more than sterile perfection.
- Seasonal Sensations (October 2025):
- Autumnal Flavors: Focus on dishes that embody the season. Think pumpkin spice lattes, apple cider donuts, hearty stews, roasted root vegetables, truffle dishes (Italy's white truffle season!), or vibrant fall harvest salads.
- Color Palette: Utilize the warm, rich tones of autumn – deep reds, oranges, golden yellows, rustic browns.
- Festive Touches: If you're traveling during Halloween or harvest festivals, incorporate subtle themed elements. Maybe a tiny decorative pumpkin in the background, or a cozy plaid blanket as a prop.
- Personal Anecdote: Last October, I was exploring the vibrant street food scene in Oaxaca, Mexico. Instead of just photographing the Tlayudas on a plate, I took a step back. I captured the vendor's smoky grill, the piles of fresh ingredients, and the bustling market scene in the background. Then, a close-up of my friend's hands tearing into a crispy Tlayuda. These shots, combined, told a far richer story than just a picture of the food itself. It wasn't just a meal; it was an immersive cultural experience, perfectly captured.
6. The Shareable Factor: Making Your Food Photos Go Viral
You've captured and edited your masterpiece. Now, make sure it gets seen!
- Platform Specifics:
- Instagram: Prioritize high-quality, visually striking images. Use carousels to showcase multiple angles or a dish's journey. Use Reels for short, engaging video snippets (e.g., a dish being served, a quick recipe demo).
- TikTok: Focus on dynamic, short-form video. Think "food porn" style close-ups, ASMR sounds of cooking/eating, or quick transitions.
- Pinterest: Vertical images perform best. Create visually appealing pins with clear, descriptive text.
- Hashtags are Your Friends: Don't just use generic hashtags. Research popular and niche hashtags. Mix broad ones (#foodphotography, #travelgram, #instafood) with specific ones (#OctoberEats, #AutumnFood, #ParisianBoulangerie, #TruffleSeason2025, #VeganTravelFood). Aim for 10-15 relevant hashtags.
- Engage Your Audience: Ask questions in your captions. "What's your favorite autumn treat?" or "Where's the best [dish] you've ever had?" Encourage comments and shares.
- Geotag Everything: Always tag the location! People love to discover new places to eat, and it boosts visibility.
- Tell a Story in Your Caption: Don't just list ingredients. Share a brief anecdote about the dish, the restaurant, or your experience eating it. This is where your authentic voice shines.
Call to Action:
So, there you have it! From that blurry Parisian croissant to the vibrant Tlayudas of Oaxaca, my journey in food photography has taught me that passion, practice, and a few key techniques are all you need. This October 2025, don't let another incredible meal go uncaptured. Grab your phone, find that window light, and start experimenting!
What's the most delicious dish you're planning to photograph this autumn? Share your thoughts and your stunning food photos with us on social media using #TripsoraFoodPro and #OctoberEats2025. We can't wait to see your culinary masterpieces!
---