How to Photograph Food Like a Pro That Will Blow Your Mind
There I was, perched on a tiny plastic stool in Hanoi's Old Quarter, a steaming bowl of Bún Chả before me. The aroma was intoxicating – grilled pork, fresh herbs, a tangy dipping sauce. It was a culinary masterpiece, a symphony of flavors I’d dreamt about since landing in Vietnam. I pulled out my phone, snapped a quick pic, and then… disappointment. The photo looked dull, flat, and utterly unappetizing. It captured none of the vibrant energy of the street, none of the deliciousness I was experiencing. It was just… food in a bowl.
Sound familiar?
For years, my travel photo albums were filled with incredible landscapes, bustling markets, and smiling faces – but when it came to food, my camera seemed to fail me. My attempts at capturing the culinary wonders of the world, from a towering gelato in Rome to a perfectly plated Michelin-star dish in Paris, consistently fell short. They lacked the "wow" factor, the drool-inducing quality that makes you want to lick your screen.
Then, a revelation. It wasn't my camera; it was my approach. Through countless experiments, botched shots, and a deep dive into the world of professional food photography, I discovered that turning an ordinary dish into an Instagram-worthy masterpiece isn't about expensive gear. It's about understanding light, composition, and a few clever tricks that anyone – yes, even you – can master.
Welcome, fellow food lovers and aspiring visual storytellers, to your ultimate guide to photographing food like a pro. Prepare to blow your own mind (and everyone else's feed) with shots so good, they'll practically taste themselves.
Light It Up: Mastering the Art of Illumination
Think of light as the secret ingredient in your food photography recipe. It can make or break a shot, transforming a mundane plate into a feast for the eyes. And guess what? The best light is often free and all around you.
The Golden Rule: Natural Light is King
Forget harsh overhead restaurant lights or, worse, your camera's built-in flash. These are the enemies of delicious-looking food. Your best friend is soft, diffused natural light.
- Window Light: This is your holy grail. When you sit down at a café or restaurant, always scout for a table near a window. The light streaming in is usually soft and directional, creating beautiful shadows and highlights that add dimension to your dish. In Florence, I once spent 10 minutes strategically repositioning myself at a tiny trattoria just to get the perfect window light on my pasta cacio e pepe – totally worth it.
- Overcast Days: Don't let a cloudy sky get you down! Overcast conditions provide a giant, natural diffuser, giving you incredibly soft, even light that's perfect for food.
- Avoid Direct Sunlight: While beautiful for landscapes, direct, harsh sunlight can create unflattering, blown-out highlights and deep, dark shadows on your food. If you're outdoors, look for open shade.
DIY Diffusers and Reflectors
Sometimes, even window light can be a bit too direct. That's where diffusers and reflectors come in.
- Diffusers: These soften light. You can buy professional ones, but in a pinch, a thin white napkin, a piece of parchment paper, or even a translucent menu held between the window and your food can work wonders.
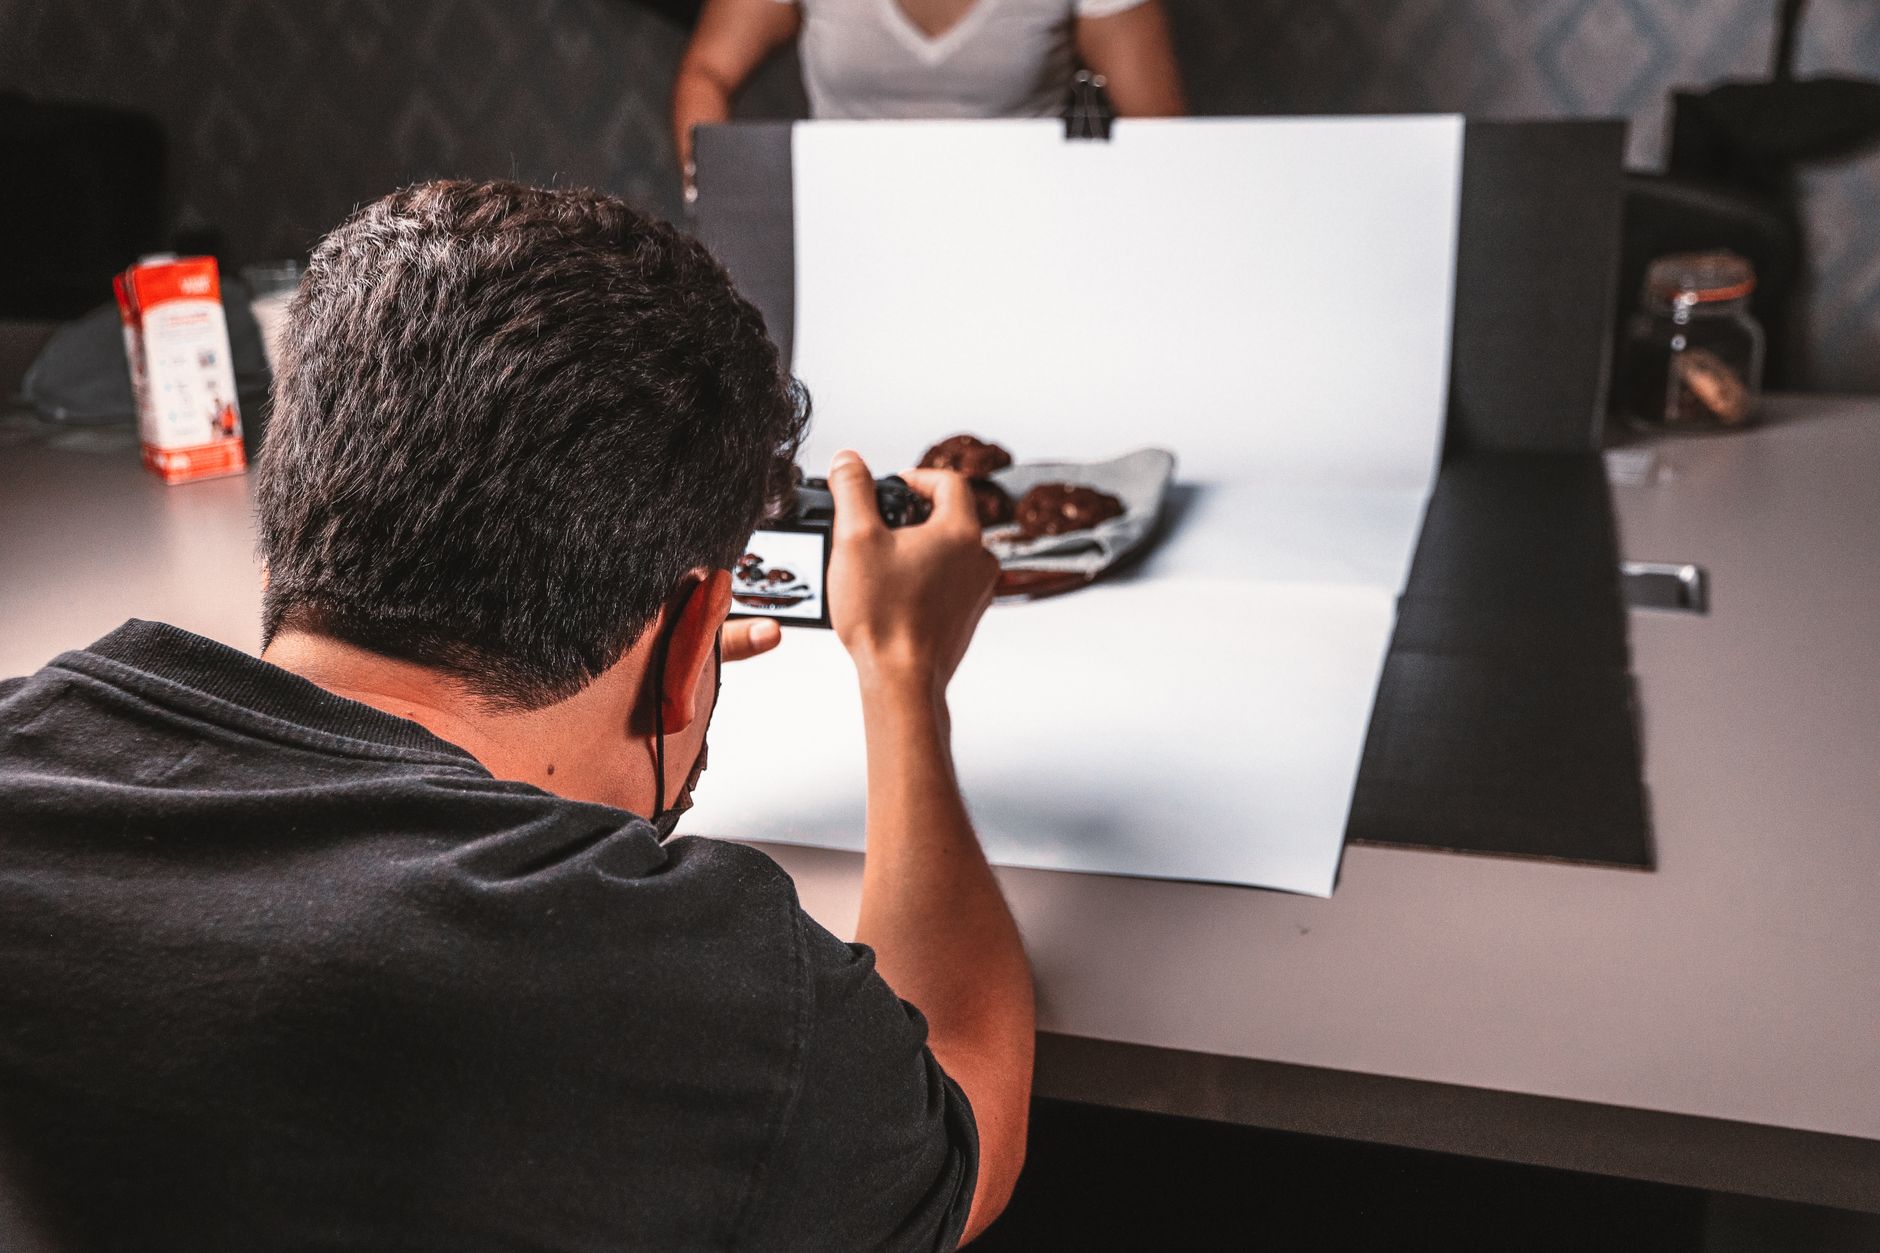
- Reflectors: These bounce light back onto your subject, filling in shadows. A white napkin, a piece of white cardstock, or even the white side of a menu can act as a reflector. Hold it opposite your light source to gently illuminate the darker side of your dish. I once used a discarded white paper bag from a bakery in Lisbon to bounce light onto a row of pastel de nata, making their golden tops really pop!
Anecdote: I remember trying to photograph a vibrant green curry in a cozy, dimly lit restaurant in Bangkok. I initially struggled, but then I noticed a small window in the corner. I politely asked to move to a table nearby. The soft, ambient light transformed the curry from a shadowy blob into a shimmering, jewel-toned masterpiece. It was my first real "aha!" moment with light.
Actionable Tip: Before you even think about lifting your fork, scope out the best light source in your environment. Move your plate, move yourself, or even politely ask to move tables if necessary.
Framing Your Feast: Angles, Rules, and Visual Stories
Once you've got your lighting sorted, it's all about how you compose your shot. This is where you tell the visual story of your food.
The Rule of Thirds
This classic photography principle is your best friend. Imagine a tic-tac-toe grid over your image. Place your key elements (the star of the dish, a garnish, a utensil) along the lines or at their intersections. This creates a more dynamic and engaging photo than simply centering everything.
Choosing Your Angle: The Power of Perspective
Different dishes shine at different angles. Experiment with these three main perspectives:
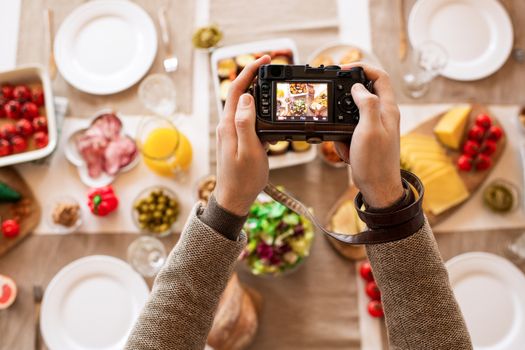
- The Overhead Shot (Flat Lay):
- Best for: Dishes with interesting textures and patterns on top (pizzas, salads, bowls of ramen, spreads of tapas, breakfast plates), or when you want to show multiple items in a single frame.
- Technique: Position yourself directly above the food, parallel to the table. Ensure you capture the entire dish and any relevant props (cutlery, hands, drinks). This angle is a staple for food bloggers and Instagram. I've used this to great effect capturing a vibrant spread of meze in Santorini, showing off all the different dips and small plates.
- The 45-Degree Angle (Tabletop View):
- Best for: Most dishes, especially those with some height or depth, like burgers, sandwiches, stews, or a beautifully plated entrée. It mimics how you'd naturally view your food.
- Technique: Position your camera at eye-level with the food, or slightly above, looking down. This angle allows for a nice depth of field, blurring the background and keeping the dish in sharp focus.
- The Straight-On Angle (Eye-Level):
- Best for: Dishes with impressive height, layers, or intricate details on the side, like towering burgers, multi-layered cakes, drinks, or a stack of pancakes.
- Technique: Get down to the same level as your food. This can make the dish feel grander and more imposing. I once captured a ridiculously tall club sandwich in a New York diner from this angle, making it look almost architectural.
Depth of Field (Bokeh): Making Your Subject Pop
Depth of field refers to how much of your image is in focus. A shallow depth of field (where the background is blurred, creating "bokeh") makes your food stand out beautifully.
- How to achieve it: If you have a DSLR or mirrorless camera, use a wide aperture (a low f-number like f/1.8 or f/2.8). With a phone, use "Portrait Mode" or a similar feature that simulates bokeh.
- Anecdote: I was at a bustling street food market in Kuala Lumpur, wanting to photograph a bowl of Laksa. The background was chaotic. By using a shallow depth of field, I was able to blur out the busy market, making the vibrant Laksa the undisputed star of the show.
Actionable Tip: For every dish, try at least two different angles (e.g., overhead and 45-degree) to see which best tells its story.
The Art of the Plate: Styling Your Food for Maximum Impact
Food styling is where you transform a simple plate into a visual narrative. It's about making the food look its absolute best, inviting viewers to imagine themselves taking a bite.
Less is More: Declutter Your Background
Before you even think about snapping, take a moment to clear the stage. Remove distracting elements like messy napkins, stray crumbs, or irrelevant clutter. A clean background helps your food shine. Sometimes, just shifting your plate a few inches can make all the difference.
Props with Purpose: Enhancing the Story
Props shouldn't just be random additions; they should add to the story of the food.
- Utensils: A fork poised to take a bite, a spoon resting in a soup bowl – these add a human element and suggest interaction.
- Napkins/Textiles: A crumpled linen napkin can add texture and a rustic feel.
- Ingredients: A scattering of fresh herbs, a slice of lemon, or a few whole spices can hint at the flavors within. When photographing ceviche in Lima, I always try to include a lime wedge or some cilantro.
- Hands: A human hand reaching for a piece of bread or holding a coffee cup adds warmth and a sense of immediacy.
- Local Elements: This is where travel food photography truly shines! Use elements from your surroundings. A patterned tile table in Spain, a bamboo mat in Thailand, local pottery, or even the restaurant's unique branding on a plate or glass. In Marrakech, I once used a small, intricately patterned tagine lid as a background element for a sweet pastry.
Plating Perfection (or Subtle Rearrangement)
While you generally want to respect the chef's plating, sometimes a slight tweak can make a huge difference.
- Highlight Key Ingredients: Gently push a vibrant herb to the forefront, or ensure the most attractive part of the dish is facing the camera.
- Clean Edges: Wipe away any drips or smudges from the plate rim.
- Action Shots: Capture the moment! A drizzle of sauce, steam rising from a hot dish (especially effective with pho or ramen!), a fork lifting a perfect bite, or a sprinkling of fresh pepper. These add dynamism and appeal.
Anecdote: I was in Bologna, Italy, with a plate of tortellini in brodo. The broth was delicious, but visually, it was just a bowl of beige. I gently nudged a few tortellini to the surface, showing their delicate shape, and placed a sprig of fresh parsley on the side of the bowl. The simple addition of a fork resting in the bowl transformed it from "just soup" to "I need to eat this NOW."
Actionable Tip: Before you shoot, take 30 seconds to "style" your dish. Think about what props you can use and how you can subtly enhance the presentation.
Beyond the Lens: Essential Gear for Food Photography
While I firmly believe a good eye is more important than expensive gear, understanding your tools can certainly elevate your game.
Your Smartphone: A Powerful Pocket Studio
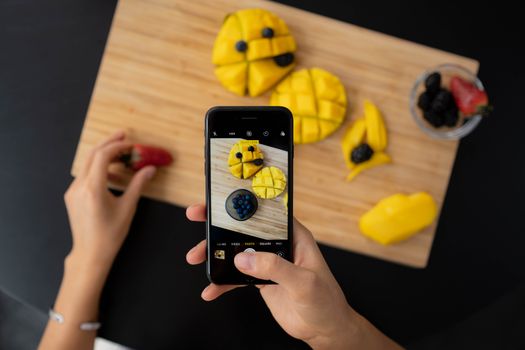
Let's be real: most of us are shooting food with our phones. And modern smartphones are incredibly capable!
- High-Quality Lenses: Flagship phones (like the latest iPhones, Samsung Galaxies, Google Pixels) have excellent cameras with multiple lenses (wide, ultra-wide, telephoto) that offer versatility.
- Portrait Mode: This is fantastic for creating that blurred background (bokeh) effect, making your food pop.
- Manual Controls/Pro Modes: Many phones now offer manual controls for ISO, shutter speed, and white balance, giving you more creative freedom. Apps like Halide (iOS) or ProShot (Android) can unlock even more features.
- Editing Apps: Don't underestimate the power of mobile editing apps (more on this below!).
DSLRs & Mirrorless Cameras: Stepping Up Your Game
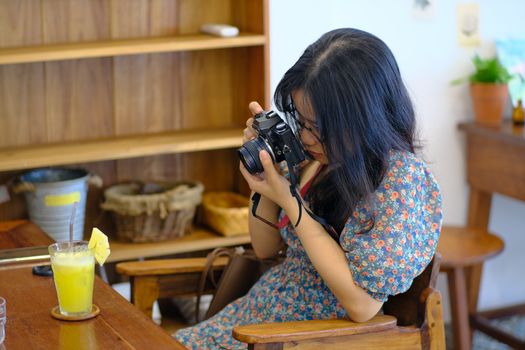
If you're serious about food photography, a dedicated camera offers unparalleled control and image quality.
- Prime Lenses: A 50mm f/1.8 lens (often called a "nifty fifty") is a fantastic and affordable starting point. It offers a wide aperture for beautiful bokeh and is incredibly sharp. A 100mm macro lens is ideal for extreme close-ups of texture and detail.
- Sensor Size: Larger sensors (found in DSLRs/mirrorless) capture more light and produce better image quality, especially in low light.
- Manual Control: Full manual control over aperture, shutter speed, and ISO gives you ultimate creative freedom.
Essential Accessories
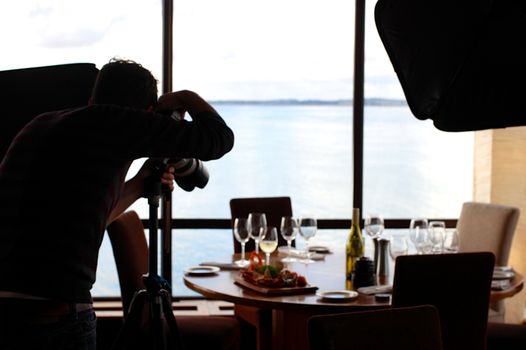
- Mini Tripod: For stability, especially in low light, or for perfectly consistent flat lays. A small, flexible tripod like a Joby Gorillapod is portable and versatile.
- Portable LED Light: If natural light is absolutely non-existent, a small, dimmable LED panel (like an Aputure MC) can provide a soft fill light. Always diffuse it!
- Reflector/Diffuser Kit: Compact, collapsible reflectors are inexpensive and incredibly useful.
Anecdote: For years, I swore by my trusty iPhone for all my travel food shots. It was convenient and quick. But then, on a trip through Italy, I invested in a mirrorless camera with a 50mm prime lens. The difference was astounding. The creamy bokeh on a simple dish of spaghetti al ragù in Bologna, the sharp details on a cannoli in Sicily – it allowed me to capture the essence of the food in a way my phone couldn't. However, I still pull out my phone for quick snaps in bustling street markets where discretion and speed are key.
Actionable Tip: Start with the best camera you have (likely your phone). Master the basics, then consider investing in a prime lens for a dedicated camera if you want to take your skills to the next level.
From Raw to 'Rawr!': Editing Your Food Masterpieces
The magic doesn't stop when you click the shutter. Post-processing is where you fine-tune your vision and make your food photos truly pop. Think of it as seasoning for your visual dish.
Mobile Editing Apps: Your Pocket Powerhouses
You don't need expensive desktop software for stunning edits.
- Lightroom Mobile (Free & Paid): My go-to. Offers powerful controls for exposure, color, selective adjustments, and presets. You can sync presets across devices too.
- Snapseed (Free): Google's fantastic and intuitive app. Great for quick fixes, selective adjustments, and its "Tune Image" tool is excellent.
- VSCO (Free & Paid): Known for its beautiful film-like filters (presets), which can give your photos a consistent, stylish look.
- Foodie (Free): Specifically designed for food photography, with various filters optimized for different types of dishes.
Key Adjustments to Master
Focus on these core edits to bring your food photos to life:
- Exposure: Brighten or darken your image. Most food photos benefit from being slightly brighter.
- Contrast: Adds punch and definition. Don't overdo it, or your food will look harsh.
- Highlights & Shadows: Recover detail in blown-out bright areas (highlights) and lift detail from dark areas (shadows).
- White Balance: Adjusts the color temperature to ensure whites are white and colors are accurate. Food often looks best with a slightly warmer tone.
- Saturation & Vibrance: Enhance colors. Saturation boosts all colors equally, while Vibrance boosts muted colors more subtly. Use sparingly! You want vibrant, not cartoonish.
- Sharpness/Clarity: Adds crispness and detail. Be careful not to introduce noise or artifacts.
- Cropping & Straightening: Ensure your horizons are level and crop to improve composition.
Consistency is Key: Develop Your Signature Style
Over time, you'll develop a personal editing style. Using a consistent set of adjustments or a custom preset (even a saved recipe in Lightroom Mobile) will give your entire feed a cohesive, professional look. This is crucial for building a recognizable brand on social media.
Anecdote: I once took a photo of vibrant street tacos in Mexico City. The natural light was decent, but the colors felt a little muted. A quick session in Lightroom Mobile – boosting the exposure slightly, upping the vibrance, and gently adjusting the white balance – transformed them from "good" to "I need five of those right now!" The red of the salsa, the green of the cilantro, the golden char on the tortilla – everything popped.
Actionable Tip: Always shoot in RAW format if your camera (or phone's pro mode) allows. This gives you much more flexibility in editing. Spend at least 5 minutes refining each of your best shots.
Mind Your Manners: Respectful Food Photography on the Go
As travel bloggers, we're guests in other cultures and often in people's livelihoods. Ethical and respectful photography is paramount.
Be Quick and Discreet
- Don't Let Food Get Cold: The ultimate sin! Your food is meant to be enjoyed, not just photographed. Get your shot quickly and then dig in. This is especially true for dishes like noodles or soufflés that lose their appeal fast. I once spent too long arranging a steaming bowl of Khao Soi in Chiang Mai, and by the time I took a bite, it was lukewarm. Lesson learned!
- Don't Disturb Others: Be mindful of fellow diners. Avoid blocking aisles, using loud shutters, or creating a scene. A quick, subtle shot is always better.
- Ask Permission: Especially in smaller, local eateries or when photographing street vendors. A simple "Photo, please?" with a smile and a gesture towards your camera often works wonders. Most people are happy to oblige, sometimes even posing with their creations!
Support Local Businesses
- Buy the Food: This might seem obvious, but always purchase the food you photograph. You're not just taking a picture; you're supporting local artisans and businesses.
- Tag and Share: If you loved the food, tag the establishment on social media! It's free advertising for them and helps fellow travelers discover amazing places.
Prioritize the Experience
Remember why you're traveling and eating in the first place: to experience the culture, the flavors, and the moment. The photo is a memory, but the experience is the treasure. Sometimes, the most delicious meals are the ones you savor without even reaching for your camera.
Anecdote: In a small family-run bakery in Rome, I was captivated by the intricate details of their maritozzi. I asked if I could take a photo, and the nonna behind the counter not only said yes but insisted I try one on the house! It led to a lovely conversation and a truly authentic moment, all because I asked politely.
Actionable Tip: Always put the experience of eating and the respect for your surroundings above getting the "perfect" shot.
Your Next Meal is Your Next Masterpiece
From that initially disappointing bowl of Bún Chả in Hanoi to countless vibrant dishes across six continents, my journey in food photography has taught me one crucial thing: anyone can do this. It’s not about magic, it’s about mindfulness. It’s about seeing the light, understanding composition, and adding your own unique flair.
So, the next time you're faced with a culinary delight, don't just eat it – immortalize it. Apply these tips, experiment, and don't be afraid to make mistakes. Each photo is a step closer to mastering the art of making your food look as incredible as it tastes.
Now go forth, fellow Tripsora explorers, and make every bite a viral sensation! We can't wait to see your drool-worthy creations.
What's your favorite food photography hack? Share your best tips (and your most mouth-watering photos!) in the comments below using #TripsoraFoodie!
---