How to Photograph Food Like a Pro That Changed My Life Forever
I remember my first trip to Italy like it was yesterday. The sun-drenched piazzas, the ancient cobblestone streets, and oh, the food! Every corner offered a new culinary delight – vibrant pizzas bubbling with fresh mozzarella, creamy gelato piled high in colourful scoops, and pasta so perfectly al dente it brought tears to my eyes. I was living the dream, armed with my trusty smartphone, ready to document every single, glorious bite for my budding travel blog.
But when I got home, scrolling through my photos, a wave of disappointment washed over me. My pictures looked… flat. Dull. Unappetizing. That incredible Roman carbonara, which tasted like pure heaven, looked like a beige blob on a plate. The vibrant Amalfi Coast limoncello, so zesty and refreshing, appeared as a murky yellow liquid. My food photos were doing a massive disservice to the incredible experiences I’d had. They didn't capture the essence, the flavour, or the sheer joy of those meals. They certainly weren't going to make anyone else want to book a flight to Italy.
My blog was struggling, my Instagram feed was uninspiring, and honestly, my confidence as a travel blogger was taking a hit. I felt like I was failing to convey the heart of my adventures. That’s when I decided something had to change. I dove headfirst into the world of food photography, devouring every tutorial, experimenting with every setting, and making countless mistakes along the way.
And let me tell you, it wasn't just my photos that transformed; it was my entire travel experience. Learning to photograph food like a pro didn't just boost my blog's engagement; it opened my eyes to the beauty in every dish, connected me more deeply with local cultures, and frankly, made my travels infinitely more delicious. This isn't just about taking pretty pictures; it's about storytelling, preserving memories, and inspiring others to embark on their own culinary journeys.
Today, my food photos are some of my most popular content. They're vibrant, inviting, and truly reflect the magic of the meals I encounter. And the best part? You don't need fancy gear or a photography degree to achieve this. You just need to understand a few fundamental principles. Ready to turn your food snaps from drab to fab? Let's dig in!
1. The Magic of Light: Your Food's Best Friend (and Worst Enemy)
If there's one secret weapon in food photography, it's light. Specifically, natural light. It's free, it's beautiful, and it can make or break your shot. Forget harsh overhead restaurant lights or, heaven forbid, your phone's built-in flash (a cardinal sin in food photography!).
My "Aha!" Moment: I vividly remember trying to photograph a beautifully plated steak frites at Le Relais de l'Entrecôte in Paris. The restaurant was dimly lit, creating a cozy ambiance, but a nightmare for my phone camera. Every shot was grainy, yellow, and completely lost the texture of the steak. I wanted to cry into my béarnaise sauce!
Later that trip, in a sun-drenched cafe in Santorini, Greece, I ordered a Greek yogurt with honey and walnuts. The cafe had large windows, flooding the table with soft, indirect light. I instinctively turned my plate towards the window, and bam! The yogurt looked creamy, the honey glistened, and the walnuts had a beautiful crunch. The difference was night and day. It wasn't the camera; it was the light!
Practical Tips for Harnessing Light:
- Always Seek Window Light: This is your holy grail. Position your food near a window, ideally one that isn't letting in direct, harsh sunlight (which creates unflattering shadows).
- Side or Back Light is Best: For food, light coming from the side or slightly behind the dish often creates the most appealing shadows and highlights, adding depth and dimension. Avoid direct front lighting, which can flatten the image.
- Diffuse Harsh Light: If the sun is too strong, use a thin white napkin, a menu, or even a piece of paper to soften the light. This creates a more even, flattering glow.
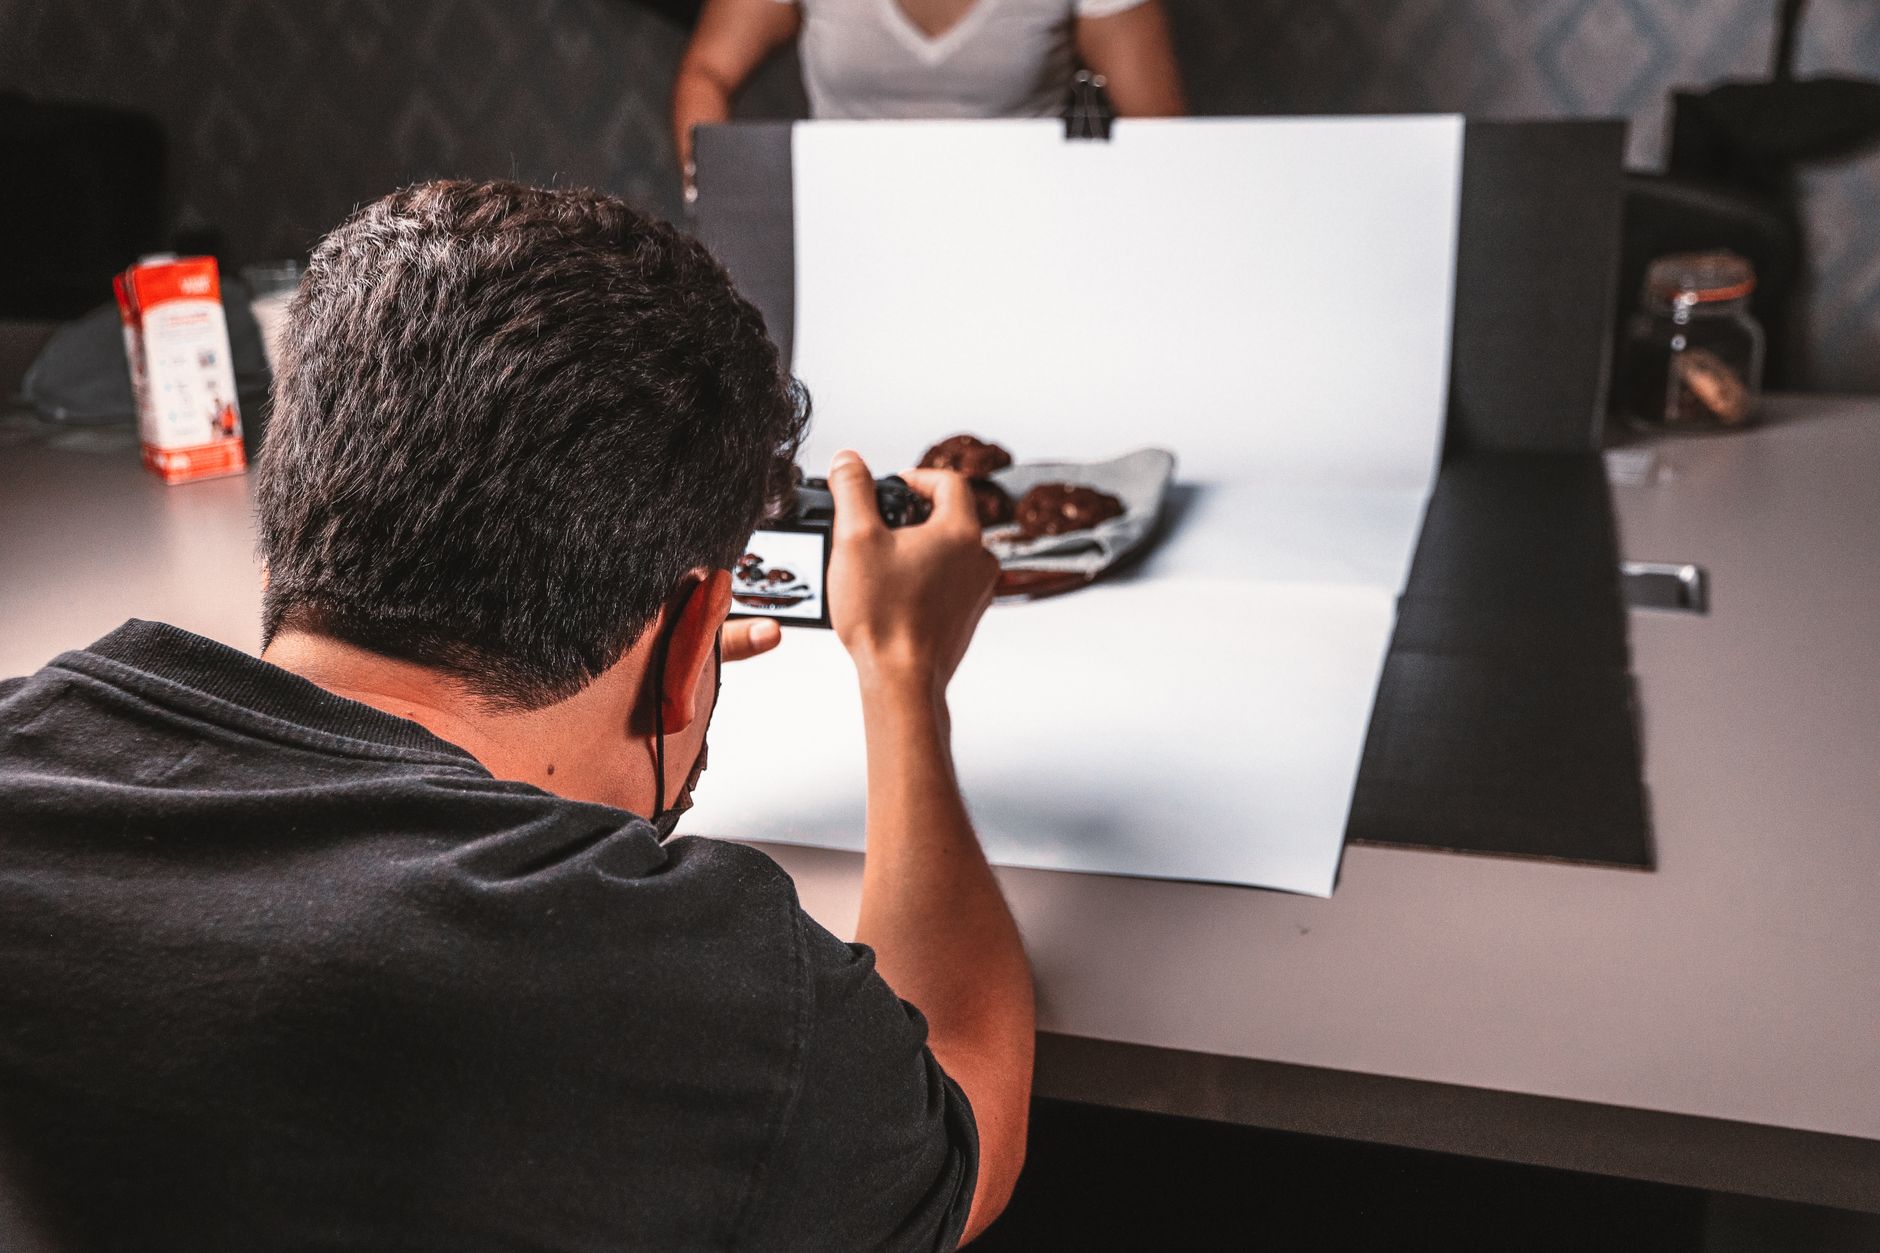
- Use Reflectors to Fill Shadows: If one side of your dish is too dark, use a white napkin, a piece of white paper, or even a light-coloured wall to bounce some light back onto the shadowed areas. This balances the lighting and makes the food look more appealing.
2. Composition is King: Framing Your Feast Like a Pro
Once you've mastered light, composition is the next crucial step. It's how you arrange the elements within your frame to create a visually appealing and balanced image.
My Moroccan Market Masterpiece: I was at the Djemaa el-Fna in Marrakesh, overwhelmed by the vibrant colours and aromas of the market stalls. I'd just bought a glorious tagine, brimming with spices, vegetables, and tender lamb. My first instinct was to just point and shoot, but I remembered my recent lessons. I pulled back, looked at the chaotic beauty, and decided to try a flat lay. I arranged the tagine, a small glass of mint tea, and a piece of traditional bread on the rustic wooden table. The result? A stunning overhead shot that not only showcased the food but also the rich textures of the market. It was a story in a single frame.
Practical Tips for Stunning Composition:
- The Holy Trinity of Angles:
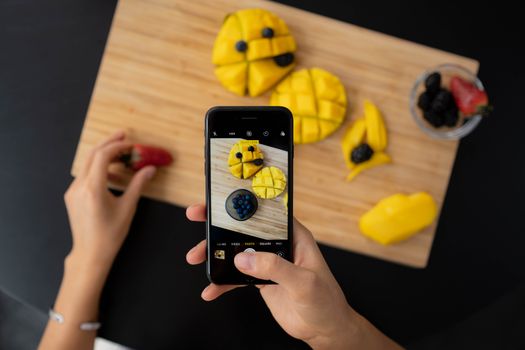
- Flat Lay (Overhead): Perfect for showcasing multiple dishes, intricate patterns (like a breakfast spread), or a busy table setting. Think Instagram grid gold!
- 45-Degree Angle (Eye Level): This is the most natural perspective, mimicking how we typically view food. Ideal for dishes with some height, like burgers, cakes, or bowls of soup.
- Close-Up (Macro): Get in close to highlight textures, steam, glistening sauces, or tiny details. This evokes desire and makes viewers feel like they can almost taste the food.
- The Rule of Thirds: Imagine your frame divided into nine equal sections by two horizontal and two vertical lines. Place your main subject or points of interest along these lines or at their intersections. This creates a more dynamic and engaging image than simply centering everything.
- Leading Lines & Negative Space: Use elements like cutlery, table edges, or even the lines of a dish to "lead" the viewer's eye towards your main subject. Negative space (empty areas around your subject) helps to simplify the image and draw attention to the food.
- Depth of Field (Bokeh): If you have a camera with a wide aperture lens (or a phone with "Portrait Mode"), use a shallow depth of field to blur the background, making your food truly pop. This creamy, out-of-focus background (known as bokeh) adds a professional touch.
3. Styling Secrets: Making Your Dishes Irresistible
Sometimes, the food itself isn't enough. To truly make it shine, you need to think like a stylist. This isn't about making fake food; it's about presenting it in its most appealing light.
Gelato Gauntlet in Rome: One scorching afternoon in Rome, I visited Giolitti, one of the city's most iconic gelato shops. I ordered a towering cone of pistachio and hazelnut. It looked magnificent, but the Roman heat was relentless, and it started melting almost instantly. My first attempts at a photo were a disaster – drips everywhere, a messy background, and a rapidly collapsing dessert.
I learned to act fast. I found a clean, simple wall as a backdrop, grabbed a fresh white napkin to catch drips and serve as a subtle prop, and quickly positioned the cone. I even asked my travel buddy to hold a small spoon near it, implying a delicious moment about to happen. I got the shot just before it turned into a puddle. It was a race against time, but the resulting photo perfectly captured the indulgence and freshness of the gelato.
Practical Tips for Irresistible Food Styling:
- Less is More: Don't overcrowd your shot with too many props or distractions. The food should always be the star.
- Props with Purpose: Use props that tell a story or add context. A beautiful fork, a linen napkin, a glass of water, a few scattered herbs, or even local elements like a small bowl of spices from a market. But ensure they don't overshadow the food.
- The Background Matters: A clean, simple background is often best. If you're in a restaurant, try to use a plain table, a wall, or a subtly blurred view of the ambiance. Avoid busy patterns or clutter that pull attention away from the food.
- Freshness is King: Shoot quickly! Food wilts, steam dissipates, ice melts, and sauces congeal. Capture it at its peak freshness.
- Tell a Story: What's the mood you're trying to convey? A cozy breakfast? A bustling street food experience? A romantic dinner? Style your shot to reflect that narrative. A hand reaching for a piece of bread, steam rising from a bowl, or condensation on a glass can add life to your photo.
4. The Tech Talk: Gear, Settings & Your Secret Weapon (Your Phone!)
While the principles of light, composition, and styling are universal, understanding your gear – whether it's a smartphone or a professional camera – can elevate your results significantly.
My Thai Street Food Transformation: My photos of the vibrant street food stalls at the Chatuchak Weekend Market in Bangkok were always a blur of colours, but lacked crispness and detail. My phone struggled in the varied lighting conditions. I was capturing the energy, but not the deliciousness.
When I invested in a mirrorless camera (a Sony A6000, if you're curious!) and started learning its basic settings, it was a game-changer. Suddenly, I could capture the steam rising from a bowl of Pad Thai, the individual grains of rice in a mango sticky rice, and the intricate details of a vendor's smile. However, I also learned that my phone was still incredibly powerful for quick, well-lit snaps, especially after I started using its "Pro" mode.
Practical Tips for Gear & Settings:
- For Phone Users:
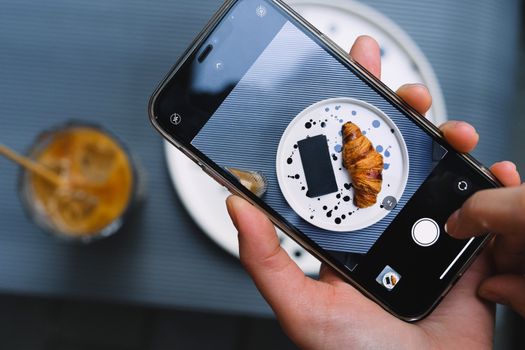
- Grid Lines: Turn on your camera app's grid lines (usually in settings) to help with the Rule of Thirds and straightening your shots.
- Tap to Focus & Adjust Exposure: Always tap on your food to ensure it's in sharp focus. After tapping, a small sun or exposure slider usually appears – slide it up or down to brighten or darken your shot.
- Portrait Mode: This feature (available on many newer smartphones) uses software to simulate the shallow depth of field (bokeh) of a professional camera, blurring the background beautifully.
- RAW/Pro Mode: If your phone has it, shoot in RAW or "Pro" mode. This gives you much more flexibility when editing.
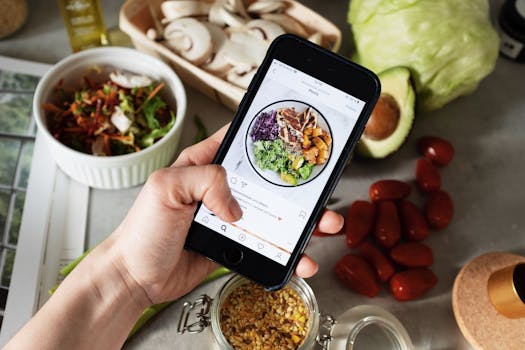
- Apps: Snapseed and Lightroom Mobile are powerful, user-friendly editing apps that can make a huge difference.
- For Camera Users (DSLR/Mirrorless):
- Lens Choice: A 50mm f/1.8 lens (often called a "nifty fifty") is an affordable, fantastic choice for food photography. Its wide aperture creates beautiful background blur. Macro lenses are great for extreme close-ups.
- Aperture (f-stop): Set your f-stop low (e.g., f/1.8 to f/4) for that creamy background blur (bokeh) that makes your food pop. Higher f-stops (e.g., f/8+) keep more of the scene in focus.
- ISO: Keep your ISO as low as possible (100-400 in good light) to avoid grainy noise in your photos. Only increase it if you absolutely need more light.
- Shutter Speed: For static food, your shutter speed doesn't need to be super fast. Aim for at least 1/60th of a second handheld, or faster if you have shaky hands.
- White Balance: Pay attention to your white balance setting to ensure the colours in your food are accurate and not too warm (yellow/orange) or too cool (blue).
5. The Editing Magic: Bringing Your Photos to Life
Taking the photo is only half the battle. Post-processing is where you can truly refine your image, correct imperfections, and make your food look its absolute best. Think of it as seasoning for your visual feast!
Rescuing Paella in Valencia: I once photographed a magnificent paella in Valencia. The seafood was fresh, the rice perfectly cooked, but the restaurant's artificial lighting cast a dull, yellowish hue over the entire dish. I was devastated, thinking the photo was a write-off.
But then, I opened it in Lightroom Mobile. With a few strategic tweaks – adjusting the white balance to remove the yellow cast, boosting the shadows to reveal hidden details, increasing the clarity just slightly, and adding a touch of vibrance – the paella sprang to life! The saffron-infused rice glowed, the shrimp looked succulent, and the green peas popped. It was like magic, transforming a mediocre shot into a mouth-watering masterpiece.
Practical Tips for Editing Your Food Photos:
- Don't Overdo It: The goal of editing is to enhance, not to invent. You want your food to look natural and appetizing, not artificial or overly processed.
- Essential Adjustments (in Lightroom, Snapseed, or your preferred editor):
- Crop & Straighten: Always start here. Ensure your horizons are level and crop out any distracting elements.
- Exposure: Adjust the overall brightness. Don't be afraid to make your food photos a little brighter; it often makes them more inviting.
- White Balance: This is crucial for accurate colours. Use the eyedropper tool on a neutral white/grey area (like a napkin) or manually adjust the temperature and tint sliders until the colours look natural.
- Contrast: Add a touch of contrast to make your image pop.
- Highlights & Shadows: Recover detail in overly bright or dark areas.
- Clarity/Texture: Use these sparingly to enhance the texture of your food. Too much can make it look crunchy or artificial.
- Vibrance/Saturation: Boost colours subtly. Vibrance is generally better than saturation as it enhances muted colours without over-saturating already bright ones.
- Sharpening: A little sharpening can make your food look crisp and delicious.
- Consistency is Key: Develop a personal editing style. This will give your blog and social media feed a cohesive, professional look. Save your favourite adjustments as presets to speed up your workflow.
6. Beyond the Plate: Storytelling & Social Savvy
Food photography is more than just capturing a dish; it's about capturing an experience, a culture, a memory. It's about telling a story that resonates with your audience and makes them want to be there, tasting that food themselves.
The Soul of Pho in Hanoi: My trip to Hanoi, Vietnam, was a sensory explosion. The bustling streets, the cacophony of sounds, and the incredible aromas of street food. I found a tiny vendor selling pho, steam rising from massive pots, ingredients meticulously arranged. Instead of just focusing on the bowl, I pulled back slightly. I captured the vendor's weathered hands adding fresh herbs, the vibrant green of the limes, and the subtle blur of motorbikes passing in the background. It wasn't just a picture of pho; it was a snapshot of Vietnamese street life, culture, and culinary passion.
When I shared that photo on Instagram, it sparked incredible engagement. People asked about the location, the ingredients, the experience. It proved to me that authentic storytelling through food is incredibly powerful.
Practical Tips for Storytelling & Social Savvy:
- Context is King: Don't be afraid to show the environment. A bustling market, a cozy café interior, a view from your table, or even a local person in the background can add depth and narrative to your food photos.
- Capture the Experience: Show hands reaching for food, steam rising, a drink being poured, or an interactive element. These action shots make the food feel alive and inviting.
- Instagram Strategy:
- Hashtags: Use a mix of broad and niche hashtags (e.g., #foodphotography #travelphotography #HanoiFood #instafood #foodie #foodstagram #TripsoraFoodie #StreetFood).
- Engage: Respond to comments, ask questions, and follow other food photographers and travel bloggers.
- Carousels: Use Instagram's carousel feature to show multiple angles, the dish itself, the setting, and even a quick video snippet.
- Reels/Stories: Use these for behind-the-scenes content, quick recipe snippets, or to showcase the ambiance of a restaurant.
- Authenticity Sells: People connect with genuine experiences. Don't stage everything to perfection; sometimes the slightly imperfect, real moment is the most captivating.
Your Culinary Photography Journey Starts Now!
Learning to photograph food like a pro truly changed my life forever. It transformed my travel blog, connected me more deeply with the places I visited, and gave me a powerful tool to share my adventures with the world. I no longer just eat food; I experience it, looking for the light, the story, and the perfect angle.
It's a journey of continuous learning and experimentation. Don't be afraid to try new things, make mistakes, and discover your own unique style. The more you practice, the more intuitive it becomes, and the more delicious your photos will look.
Now it's your turn! Grab your phone or camera, head to your favourite local eatery, or plan that next delicious trip. Experiment with these tips and watch your food photos transform from mere snapshots into mouth-watering works of art. Don't forget to share your incredible culinary creations with us on social media using #TripsoraFoodie and tag @Tripsora! What's your go-to food photography tip? Share it in the comments below – I'd love to hear it!