How to Photograph Food Like a Pro You Need to Experience Before You Die
There are moments in travel that transcend sightseeing – moments that ignite your senses, tell a story, and embed themselves deep in your memory. For me, many of these moments revolve around food. From the sizzling street stalls of Bangkok to the Michelin-starred tables of Paris, food isn't just sustenance; it's a window into culture, history, and pure, unadulterated joy.
But let's be honest: how many times have you ordered a dish so beautiful, so vibrant, that you had to snap a photo, only to find the result looked… well, like a blurry brown blob? Guilty as charged.
I vividly remember my early travel photos – a plate of what should have been a glorious paella in Valencia, Spain. In my photo, it looked like a sad, yellow-ish rice puddle, completely devoid of the vibrant saffron, plump shrimp, and smoky chorizo I remembered. My friends politely scrolled past, and I was left with a photographic memory that did zero justice to the actual culinary masterpiece.
That experience sparked a mission: to master the art of food photography, not just for my blog, but to truly capture the essence of my travels. Because let's face it, a picture of a breathtaking monument is great, but a picture that makes someone smell the spices, taste the sweetness, or feel the warmth of a freshly baked pastry? That's pure magic. And that, my fellow travelers, is what we're going to unlock today.
Forget those sad, blurry blobs. We're talking about capturing culinary masterpieces that will make your followers drool, inspire their next trip, and create lasting memories that transport you back to that exact moment. Ready to turn your phone (or camera) into a pro food photographer's best friend? Let's dig in!
1. The Art of Illumination: Mastering Light for Mouth-Watering Shots
If there's one golden rule in food photography, it's this: light is everything. It's the secret ingredient that transforms an ordinary snap into an extraordinary visual feast. And the best part? The best light is often free and readily available.
Natural Light is Your Best Friend: Ditch the harsh overhead restaurant lights and, for the love of all that is delicious, never use your camera's flash. Natural light, especially diffused natural light, is your ultimate ally.
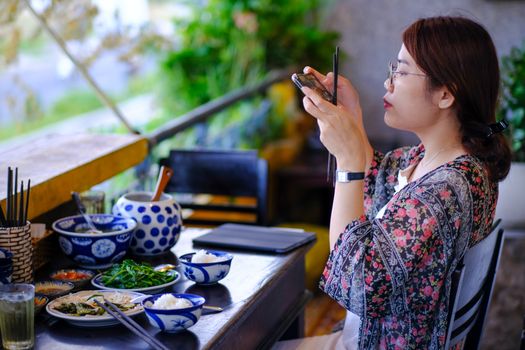
- Seek the Window Seat: When dining out, always try to snag a table near a window. The soft, directional light from a window is perfect for highlighting textures and colors without creating harsh shadows. I once spent an hour trying to get a decent shot of a colorful tagine in a dimly lit Marrakech riad, only to realize I should've just moved it closer to the open courtyard archway. Instant transformation!
- The Magic of Golden Hour: Just like landscape photography, food looks incredible during the "golden hour" – that hour after sunrise or before sunset. The warm, soft glow can make even the simplest dish look gourmet. Imagine capturing a rustic Italian pasta dish as the last rays of Tuscan sun kiss the plate – pure poetry.
- Side or Backlighting: Position your dish so the light source is to the side or slightly behind it. This creates beautiful highlights and shadows that add depth and dimension, making your food pop off the screen. Frontal light often flattens the image.
- Diffusers & Reflectors (DIY Edition): You don't need fancy gear. A white napkin, a piece of paper, or even a menu can act as a reflector to bounce light back onto the darker side of your dish, filling in shadows. A translucent white umbrella or even thin curtains can diffuse harsh direct sunlight, softening it for a more flattering look. I've used a hotel room's sheer curtain more times than I can count to get that perfect soft light for my breakfast shots!
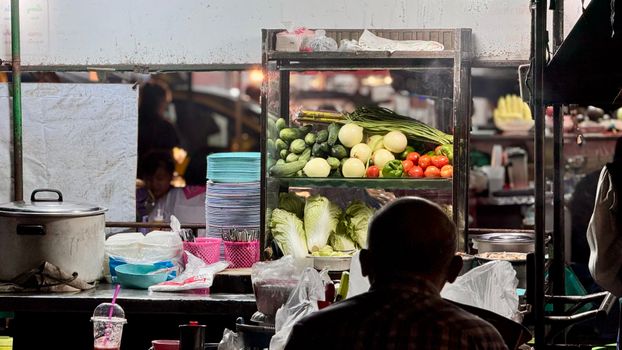
Travel Tip: When you're at a bustling street food market like the famous Chatuchak Weekend Market in Bangkok, natural light is abundant. Look for stalls that are shaded but still open to the sky, offering soft, even light. For a bowl of vibrant Pad See Ew (around 60-80 THB), getting the light right can make the noodles gleam and the vegetables truly pop!
2. Composition & Angles: Framing Your Feast Like a Pro
Once you've got your light sorted, it's time to think about composition – how you arrange everything within your frame. This is where your food goes from "snapshot" to "stunning."
- The Rule of Thirds: Imagine a tic-tac-toe grid over your photo. Place your main subject (the dish) along the lines or at the intersections. This creates a more dynamic and visually appealing image than simply centering everything. For example, when photographing a perfectly plated sushi platter in Tokyo (a high-end platter might run 3,000-5,000 JPY), try placing the hero piece of nigiri on one of the intersection points.
- Angles, Angles, Angles:
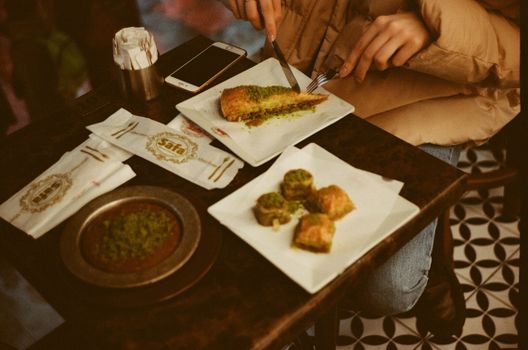
- The Overhead Shot (Flat Lay): This is the Instagram darling, especially good for dishes with interesting toppings or patterns (think pizzas, colorful salads, breakfast spreads). Shoot directly from above, ensuring your phone/camera is perfectly parallel to the table. This works wonders for a vibrant mezze spread in Istanbul or a collection of tapas in Barcelona.
- The 45-Degree Angle: Mimics how you'd naturally view your food while sitting at a table. It's versatile and great for showing off the depth and layers of a dish, like a towering burger or a layered cake. This is my go-to for hearty bowls of pho in Hanoi (around 30,000-50,000 VND) or a steaming plate of coq au vin in a French bistro.
- The Straight-On Shot (Eye Level): Best for dishes with height, like a stack of pancakes, a multi-layered sandwich, or a frothy cocktail. It emphasizes the scale and grandeur of the food.
- The Close-Up: Don't be afraid to get in tight! Focus on texture, steam, or a particular ingredient. This can be incredibly evocative, like a close-up of the crispy skin of a roasted chicken or the glistening glaze of a crème brûlée.
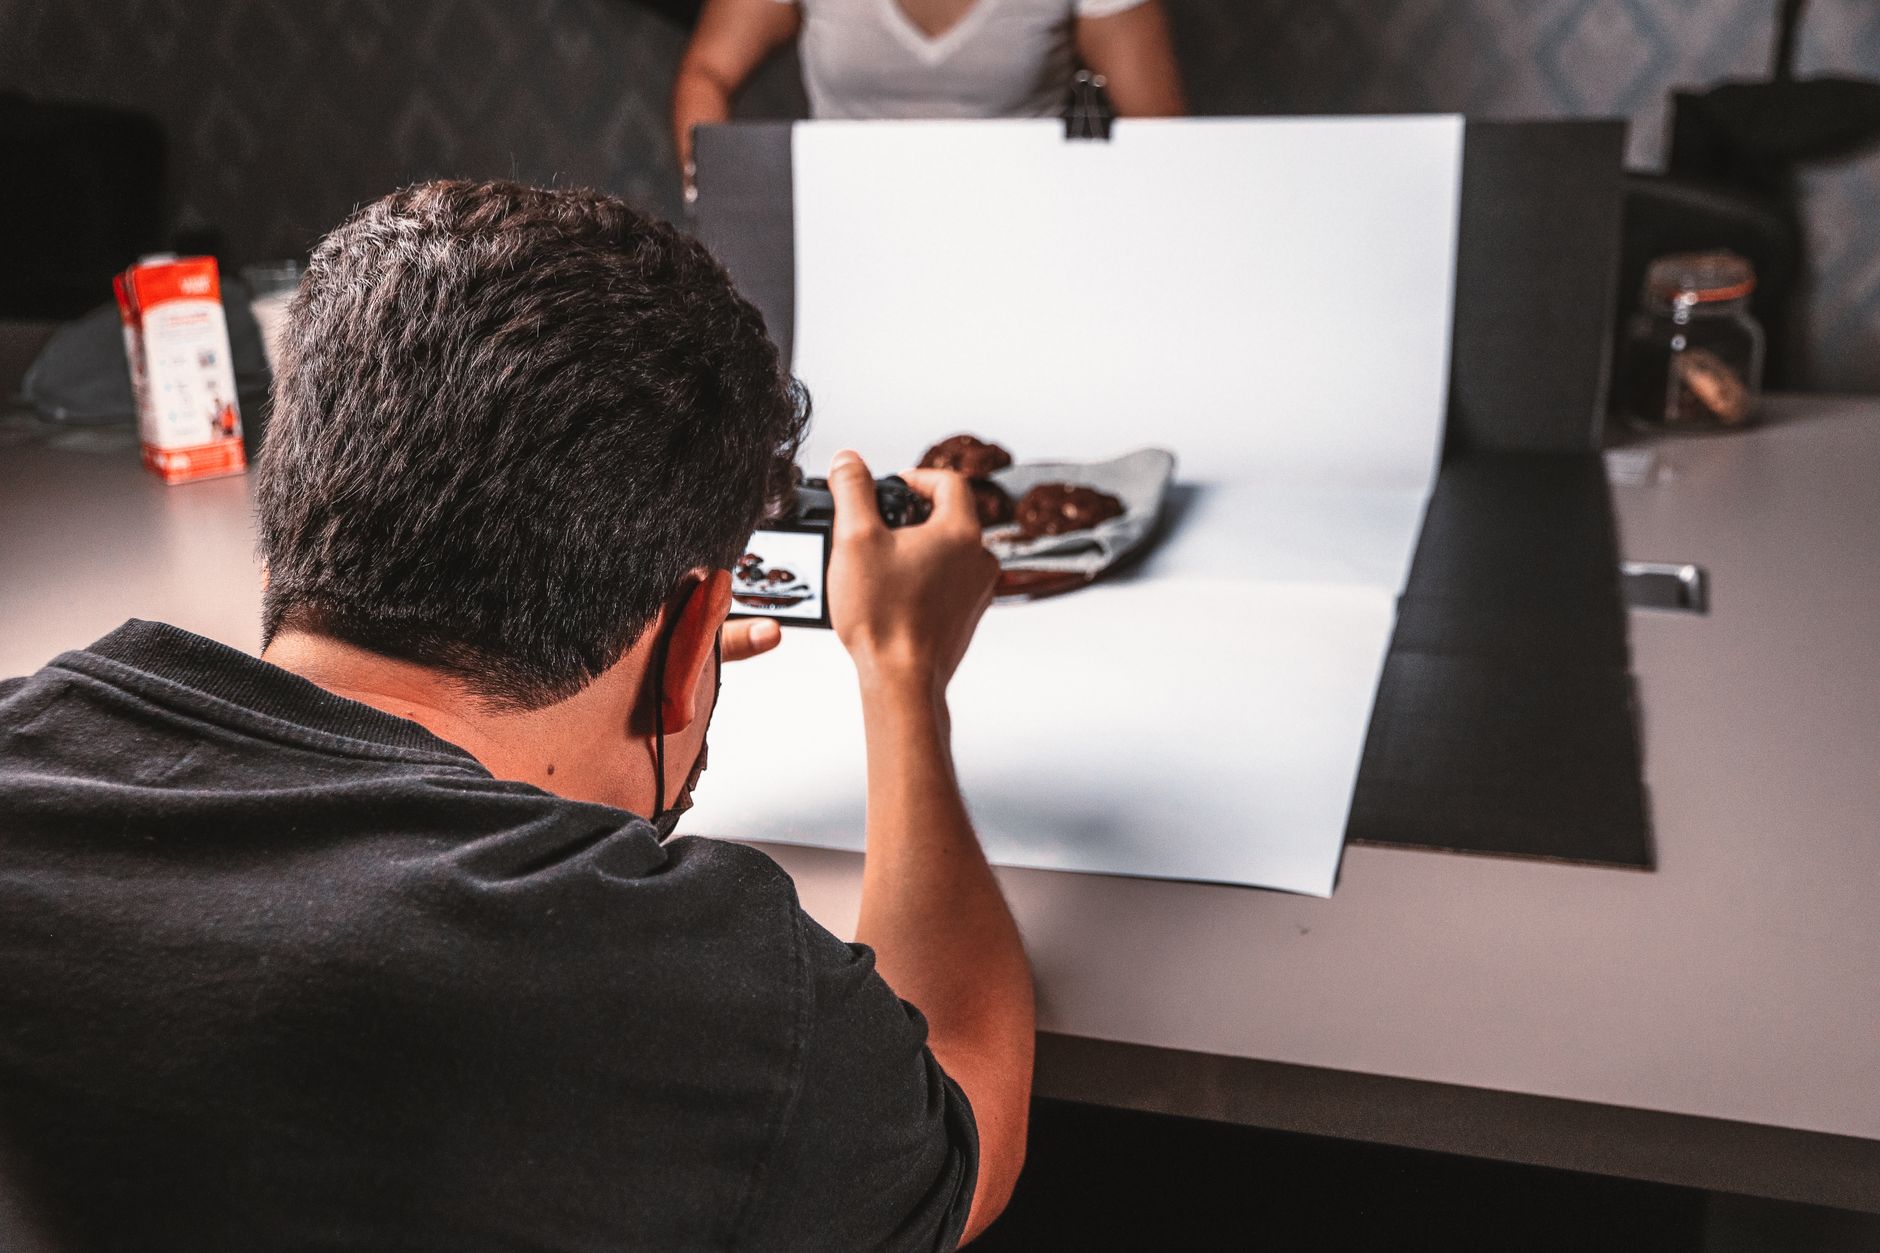
- Negative Space: Don't feel the need to fill every inch of the frame. Empty space around your subject can draw attention to it and create a sense of calm and elegance.
- Leading Lines: Use cutlery, table edges, or even the arrangement of food on a plate to guide the viewer's eye towards your main subject.
Personal Anecdote: I was once at a small bakery in Lisbon, admiring a tray of freshly baked Pastéis de Nata. I initially tried a straight-on shot, but it just looked flat. Then I moved to an overhead flat lay, incorporating the rustic wooden tray and a scattering of cinnamon. Boom! The geometric pattern of the pastries, the flakiness of the crust, and the vibrant yellow custard all popped. It became one of my most liked photos from Portugal!
3. Styling & Storytelling: More Than Just the Plate
Great food photography isn't just about the food; it's about the experience. You're not just taking a picture; you're telling a story.
- Props with Purpose: Look around for elements that enhance the narrative without distracting. A crumpled linen napkin, a rustic fork, a glass of wine, local spices, or even a book can add context.
- Local Flair: When in Rome, use a small espresso cup. In Mexico, a vibrant hand-painted ceramic bowl. In Japan, a pair of elegant chopsticks. These small details instantly transport the viewer. I always carry a small, neutral-colored linen napkin in my bag for impromptu styling!
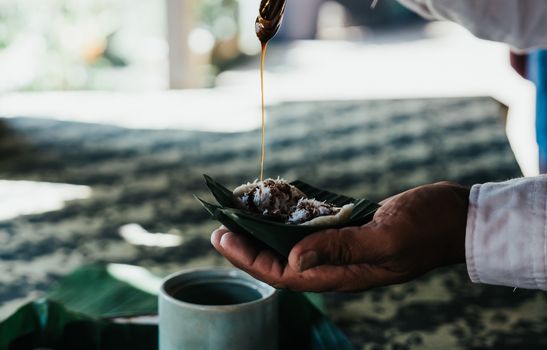
- The Human Element: A hand reaching for a piece of bread, a fork twirling pasta, or a chef's hand sprinkling herbs can add warmth, scale, and a sense of immediacy. It makes the photo relatable and inviting.
- Background Blur (Bokeh): If your camera (or phone with portrait mode) allows, use a shallow depth of field to blur the background, making your dish stand out. This is particularly effective in busy environments like a bustling market or a crowded restaurant.
- Tell a Story: What's the story behind this dish? Is it a cozy breakfast? A celebratory dinner? Street food on the go? Arrange your elements to reflect that narrative. For instance, a hearty breakfast in a cozy Icelandic guesthouse (a full breakfast might be 2,500-3,500 ISK) could include a steaming mug of coffee, a woolen blanket in the background, and the condensation on the window pane.
Travel Tip: When you're at a cooking class, say making pasta from scratch in Bologna (prices typically range from €80-€150), you have a goldmine of storytelling opportunities. Capture the flour-dusted hands, the vibrant egg yolks, the rolling of the dough, and finally, the perfectly plated tagliatelle al ragù. Each step tells a part of the delicious journey.
4. Your Essential Toolkit: From Smartphone to DSLR & Beyond
You don't need a professional camera to take professional-looking food photos. The best camera is the one you have with you!
The Mighty Smartphone:
- Clean Your Lens: This sounds obvious, but a greasy finger smudge can ruin an otherwise perfect shot. Wipe it with a microfiber cloth before every photo.
- Tap to Focus & Adjust Exposure: Tap on your food subject on the screen to focus. Then, drag the sun/exposure slider up or down to brighten or darken the image.
- Portrait Mode is Your Friend: Many modern smartphones have a "Portrait Mode" which creates that lovely background blur (bokeh) we talked about. Experiment with it!
- Burst Mode: For action shots (like pouring sauce or sprinkling cheese), use burst mode to capture a series of photos, then pick the best one.
- Grid Lines: Turn on your camera's grid lines (usually in settings) to help with composition and the rule of thirds.
DSLR/Mirrorless Cameras:
- Prime Lenses: A 50mm f/1.8 (often called a "nifty fifty") is an affordable, fantastic lens for food photography. It allows for a wide aperture, creating beautiful background blur and performing well in low light.
- Aperture Priority Mode (Av/A): Set your aperture to a low number (e.g., f/1.8 to f/4) for a shallow depth of field (blurry background) or a higher number (e.g., f/8 to f/11) for more of the dish to be in focus (good for flat lays).
- Tripod: For overhead shots or when you need absolute sharpness in low light, a small, portable tripod can be a game-changer.
- Remote Shutter: To avoid camera shake, use a remote shutter release or your camera's self-timer.
Handy Accessories (Even for Phones!):
- Portable LED Light: A small, dimmable LED light can be a lifesaver in very dark restaurants (use sparingly and politely!).
- Clip-on Macro Lens: For incredibly detailed close-ups with your phone.
- Portable Reflector: Small, foldable reflectors are inexpensive and incredibly effective for bouncing light.
My Journey: I started with my iPhone 5, then upgraded to an iPhone X, and eventually invested in a mirrorless camera (Sony a6400 with a 50mm f/1.8 lens). But honestly, some of my most viral food photos were taken with my phone because it's always with me, and I know how to use its capabilities to the max! Don't let gear hold you back.
5. The Post-Processing Palette: Elevating Your Edibles
Raw photos are just the starting point. A little editing can transform a good photo into a great one. Think of it as seasoning your dish after cooking!
My Favorite Apps (Mobile & Desktop):
- Lightroom Mobile (Free & Paid): My absolute go-to. Powerful adjustments, presets, and syncs with desktop Lightroom.
- Snapseed (Free): Google's fantastic editing app. Great for selective adjustments, healing, and sharpening.
- VSCO (Free & Paid): Known for its beautiful film-like filters.
- Photoshop Express (Free): Good for quick fixes.
Key Adjustments to Master:
- Brightness/Exposure: Adjust to make sure your food isn't too dark or too bright.
- Contrast: Adds punch and definition. Don't overdo it, or your food will look harsh.
- White Balance: This is crucial! It corrects the color temperature of your photo. If your food looks too yellow, orange, or blue, adjust the white balance to make whites look truly white and colors appear natural. This is especially important when dealing with tricky artificial lighting.
- Highlights & Shadows: Recover detail in blown-out bright areas (highlights) or bring out detail in dark areas (shadows).
- Saturation & Vibrance: Use sparingly to make colors pop without looking artificial. Vibrance is generally safer as it boosts less saturated colors more subtly.
- Sharpening: Adds crispness, but too much can introduce noise.
- Cropping & Straightening: Always crop out distracting elements and ensure your horizon (or table edge) is straight.
- Clarity/Texture: Can enhance the details of food, making textures more apparent (e.g., the flakiness of a croissant, the char on grilled meat).
Consistency is Key: If you're building an Instagram feed, try to develop a consistent editing style. Use similar filters or adjust settings in a similar way to create a cohesive look that's uniquely yours.
Personal Anecdote: I once took a photo of Banh Mi in Hoi An, Vietnam (a true culinary pilgrimage, costing around 20,000-30,000 VND). The light was a bit flat, and the colors muted. With a few tweaks in Lightroom Mobile – boosting the white balance to bring out the vibrant greens of the herbs, increasing contrast to define the crispy baguette, and a touch of clarity – the photo transformed into a mouth-watering explosion of freshness and texture. It was like magic!
6. The "Before You Die" List: Iconic Culinary Photo Experiences
Now, for the exciting part! Beyond the techniques, there are certain food photography experiences that every travel foodie should aspire to. These aren't just about the food; they're about the atmosphere, the culture, and the sheer joy of discovery.
- Street Food Symphony in Southeast Asia:
- Where: Bangkok (Thailand), Hanoi (Vietnam), Penang (Malaysia).
- What to Capture: The vibrant chaos, the steam rising from woks, the intricate dance of street vendors, the sheer variety of colorful dishes like Pad Thai, Laksa, Banh Mi, Mango Sticky Rice.
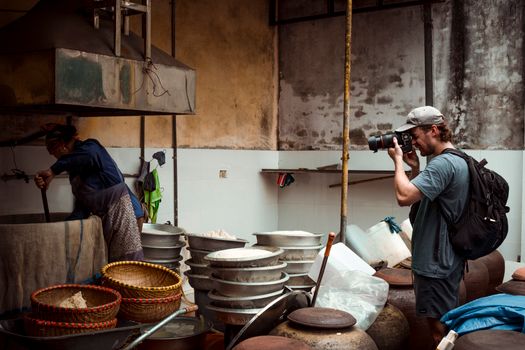
- Photo Challenge: Fast-paced environment, often dim lighting. Focus on capturing motion, close-ups of ingredients, and the interaction between vendor and customer.
- Experience: Imagine photographing a vendor expertly flipping roti canai in Kuala Lumpur (around 3-5 MYR), the dough stretching impossibly thin, or a steaming bowl of pho in a tiny plastic chair in Hanoi's Old Quarter, the herbs bright green against the rich broth. Pure sensory overload, and incredible photo ops!
- Fine Dining Artistry in Europe or Japan:
- Where: Paris (France), San Sebastián (Spain), Tokyo (Japan).
- What to Capture: The exquisite plating, the delicate garnishes, the minimalist beauty, the elegant ambiance, the chef's meticulous precision.
- Photo Challenge: Low light, discretion. Use a fast lens (low aperture) if you have a DSLR/mirrorless, or rely on your phone's low-light capabilities and discreetly move your dish closer to any available light source.
- Experience: Picture yourself capturing a deconstructed dessert at a Michelin-starred restaurant in Paris (a tasting menu might be €200-€400+), where each element is a tiny sculpture. Or the flawless presentation of kaiseki in Kyoto, a multi-course meal where every dish is a work of art, reflecting the season (expect to pay 10,000-30,000 JPY or more).
- Vibrant Market Exploration:
- Where: La Boqueria (Barcelona, Spain), Borough Market (London, UK), Tsukiji Outer Market (Tokyo, Japan).
- What to Capture: The abundance of fresh produce, the riot of colors, the textures of spices, the interaction between vendors and shoppers, the prepared foods.
- Photo Challenge: Busy crowds, varying light. Focus on details, patterns, and candid moments.
- Experience: Imagine photographing the glistening seafood and colorful fruit pyramids at La Boqueria (a fruit cup might be €2-€5), or the artisanal cheeses and baked goods at Borough Market, the light streaming through the market roof. It's a feast for the eyes before it's a feast for the stomach.
- Farm-to-Table or Winery Experiences:
- Where: Tuscany (Italy), Napa Valley (USA), Margaret River (Australia).
- What to Capture: The origin of the ingredients, the cooking process, the rustic setting, the connection to the land.
- Photo Challenge: Capturing the journey, not just the final plate.
- Experience: Photographing a freshly picked tomato in a Tuscan garden, then seeing it transformed into a simple, perfect bruschetta at a local agriturismo (a meal could be €25-€50). Or the rich reds of a wine tasting paired with local cheeses in a sun-drenched vineyard. It's about showing the full circle of deliciousness.
7. Mindful Snapping & Respect: Etiquette on Your Culinary Quest
As much as we want that perfect shot, remember that you're in someone else's space, and food is meant to be enjoyed, not just photographed.
- Ask Permission: Especially in smaller, family-run establishments or when photographing people (chefs, vendors). A simple "May I?" or a gesture with your camera often goes a long way.
- Be Quick & Discreet: Don't let your photography disrupt others' meals or the flow of service. Get your shot, then put your camera away and enjoy your food. This is particularly important in fine dining settings.
- Don't Over-Stage: While styling is good, don't move things around too much in a restaurant. Respect the chef's plating.
- Eat Your Food! The ultimate goal is to taste and experience. Don't let the pursuit of the perfect photo make your food go cold or detract from the moment. There's a balance to strike between capturing the memory and making the memory.
My Personal Rule: I usually take my photos within the first 1-2 minutes of the dish arriving. Then, the camera goes down, and I savor every bite. Sometimes, I'll sneak a quick close-up later, but the main shots are done.
Your Next Culinary Photo Adventure Awaits!
From that sad paella photo to capturing the shimmering broth of a perfectly crafted ramen in Kyoto, my journey in food photography has been an integral part of my travel experiences. It's taught me to see beauty in the everyday, to appreciate the artistry of chefs, and to connect with cultures through their cuisine.
You now have the tools, the techniques, and the inspiration to elevate your food photography game. So, next time you're faced with a plate of something truly spectacular, don't just eat it – capture it. Tell its story. Make it sing.
Go forth, explore the world, savor every bite, and snap those unforgettable moments. Your followers (and your future self) will thank you.
What's the most incredible dish you've ever photographed on your travels? Share your stories and your best food photos with us using #TripsoraFoodiePro!
---