Glow Up Your Grid: 7 Trending Lighting Tricks for Stunning Indoor Travel Shots
Remember that feeling? You’re in a gorgeous, dimly lit speakeasy in New York, the cocktails are works of art, the ambiance is electric, and you pull out your phone, ready to capture the magic. You snap a shot… and it looks like a blurry, grainy mess from 2005. Or maybe you're in a breathtaking European museum, surrounded by masterpieces, but every photo you take is just a dark, uninspired rectangle. Sigh.
Yeah, I’ve been there. More times than I care to admit. For years, my indoor travel photos were the bane of my existence. I’d nail the vibrant street scenes and epic landscapes, but as soon as I stepped inside a cozy cafe, a bustling market hall, or a charming Airbnb, my camera (and my confidence) seemed to falter. My "before" photos were often a sad testament to poor lighting – washed out, shadowy, or just plain dull.
Then, a few years ago, during a particularly frustrating trip through the historic riads of Marrakech, where every courtyard was a photographer’s dream but every room felt like a dark cave, I had an epiphany. It wasn't my camera, or even necessarily my skill, that was the problem. It was my approach to light. I started actively observing how light behaved indoors, how it bounced, diffused, and cast shadows. I began experimenting with simple, often overlooked techniques. And let me tell you, the difference was night and day. My "after" photos started popping, telling stories, and garnering those coveted "Wow, where is this?!" comments.
The beauty? You don't need expensive gear. Most of these tricks work wonders with just your smartphone! We're talking about transforming your ordinary indoor snaps into Instagram gold, capturing the true essence of your travels, and making your friends wonder if you secretly hired a professional photographer. These aren't just basic tips; these are the trending techniques that photographers and influencers are using right now to create captivating, authentic, and shareable content.
Ready to light up your travel photography game? Let's dive in!
1. The Underrated Power of Window Light: Your Best Friend Indoors
Forget fancy studio lights; the humble window is your most powerful tool for stunning indoor shots. Natural window light is soft, flattering, and instantly elevates any scene. It's the secret sauce for everything from mouth-watering food photos to intimate portraits and moody architectural shots.
My Personal Aha! Moment: I was once trying to photograph a vibrant tagine in a small, rustic restaurant in Essaouira, Morocco. The interior was cozy but dim, and my photos were coming out flat. Then I noticed a small window to my left, letting in a gentle, diffused light. I simply moved my plate closer, positioned it so the light hit the food from the side, and voilà! The colors popped, the textures came alive, and a beautiful shadow added depth. It was a revelation.
How to Master It:
- Find Your Sweet Spot: Don't just sit anywhere. Actively seek out tables or spots near windows. North-facing windows offer the softest, most consistent light throughout the day, perfect for portraits and food. East-facing windows are great in the morning, west in the afternoon.
- Diffuse, Diffuse, Diffuse: Direct sunlight through a window can be too harsh, creating blown-out highlights and deep shadows. Look for sheer curtains, blinds, or even use a white menu or napkin to bounce and soften the light. Many cafes have frosted glass or lace curtains that act as natural diffusers.
- Angle is Everything:
- Side Lighting: Position your subject (or yourself!) so the window light hits them from the side. This creates beautiful shadows and highlights, adding dimension and texture, making objects look less flat.
- Backlighting: Place your subject between you and the window. This can create a beautiful halo effect around their hair or shoulders. If you expose for the highlights (the bright window), you can create dramatic silhouettes, perfect for storytelling.
- Front Lighting: Stand with the window directly behind you, shining onto your subject. This provides even illumination but can sometimes be less dramatic than side lighting.
- Pro Tip: White Balance Matters! Indoor natural light can have a cooler or warmer cast depending on the time of day and external conditions. If your photos look too blue or too orange, adjust your white balance setting on your phone or camera to "Daylight," "Cloudy," or even use the custom setting.
2. Beyond the Flash: Embracing Artificial Ambiance
The built-in flash on your phone or camera is usually a last resort. It's harsh, unflattering, and often destroys the mood you're trying to capture. Instead, learn to work with and enhance the existing artificial light sources around you. This is where the magic of mood and atmosphere truly comes alive.
My Personal Story: I was once in a dimly lit, incredibly atmospheric jazz club in New Orleans. The stage was lit by warm, amber spotlights, and the tables had small, flickering candles. Instead of blasting everything with my flash, I embraced the low light. I focused on the musicians bathed in the stage light, using their natural illumination. For my table shots, I used the candle as my primary light source, getting close and letting the warm glow illuminate my drink and the faces of my friends. The resulting photos were moody, authentic, and perfectly captured the vibe of the evening.
How to Master It:
- Utilize Existing Lights: Look for lamps, chandeliers, neon signs, string lights, or even candles. These aren't just decorations; they're light sources!
- Lamps: Position your subject near a lamp, using it like a softbox. Experiment with different angles.
- Neon & LED Signs: These are trending for a reason! They create vibrant, cinematic effects. Use them as a backdrop or as a key light source, letting the colors spill onto your subject. Think bustling markets in Tokyo or trendy bars in Berlin.
- Candles: Perfect for intimate, warm, and romantic shots. Get close, focus on the candle's glow, and let the rest fall into soft shadows.
- Bounce Light: If you have a small, portable LED light (like a Lume Cube, which costs around $70-100 and is a game-changer for phone photography), don't shine it directly. Instead, bounce its light off a white wall, ceiling, or even a white menu. This creates a softer, more diffused light, mimicking natural light.
- Embrace the Mood: Not every shot needs to be brightly lit. Sometimes, the low light is the story. Play with shadows and highlights to create drama and atmosphere. Adjust your exposure to protect the highlights while still capturing detail in the shadows.
- DIY Diffusers: If you must use a small external flash or a phone light, try taping a thin piece of tissue paper or a small white napkin over it to soften the output. It's a quick, cheap hack that makes a huge difference.
3. The Art of Shadows & Silhouettes: Storytelling with Darkness
Light isn't just about what's illuminated; it's also about what's hidden. Shadows can add incredible depth, mystery, and artistic flair to your indoor photos. Silhouettes, in particular, are trending for their dramatic storytelling capabilities, especially when framing subjects against bright windows or doorways.
My Personal Discovery: In the grand halls of the Vatican Museums, I was overwhelmed by the sheer scale and beauty. My initial photos felt flat. Then, I noticed how the morning sun streaming through a high arched window cast dramatic, elongated shadows of the columns and visitors onto the polished marble floor. I started composing my shots to include these shadows, using them as leading lines or abstract patterns. Suddenly, my photos had a sense of grandeur and movement that wasn't there before.
How to Master It:
- Seek Out Strong Light Sources: Look for windows, doorways, or even spotlights that create distinct shadow patterns.
- Use Shadows for Depth and Texture: Shadows define shapes and textures. Position your subject so that shadows highlight their features or the details of an object. A strong side light from a window, for instance, can reveal the texture of a brick wall or the folds in a dress.
- Leading Lines & Patterns: Shadows can create compelling leading lines that draw the viewer's eye through the frame. Look for geometric patterns created by light filtering through grates, blinds, or architectural elements.
- Mastering Silhouettes:
- Find a Bright Background: The key to a good silhouette is a strong light source directly behind your subject (e.g., a bright window, an open doorway, or even a brightly lit area in the distance).
- Expose for the Brightest Part: Tap on the brightest part of your scene (the window, for instance) to tell your camera to expose for that light. This will intentionally underexpose your subject, turning them into a dark, dramatic shape.
- Clear Outline: Ensure your subject has a distinct, recognizable outline. Avoid clutter in the background that might merge with your subject. A person standing against a window, or a unique architectural feature, works beautifully.
4. Bokeh Bliss & Fairy Light Fantasies: Dreamy Backgrounds & Foreground Sparkle
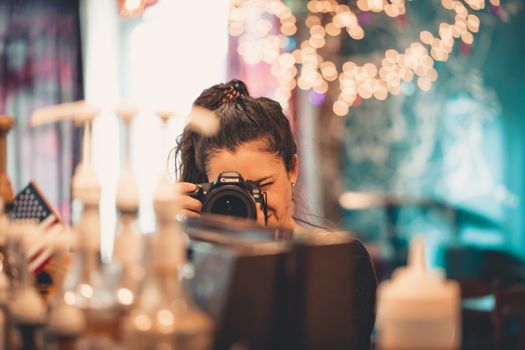
You know that beautiful, blurry background effect that makes your subject pop and adds a dreamy quality to your photos? That's bokeh, and it's totally achievable indoors, especially when combined with ambient lights like fairy lights or cityscapes seen through a window. This effect is a staple of trending aesthetic photography.
My Personal Experience: During a winter trip to a cozy cabin in the Dolomites, I wanted to capture the warmth of the interior. I strung up some battery-operated fairy lights around a bookshelf and had a friend sit near them, holding a cup of hot cocoa. By setting my camera to a wide aperture (or using "Portrait Mode" on my phone) and getting close to my friend, the fairy lights in the background transformed into soft, glowing orbs of light. The photos were pure magic – cozy, enchanting, and instantly shareable.
How to Master It:
- Wide Aperture is Key: To achieve bokeh, your lens needs a wide aperture (a low f-number like f/1.8, f/2.8, etc.). On a phone, use "Portrait Mode" or "Aperture Mode" which simulates this effect.
- Get Close to Your Subject: The closer you are to your subject, and the further your subject is from the background, the more pronounced the bokeh will be.
- Distance Your Background Lights: For stunning fairy light bokeh, place the lights a good distance behind your subject. The further away they are, the softer and more pronounced the blurry circles of light will become.
- Utilize Any Light Source: Fairy lights are fantastic, but you can get bokeh from any small, distant light source: city lights through a window, small lamps, even holiday decorations.
- Manual Focus (if applicable): If you're using a camera, manually focus on your subject to ensure they are sharp while the background blurs beautifully. On a phone, tap to focus on your subject.
5. Reflecting Reality: Mirrors, Glass, and Shiny Surfaces
Reflections are a powerful, often overlooked tool for creative indoor photography. They can add symmetry, create abstract patterns, double your subject, or even introduce a new perspective to your shot. They're a trending way to add an artistic edge without needing complex setups.
My Personal Discovery: I was exploring a modern art gallery in London, all sleek lines and polished surfaces. I noticed a large, reflective floor that mirrored the colorful installations above. Instead of just taking a straight-on shot, I got low and used the reflection to create a symmetrical, almost kaleidoscopic image of the art. Later, in a boutique hotel in Lisbon, a beautifully ornate mirror in the lobby allowed me to capture a selfie that included both myself and the stunning architecture behind me, adding depth and narrative.
How to Master It:
- Mirrors:
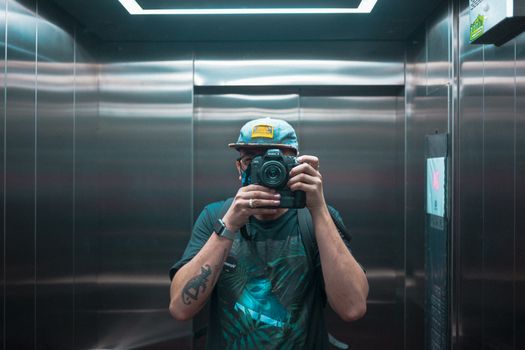
- Self-Portraits: Use a mirror to capture unique selfies that show more of your surroundings, making them feel less like a typical selfie and more like a captured moment.
- Framing & Composition: Mirrors can act as natural frames within your frame, highlighting specific elements or breaking up a larger space.
- Adding Depth: A mirror can visually extend a small room or add another layer of interest to a scene.
- Glass & Water:
- Window Reflections: Look for reflections of the outside world on indoor windows, or reflections of the room itself.
- Shiny Surfaces: Polished floors, glass tables, or even a puddle (if you happen to spill your drink artistically!) can create interesting reflections.
- Experiment with Angles: Reflections change dramatically with your shooting angle. Get low, get high, move from side to side to find the most compelling reflection.
- Watch for Your Own Reflection: Be mindful of where you and your camera are, as you might inadvertently appear in the reflection! Unless, of course, that's part of the artistic intent.
6. The Magic of Color Temperature: Setting the Mood
Color temperature, measured in Kelvin (K), refers to the warmth or coolness of light. Different light sources have different color temperatures: candlelight is very warm (low K), standard incandescent bulbs are warm-yellow, fluorescent lights can be cool-green, and daylight is generally cooler (higher K). Mastering this is crucial for authentic indoor shots.
My Personal Struggle & Solution: My early photos of a dimly lit, cozy bistro in Lyon always looked too orange or too yellow, losing the true ambiance. I learned that my camera's auto white balance was struggling with the mix of warm incandescent bulbs and a sliver of cool evening light from the street. By manually setting my white balance to "Tungsten" (for incandescent lights) or even using a custom setting, I could neutralize the color cast and bring out the rich, true colors of the food and decor. The photos instantly felt more professional and inviting.
How to Master It:
- Understand Your Light Source: Before you shoot, observe the color of the light. Is it warm yellow from lamps? Cool blue from a window on a cloudy day? A mix?
- Adjust White Balance:
- On your phone: Many phone camera apps (or third-party apps like Halide or ProCamera) allow you to manually adjust white balance. Look for presets like "Daylight," "Cloudy," "Tungsten" (for warm artificial light), "Fluorescent" (for cool artificial light), or even a Kelvin slider.
- On a dedicated camera: You'll find a dedicated white balance setting. Experiment with different presets or use custom white balance to accurately capture the colors.
- Embrace or Correct: Sometimes, you might want to embrace a warm, cozy glow for aesthetic reasons. Other times, you'll want to neutralize an unwanted color cast to make whites truly white and colors accurate. It's about conscious choice, not just letting the camera decide.
- Post-Processing: Even if you can't adjust in-camera, editing apps like Lightroom Mobile, Snapseed, or VSCO allow you to tweak the white balance and tint of your photos after the fact, salvaging shots that might otherwise look off-color.
7. Mobile Magic: Apps & Accessories for Your Phone
Let's be real: most of us are shooting on our phones. And the good news is, modern smartphones are incredibly powerful. With a few smart settings and a couple of affordable accessories, you can elevate your phone photography to professional levels, even indoors.
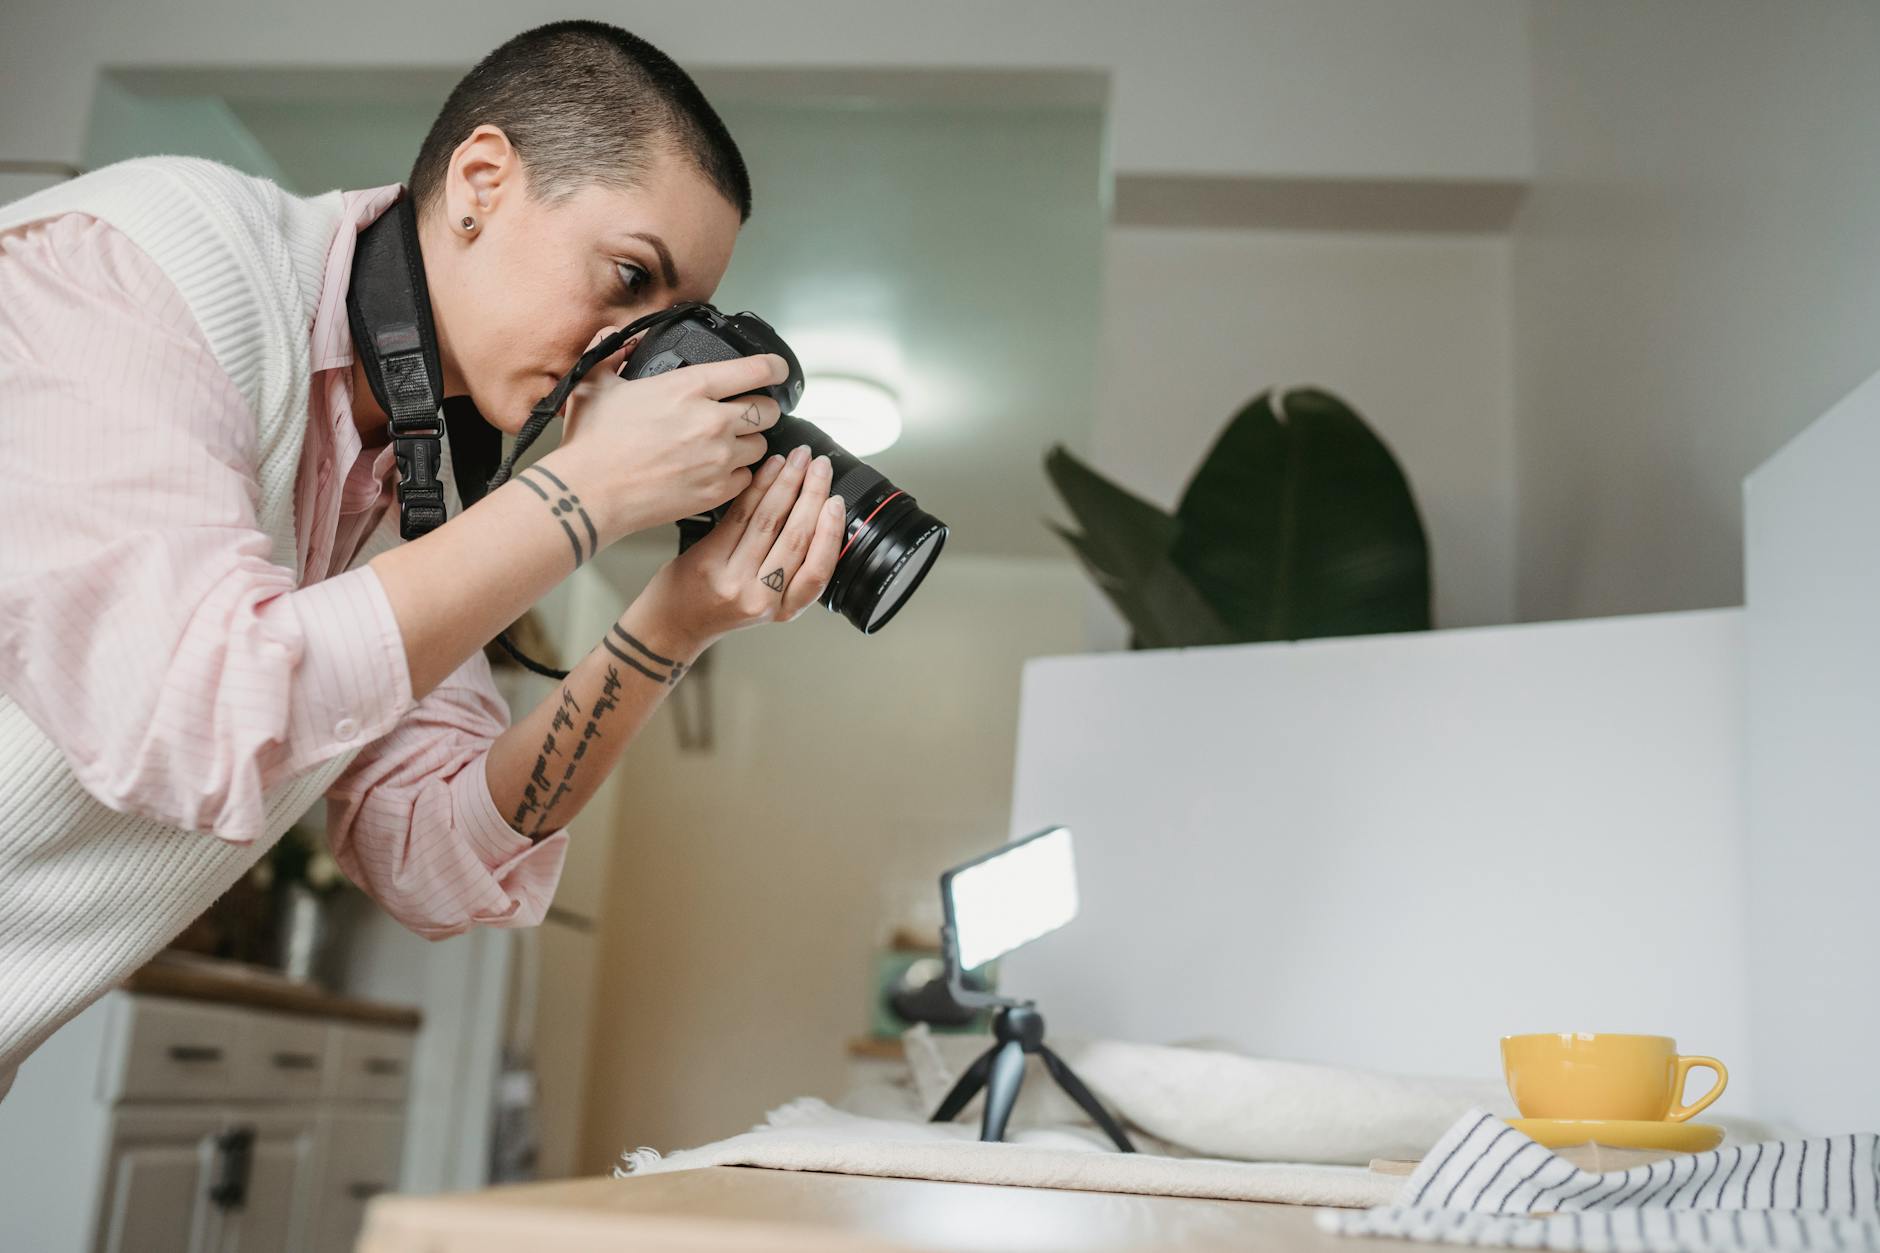
My Go-To Gear & Strategy: I rarely travel without my mini flexible tripod (like a Joby GorillaPod, around $20-30), which lets me stabilize my phone for longer exposures in low light. And for those truly dark spots, a small, clip-on ring light or a compact LED panel (like the Ulanzi VL49, about $15-25) is a lifesaver. It’s not just about adding light; it's about adding controlled light. I once used my clip-on ring light to illuminate a tiny, intricate pastry in a dimly lit Parisian patisserie, making it sparkle for the camera without disturbing the other patrons.
How to Master It:
- Master Your Phone's Camera App:
- Tap to Focus & Adjust Exposure: This is fundamental! Tap on your subject to focus. Then, a small sun or exposure slider will appear. Drag it up or down to brighten or darken your shot. This is crucial for dealing with tricky indoor lighting.
- Use "Pro Mode" (if available): Many phones have a "Pro" or "Manual" mode that lets you control ISO, shutter speed, and white balance. This gives you much more control in challenging light.
- Burst Mode: For moving subjects in low light, burst mode can help you capture a sharper frame.
- Essential Apps for Editing:
- Lightroom Mobile (Free with paid features): Industry standard for a reason. Powerful tools for adjusting exposure, shadows, highlights, white balance, and colors.
- Snapseed (Free): Google's fantastic editing app, great for selective adjustments and healing tools.
- VSCO (Free with paid presets): Known for its beautiful film-like filters and subtle editing tools.
- Smart Accessories:
- Mini Tripod: Essential for long exposures in low light (to avoid graininess) or for stable shots in dim environments.
- Clip-on Ring Light/LED Panel: Provides soft, diffused fill light for portraits, food, or close-ups. Look for models with adjustable brightness and color temperature.
- External Lenses (Optional): Wide-angle or macro clip-on lenses can open up new creative possibilities, but often compromise on light gathering. Stick to native lenses for best low-light performance.
Ready to Glow Up Your Grid?
There you have it – seven trending lighting tricks that will transform your indoor travel photography. From harnessing the simple elegance of window light to creating dramatic shadows and dreamy bokeh, these techniques are all about seeing the light differently and using it to tell your travel story.
The best part? You don't need a professional studio or a hefty camera bag. Just your trusty smartphone, a keen eye, and a willingness to experiment. These tricks are designed to be practical, easy to implement, and instantly elevate your photos from forgettable to viral-worthy.
So, next time you're exploring a hidden gem of a cafe in Rome, snapping a selfie in a stunning hotel lobby in Dubai, or capturing the intricate details of a market stall in Mexico City, remember these tips. Look for the light, play with the shadows, and embrace the ambiance. Your Instagram feed (and your memories!) will thank you.
Now, go forth and shine! What's your favorite indoor lighting trick? Share your dazzling photos and tips with us in the comments below, and don't forget to tag #TripsoraLights and #IndoorPhotoMagic on Instagram – we can't wait to see your glowing creations!
---