Snorkel Secrets: The Underwater Photography Gear Locals DON'T Want Tourists to Know (But I'm Spilling the Beans!)
The first time I saw it, I was mesmerized. A grainy, slightly shaky video, but bursting with color – a vibrant clownfish darting through an anemone, perfectly lit, its orange and white stripes popping against the electric blue of the water. My friend, a local dive guide named Wayan from Nusa Penida, Indonesia, had just shown me the footage he’d captured that morning. He pulled a tiny, battered camera out of his mesh bag, no bigger than my palm, and grinned. "Simple, mate. Tourists buy big cameras, make big bubbles. Fish don't like big bubbles."
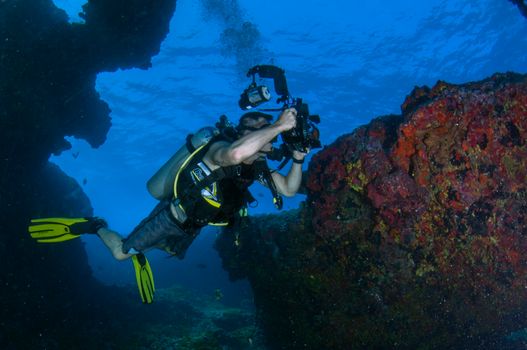
Wayan’s words stuck with me. For years, I’d been lugging around my bulky DSLR with its massive, expensive housing, feeling like an astronaut every time I jumped in the water. My shots were… okay. But Wayan’s simple setup, his quiet approach, and his intimate knowledge of the local reefs produced images that felt more authentic, more alive. That day, I realized something profound: the best underwater photography gear for beginners isn't always the most expensive, nor is it what the big dive shops push on unsuspecting tourists. It's the practical, robust, and often surprisingly affordable kit that locals, who spend their lives in the water, truly rely on.
This isn't about shaming anyone for their gear choices. It's about empowering you, the aspiring underwater photographer, with the kind of insider knowledge that can save you money, reduce your frustration, and ultimately help you capture those breathtaking moments beneath the waves. So, put down that brochure for the $5,000 rig, grab a strong coffee, and let's dive into the 'secret' arsenal locals don't want you to know about.
1. The 'Stealth' Camera: Small, Mighty, and Undetectable
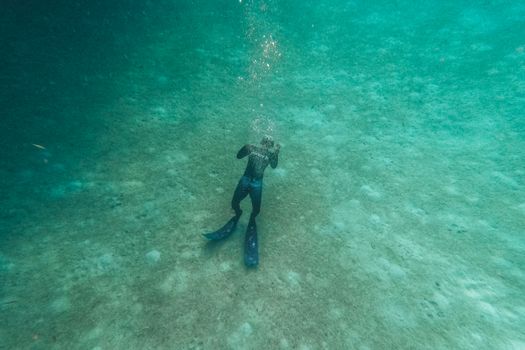
Forget the massive, intimidating DSLR setups with equally massive price tags. Locals, especially those who snorkel or free dive, prioritize discretion, durability, and ease of use. Their go-to? Action cameras. But not just any action camera.
The Local's Choice: Older Generation GoPros (and Smart Alternatives)
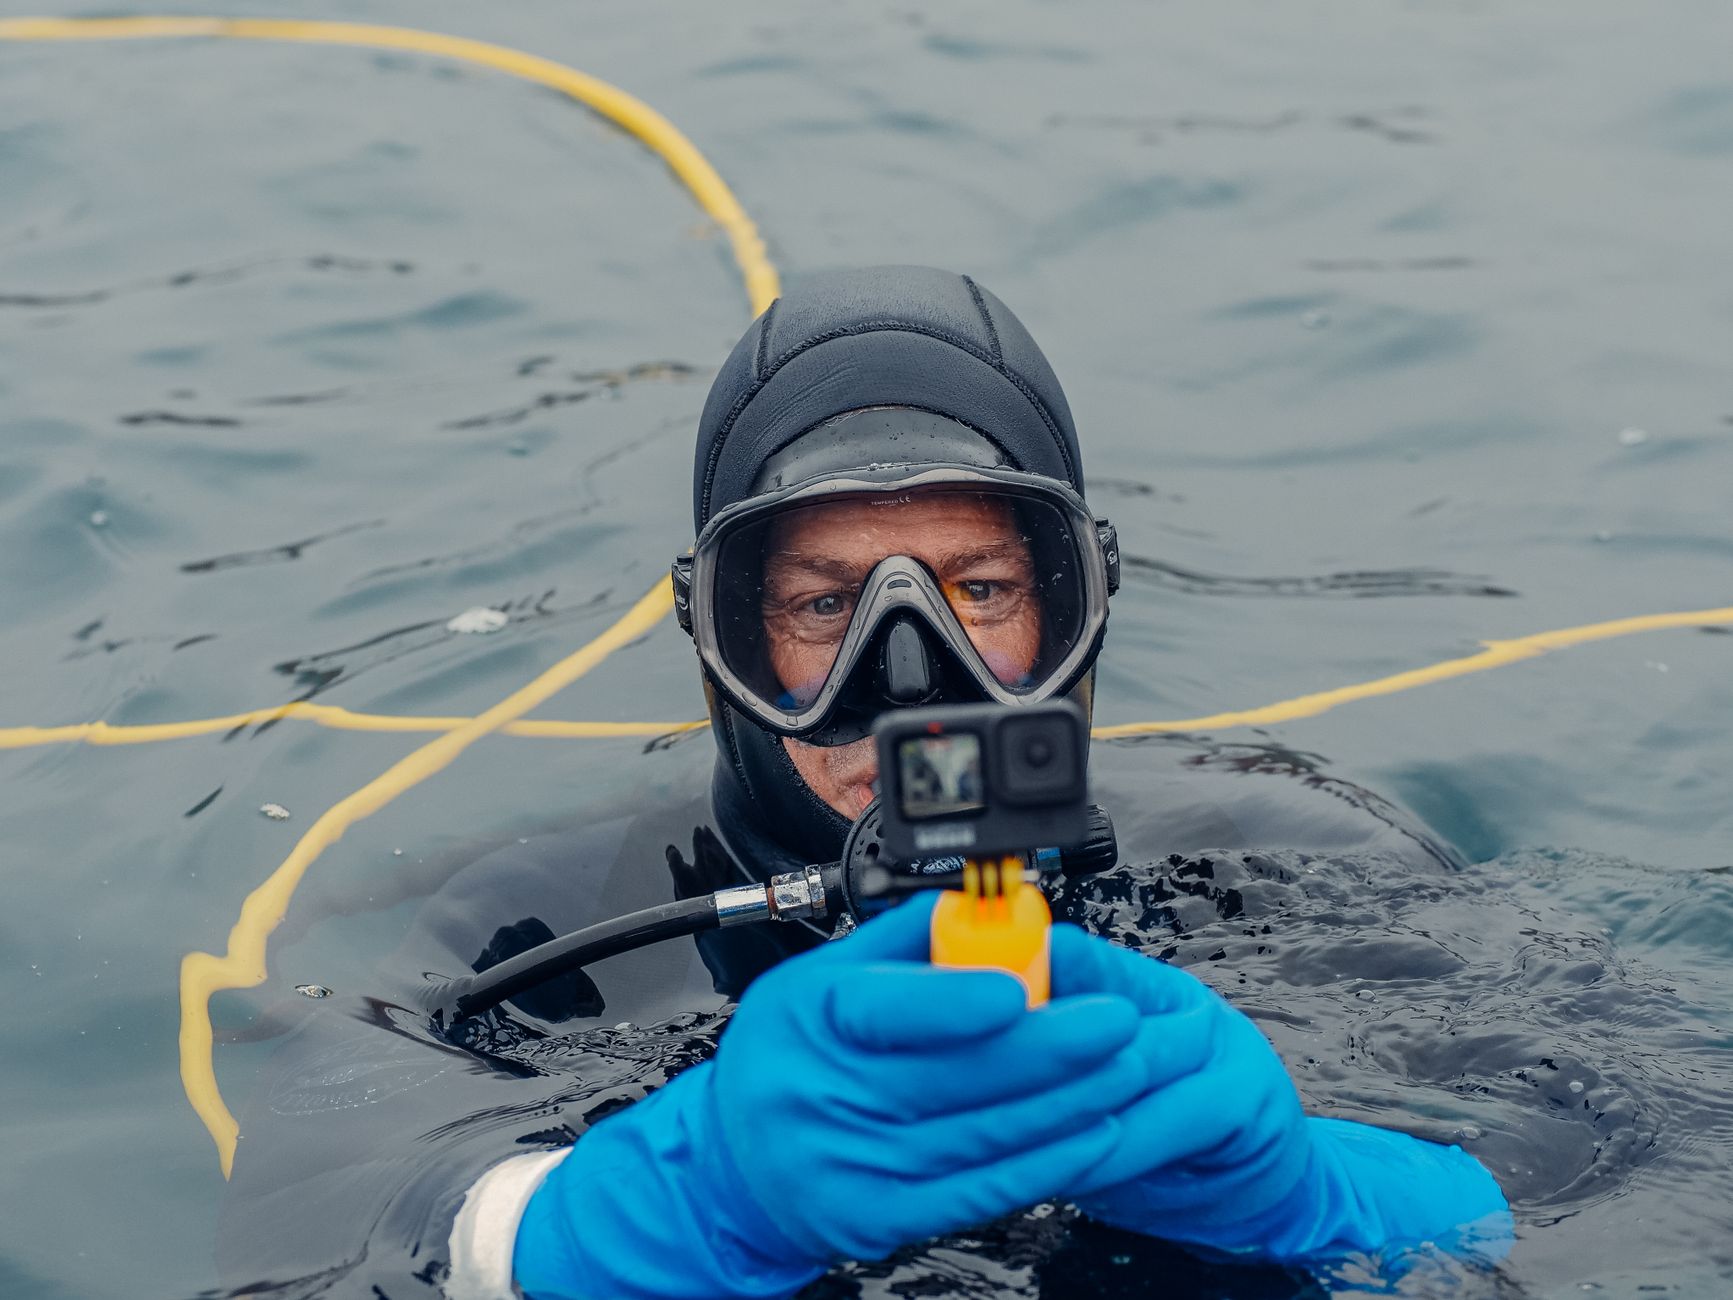
While the latest GoPro Hero 12 boasts incredible specs, many locals still swear by slightly older models like the GoPro Hero 7, 8, or 9. Why?
- Cost-Effectiveness: You can often find these refurbished or second-hand for a fraction of the price of the newest model (think $150-$300 instead of $400-$600+).
- Robustness: They are inherently tough, designed for action, and many have excellent native waterproofing (up to 10m/33ft) without needing an extra housing for shallow snorkeling.
- Simplicity: Fewer complicated settings mean more focus on the subject.
- Stealth Factor: Their small size makes them less intimidating to marine life. When you're not making big bubbles or brandishing a huge camera, fish are more likely to behave naturally.
My Anecdote: I once watched a fisherman in Coron, Philippines, free dive to retrieve his anchor, a GoPro Hero 7 strapped to his wrist. He wasn't even trying to film, but the footage he later showed me (from accidentally hitting record) of vibrant corals and a passing turtle was stunning. It was a testament to the camera's resilience and ease of use.
Smart Alternatives: Don't limit yourself to GoPro. The DJI Osmo Action 3 is another fantastic contender, often praised for its superior battery life and color science. For those seeking something even more budget-friendly, brands like Akaso or Apeman offer surprisingly capable action cameras for under $100, though you might sacrifice some image quality and native waterproofing.
Key Takeaway: You don't need the latest and greatest. A slightly older, well-maintained action camera is your secret weapon for capturing incredible underwater moments without the fuss or the financial strain.
2. Lighting It Up: The Unsung Hero (It's Not a Strobe!)
This is where many beginners miss the mark. You get your camera, jump in, and wonder why your vibrant reef looks dull and blue. The ocean acts like a giant blue filter, absorbing reds and yellows the deeper you go. Even in shallow water, colors can be muted. The pro solution? Expensive strobes. The local solution? A compact, powerful video light.
The Local's Secret Weapon: The Video Light
Locals often use small, handheld video lights designed for continuous illumination. They're simpler to use than strobes, more versatile (great for video and photos), and significantly cheaper.
- Ease of Use: No complex sync cables or settings. Just turn it on and point.
- Versatility: Perfect for both video and still photography. You can see the light's effect before you take the shot.
- Cost-Effective: A good quality, high-lumen video light can be had for $100-$300, compared to $500-$1000+ for a decent strobe setup.
- Portability: Many are compact enough to fit in a small dry bag or even your BCD pocket.
What to Look For:
- Lumen Count: Aim for at least 2000-3000 lumens for good results. More is always better, but consider battery life.
- Beam Angle: A wider beam (e.g., 100-120 degrees) is better for illuminating subjects evenly.
- Color Temperature: Around 5000-6000K is ideal for natural-looking light underwater.
- Mounting Options: Look for lights with a standard YS mount or cold shoe adapter, so you can attach it to a tray or even a floating grip.
Specific Examples:
- OrcaTorch D530V (around $150-200): A popular choice for its compact size, powerful output (2000 lumens), and decent battery life.
- SeaLife Sea Dragon Mini 2500 (around $250-300): A slightly pricier but excellent option with a wide 120-degree beam and robust build.
- Budget Option: Search for generic 'diving video light' on Amazon or AliExpress. You can find 2000-lumen lights for under $100, but check reviews carefully.
My Anecdote: I was once diving with a local guide in Raja Ampat, known for its pristine corals. He had a small action camera and an even smaller video light, barely larger than a candy bar. His shots of pygmy seahorses, tiny and camouflaged, were incredible – the light brought out every detail and color, something my filter-only setup couldn't achieve. He simply held the light in one hand, camera in the other, and patiently waited for the perfect moment. No fancy trays, no elaborate arms. Just simplicity and skill.
3. The 'Invisible' Housing: Keeping it Simple (and Dry)
For action cameras, native waterproofing is often sufficient for snorkeling. But if you plan to go deeper or want extra peace of mind, a good housing is crucial. Again, locals tend to favor simplicity and durability over bulk.
- Integrated Housings: Many action cameras come with a basic waterproof housing. For GoPros, always use the official Super Suit housing for dives deeper than 10m/33ft.
- Third-Party Housings for Compact Cameras: If you're using a compact point-and-shoot like a Canon G7X Mark II or a Sony RX100 (which offer better image quality than action cams but are less robust), look for robust, dedicated housings from brands like Ikelite or Fantasea. These can range from $300-$700, a significant investment, but still far less than a DSLR housing.
- Maintenance is Key: Regardless of the housing, the local secret to longevity is meticulous care. Always rinse with fresh water after every use, pay special attention to O-rings (clean them, lightly grease them), and store them properly. A tiny grain of sand can ruin your day (and your camera).
Wayan's Wisdom: "Small leak, big problem. Always check O-ring, always clean." He taught me to carry a tiny tube of silicone grease and a soft cloth everywhere.
4. Essential Accessories Locals Swear By (The Small Things That Make a Big Difference)
This is where the real local wisdom shines. It's not about expensive gadgets, but cheap, effective additions that enhance your experience and protect your gear.
- The All-Important Red Filter (Approx. $15-$30): This is non-negotiable for tropical waters. A red filter corrects for the loss of red light underwater, bringing back natural colors without artificial lighting in shallower depths (up to about 15-20 meters). Get one specifically designed for your camera model and housing. Brands like PolarPro or Telesin offer good options for GoPros. Don't skip this! It's the most impactful accessory for natural light photography.
- Anti-Fog Inserts (Approx. $5-$10 for a pack): These tiny silica gel packets prevent condensation inside your housing, which can ruin your shots. Locals reuse them by drying them out in the sun or oven. A cheap, effective solution to a common problem.
- Floating Hand Grip (Approx. $10-$20): Essential! Not only does it provide a stable grip, but it also ensures your camera won't sink to the bottom if you accidentally let go. Look for bright colors so it's easy to spot.
- Wrist Lanyard/Strap (Approx. $5): Double the security. Even with a floating grip, a strong lanyard keeps your camera attached to you.
- Lens Cleaning Kit (Approx. $10-$15): Saltwater can leave stubborn spots. A soft brush, microfiber cloth, and lens cleaning solution are vital. Always clean lenses gently before and after use.
- Small Dry Bag (Approx. $20-$40): For keeping spare batteries, anti-fog inserts, and your phone dry on the boat.
- Microfiber Towels (Approx. $5 each): Always have a few handy for drying gear and wiping lenses.
My Anecdote: I once lost a brand new GoPro to the depths of the ocean off the coast of Thailand because I thought I could "just hold it." The currents had other ideas. Lesson learned. Now, my floating grip and lanyard are non-negotiable, thanks to a stern lecture from a local boat captain.
5. Beyond Gear: Mastering the Art (Local Wisdom is Priceless)
Even with the best gear, your photos won't shine without good technique and respect for the environment. This is where local wisdom truly comes into play.
- Buoyancy Control: The Foundation of Good Photography: This is the single most important skill for any underwater enthusiast. Good buoyancy means you can hover effortlessly, position yourself for the perfect shot without kicking up sand or damaging coral, and stay stable. Locals spend countless hours honing this. Practice in shallow water, learn to breathe slowly and deeply, and minimize unnecessary movements. Tip: Many local dive shops offer buoyancy clinics or refresher courses that can transform your diving/snorkeling experience.
- Patience, Patience, Patience: Marine life rarely poses on command. Locals understand the rhythms of the reef. They'll find a good spot, settle in, and wait. Wait for the fish to turn, for the turtle to look up, for the current to bring the subject closer. "Fish not on schedule, you on fish schedule," Wayan would say.
- Respect the Marine Life and the Environment: This is paramount. Never chase, touch, or harass marine animals. Maintain a respectful distance. Don't touch or stand on corals. Good underwater photographers are also good ocean stewards. Your photos will be more authentic if the animals are relaxed and undisturbed.
- Use Local Guides: The best 'gear' you can get is a local guide. They know the best spots, where to find specific creatures, and how to approach them without causing stress. They can lead you to that secret cleaning station or the hidden nudibranch. Their knowledge is invaluable.
- Simple Post-Processing: Locals often don't have access to fancy editing software. They rely on basic adjustments. Use a free app like Snapseed (mobile) or the basic editor in your phone's gallery to adjust white balance, saturation, and contrast. A little bit goes a long way in bringing back those lost colors.
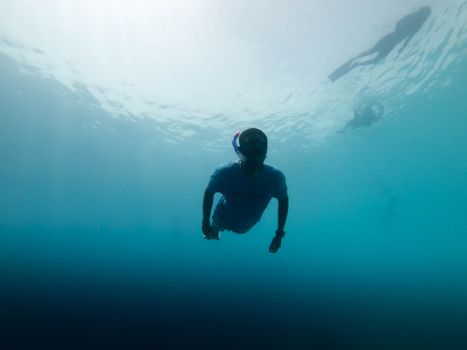
- Shoot Up: Whenever possible, try to shoot your subjects with the sun behind them, angling your camera upwards. This creates beautiful silhouettes and helps separate your subject from the background, adding depth and drama.
My Anecdote: In Komodo National Park, I was struggling to get a good shot of a passing reef shark. My guide, a quiet man named Rio, simply tapped my shoulder, pointed to a small overhang, and gestured for me to wait. Within minutes, another, larger shark cruised by, perfectly framed against the sun-dappled surface, completely unaware of my presence. Rio knew their patrol routes, their habits. That shot, taken with my simple GoPro and red filter, remains one of my favorites.
6. Budgeting for Brilliance (and Stealth)
The beauty of the 'local secret' approach is that it's inherently budget-friendly. You're not buying into marketing hype; you're investing in practical, proven tools.
Here’s a rough breakdown of what a beginner could expect to spend on a solid, local-approved setup:
- Action Camera (e.g., used GoPro Hero 8/9): $150 - $300
- Red Filter: $15 - $30
- Floating Hand Grip & Lanyard: $15 - $30
- Anti-Fog Inserts: $5 - $10
- Compact Video Light (2000-3000 lumens): $100 - $300
- Small Dry Bag & Microfiber Towels: $25 - $50
Total Estimated Cost: $310 - $720
Compare that to a beginner DSLR/mirrorless setup with housing and strobe, which can easily run $2,000 - $5,000+. The 'local' way gets you incredible results for a fraction of the price, leaving you more money for flights, dives, and delicious local food!
Conclusion: Your Underwater Adventure Awaits!
The ocean is a magical place, and capturing its beauty is a privilege. By embracing the 'local secrets' of underwater photography – simplicity, practicality, and respect – you're not just buying gear; you're investing in an approach that yields stunning results without unnecessary complexity or expense.
Remember Wayan’s wisdom: "Simple, mate. Tourists buy big cameras, make big bubbles. Fish don't like big bubbles." Focus on being a quiet observer, mastering your buoyancy, and using smart, effective tools.
So, next time you plan a trip to a tropical paradise, ditch the gear anxiety. Arm yourself with a powerful little camera, a trusty red filter, a bright video light, and a whole lot of local wisdom. You'll not only capture breathtaking images that make your friends gasp, but you'll also have a deeper, more authentic connection with the incredible underwater world.
Now go forth, explore, and share your amazing discoveries! Don't forget to tag #TripsoraUnderwater and #LocalLens on your Instagram shots – we can't wait to see what you find!
---