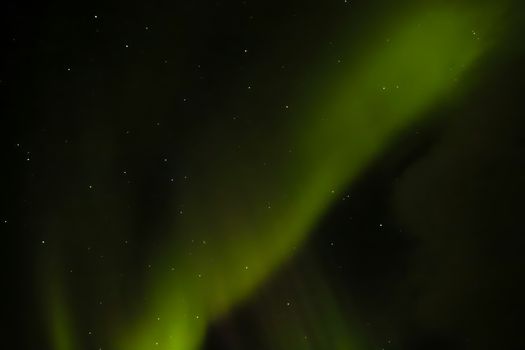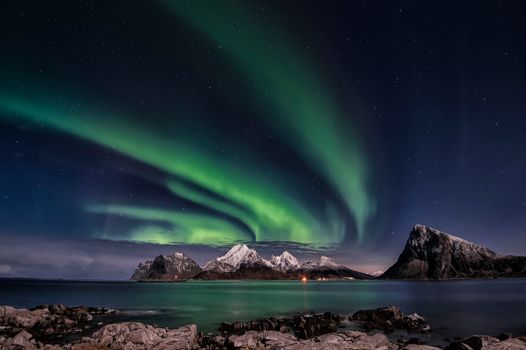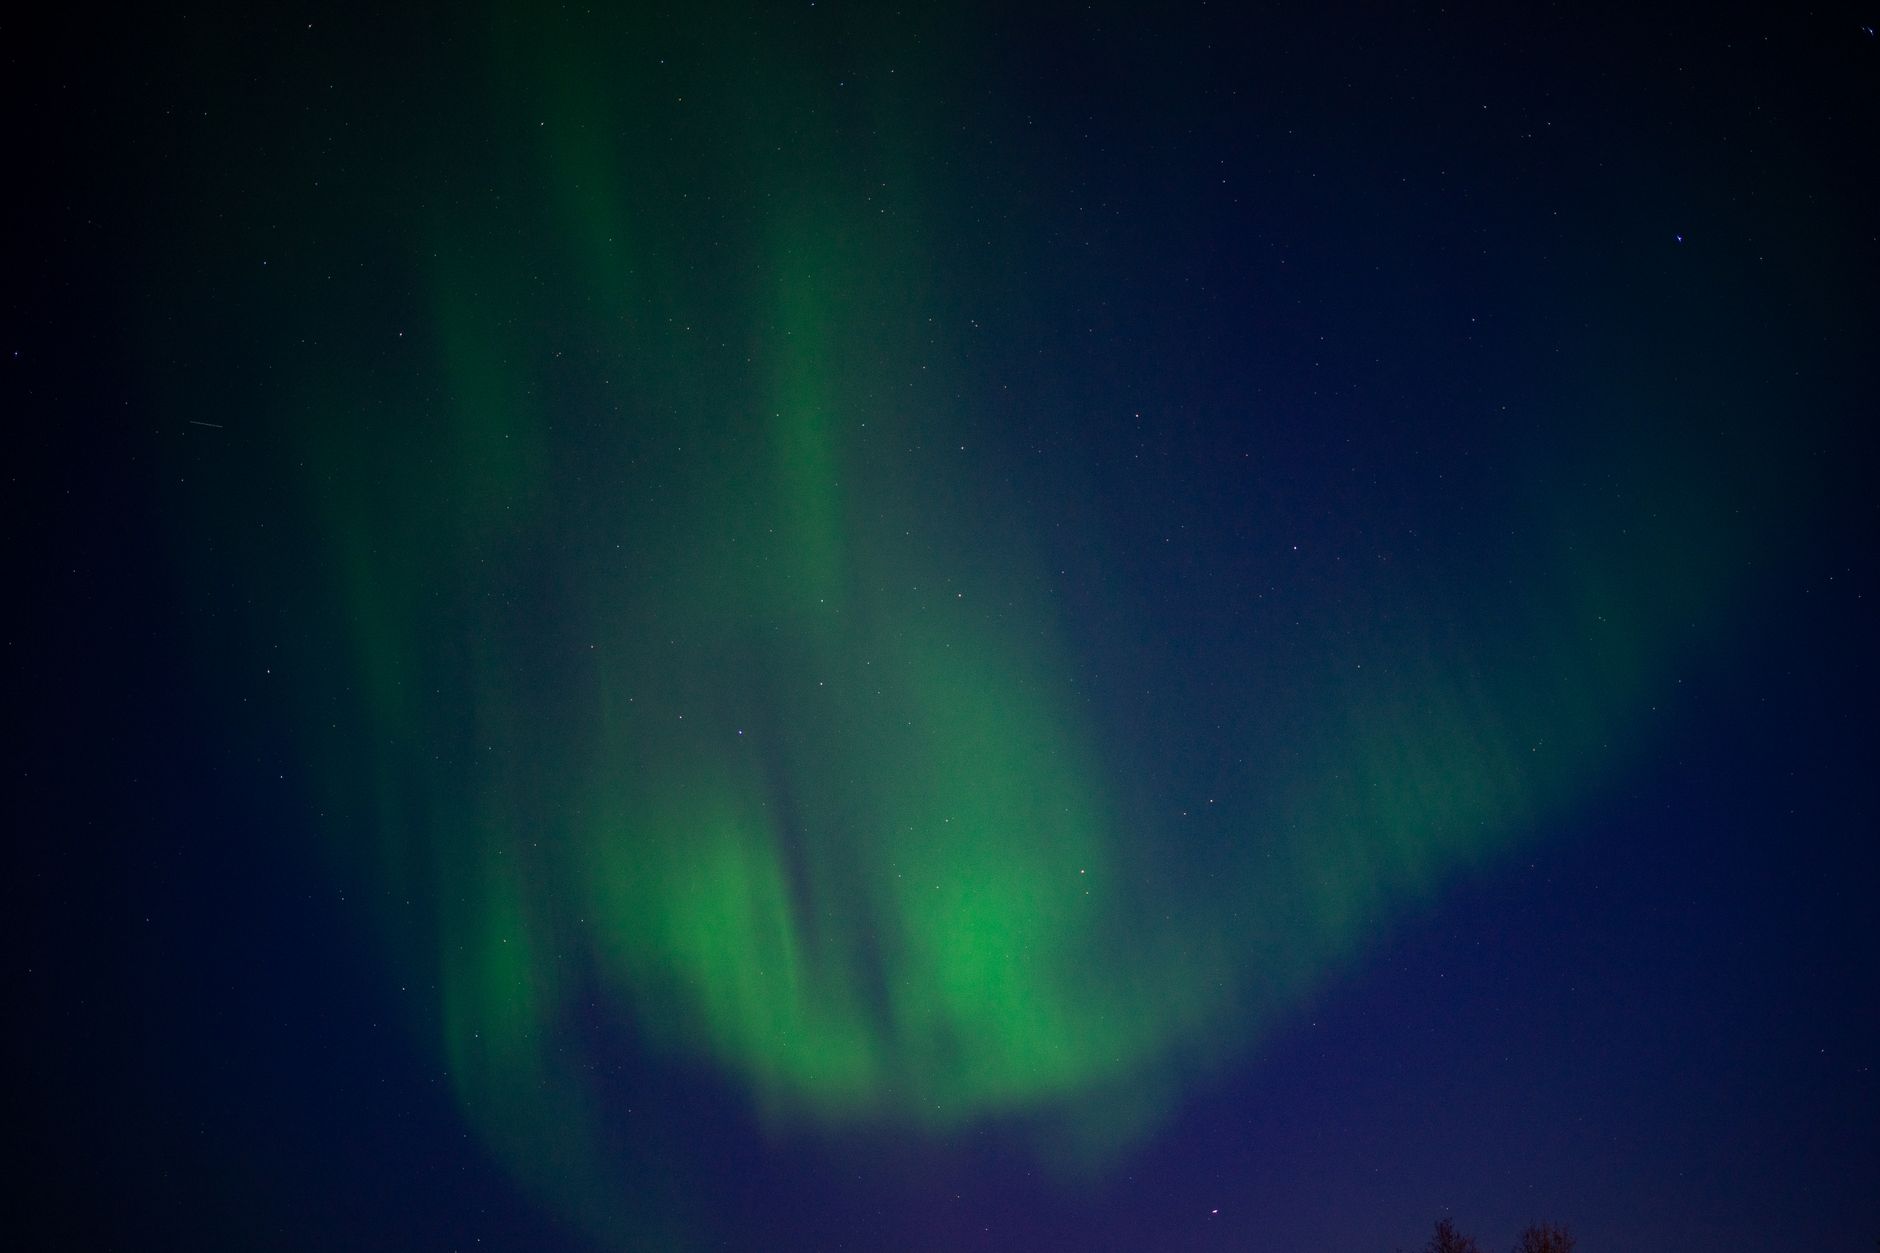
The frigid air bit at my exposed cheeks, a stark contrast to the warmth of the thermos clutched in my gloved hands. Around me, the vast, silent expanse of the Arctic wilderness stretched under a dome of inky black, punctuated by a million glittering stars. It was 2 AM, somewhere deep in the Finnish Lapland, and for the past three hours, I’d been wrestling with my camera, tweaking settings, battling numb fingers, and questioning every life choice that led me to this frozen purgatory. Then, a whisper. A faint, almost imperceptible shimmer on the northern horizon. Within minutes, that whisper erupted into a roaring symphony of light, a celestial ballet of emerald green, violet, and electric blue dancing across the sky, directly above me. My camera clicked, my heart pounded, and for the first time in my life, I truly understood what it meant to be awestruck.
That night, I captured not just photographs, but a piece of magic. And if you’re reading this, chances are you dream of doing the same. The Northern Lights, or Aurora Borealis, are one of nature's most spectacular displays, a phenomenon so breathtaking it often leaves people speechless, even teary-eyed. But capturing their ephemeral beauty with a camera can feel daunting. Fear not, fellow adventurer! I’ve chased the aurora across continents, made every mistake in the book, and finally cracked the code. This is your comprehensive, no-fluff guide to photographing the Northern Lights – the ultimate experience you absolutely need to capture before you die.
The Aurora's Allure: More Than Just a Light Show
Before we dive into the technicalities, let's talk about why this experience is so vital. The aurora isn't just pretty; it's a cosmic ballet caused by solar particles colliding with Earth's magnetic field. It’s a tangible connection to the sun, a reminder of our place in the universe. Seeing it is a spiritual experience, but capturing it? That's about preserving a moment that feels both ancient and fleeting, creating a tangible memory you can revisit and share. My first encounter, a faint green arc over a frozen lake in Iceland, was so underwhelming I almost packed it in. But then, the next night, she danced. And every struggle with the tripod, every frozen finger, every moment of doubt, melted away into pure, unadulterated joy. This isn't just about a good photo; it's about the journey, the anticipation, the cold, and the profound reward.
Gear Up Like a Pro (Without Needing a Pro Budget)
Let’s be honest, photography gear can be intimidating and expensive. But you don't need the latest, greatest, or most costly equipment to get stunning aurora shots. Here's what's essential:
- Camera Body: The Brains of the Operation
- DSLR or Mirrorless Camera: This is non-negotiable for serious aurora photography. You need manual controls (shutter speed, aperture, ISO). Full-frame sensors (like Canon 5D series, Nikon D800 series, Sony a7 series) are fantastic for low light, but crop-sensor cameras (like Canon Rebels, Nikon D3500/D5600, Sony a6000 series) can still produce excellent results. My first truly stunning aurora shot was with a humble Canon T3i!
- Smartphone (The Budget Option): While not ideal, modern smartphones (iPhone 13/14 Pro, Google Pixel 6/7 Pro, Samsung S22/S23 Ultra) with "Night Mode" or manual camera apps (like Halide for iOS or ProShot for Android) can capture something. Set a long exposure (10-30 seconds) and prop it absolutely still. Just manage your expectations – it won’t be DSLR quality.
- Lens: Your Window to the Cosmos
- Wide-Angle Lens (Essential!): You need to capture a large swathe of the sky. Look for lenses with a focal length between 14mm-24mm (on full-frame) or 10mm-16mm (on crop-sensor).
- Fast Aperture (Crucial!): This is key for low light. Aim for an aperture of f/2.8 or wider (f/1.8, f/1.4). The wider the aperture, the more light your lens lets in, and the shorter your exposure can be, resulting in sharper stars and aurora. My go-to is a Sigma 14mm f/1.8 – a dream for aurora.
- Tripod: The Steadfast Companion
- Sturdy is Key: You'll be taking long exposures (10-30 seconds), so any camera shake will ruin your shot. A flimsy tripod is worse than no tripod. Invest in a stable one. Carbon fiber is lighter for travel.
- Don't Skimp: This is one area where I wouldn't cut corners. I once used a cheap, wobbly tripod in a gust of wind in Lofoten, and watched my camera almost tumble down a hill. Learn from my near-disaster!
- Remote Shutter Release (Optional but Recommended)
- Wired or Wireless: This prevents camera shake when you press the shutter button. You can also use your camera's self-timer (2-second delay) as a free alternative.
- Batteries, Batteries, Batteries!
- Extra Power: Cold weather drains batteries incredibly fast. Bring at least 2-3 spare batteries. Keep them warm in an inside pocket until you need them. I've had batteries die within an hour in -20°C!
- Headlamp with Red Light Mode
- Preserve Night Vision: A red light allows you to see your camera settings without ruining your night vision or disturbing fellow aurora chasers. Essential for safety and setup.
- Warm Clothing (More Important Than You Think!)
- Layer Up: We’re talking thermal base layers, fleece mid-layers, insulated waterproof outer layers, warm hat, neck gaiter, thick gloves (with thin liner gloves for dexterity), and insulated waterproof boots. You’ll be standing still in freezing temperatures for hours. Trust me, I once underestimated the Icelandic wind and spent the next day thawing out in a café.
Mastering the Settings: Your Aurora Cheat Sheet
This is where the magic happens. These settings are your starting point; you’ll need to adjust based on the aurora's brightness and speed.
- Manual Mode (M): Absolutely essential. You need full control.
- Focus to Infinity:
- Manual Focus (MF): Switch your lens to manual focus.
- Focus Ring: Turn the focus ring all the way to the infinity symbol (∞). If your lens doesn't have a clear infinity mark, use Live View, zoom in on a distant bright star, and manually adjust until the star is a tiny, sharp pinprick. Tape your focus ring once set, so it doesn't accidentally shift! This is a critical step; blurry aurora is heartbreaking.
- Aperture (f-stop): Wide Open!
- Set to the Widest (Smallest Number): f/2.8, f/1.8, or even f/1.4. This allows maximum light into the sensor, crucial for dim aurora and shorter exposures.
- ISO: Your Light Sensitivity Dial
- Start High, Adjust Down: Begin with ISO 1600 or 3200. If the aurora is faint, you might go up to 6400 or even 12800 (though noise will increase). If it's incredibly bright, you can lower it to 800 or 1000. Higher ISO means more noise, so find the sweet spot.
- Shutter Speed: Capturing the Dance
- Trial and Error: This is the most variable setting.
- Faint, Slow Aurora: Start with 15-25 seconds.
- Bright, Fast-Moving Aurora: Reduce to 5-10 seconds to avoid blurring the aurora's intricate patterns.
- "Rule of 500" for Stars: To avoid star trails, divide 500 by your lens's focal length (e.g., 500/14mm = ~35 seconds). However, for aurora, you're usually going shorter to capture its movement.
- My Personal Tip: When the aurora is really dancing, I often drop my shutter speed to 5-8 seconds, keep my aperture wide, and bump my ISO up to 6400-10000. It creates a stunning, crisp capture of the movement.
- White Balance (WB): The Color Palette
- Manual Setting: Avoid Auto White Balance (AWB), as it can be inconsistent.
- Kelvin (K): Set it manually to 3200K-4000K for a cooler, more natural look. Or experiment with "Tungsten" or "Fluorescent" presets. I usually stick around 3500K.
Recap for a Quick Start:
- Mode: Manual (M)
- Focus: Manual (MF) to Infinity
- Aperture: Widest (e.g., f/2.8)
- ISO: 1600-3200 (adjust)
- Shutter: 15-25 seconds (adjust)
- White Balance: 3200K-4000K
Take a test shot, review it (zoom in to check focus!), and adjust as needed. Patience is your best friend here.
The Hunt is On! Finding the Aurora
You've got the gear, you know the settings. Now, where do you go, and when?
- The Aurora Oval: Your Hunting Ground
- The Northern Lights occur in an oval-shaped region around the magnetic poles. The best places are typically between 60° and 70° latitude.
- Best Time of Year: Darker Skies, Colder Nights
- Late August to Early April: This is the prime window. You need dark skies, which means shorter days. The absolute peak tends to be during the equinoxes (September and March) due to the orientation of Earth's magnetic field.
- Best Time of Night: Midnight Magic
- Generally, the hours around local midnight (10 PM to 2 AM) are when activity is strongest, but they can appear anytime between sunset and sunrise.
- Weather: Clear Skies are Non-Negotiable
- You need clear, cloudless skies. Check multiple weather forecasts religiously. Clouds are your biggest enemy.
- Local Tip: Even if the forecast is cloudy, sometimes a small gap appears. Keep hoping! I once drove 2 hours in a blizzard in Norway, only for the clouds to part for 30 glorious minutes.
- Solar Activity Forecasts: Your Crystal Ball
- Kp Index: This is a scale from 0 to 9 that measures geomagnetic activity. A Kp index of 3 or higher is generally good for seeing aurora at typical locations. Kp5+ means a strong display.
- Apps & Websites:
- My Aurora Forecast & Alerts (App): Excellent for real-time Kp index, cloud cover, and location-specific forecasts.
- Space Weather Prediction Center (SWPC) by NOAA: For more scientific, detailed forecasts.
- Aurora Borealis Forecast (Website): Another great resource.
- Light Pollution: Escape the Glow
- Get as far away from city lights as possible. Even a small town can wash out fainter aurora. Head to dark, open areas.
Top Aurora Hotspots & Budgeting Your Dream Trip
Now for the exciting part: where to go! I've been fortunate enough to visit many, and each offers a unique flavor of the Arctic experience. Prices are estimates and vary wildly based on season, booking in advance, and your style of travel.
- Tromsø, Norway: The Arctic Capital
- Why it's great: Easy access, plenty of tours, stunning fjords, and a vibrant city feel. High chance of seeing aurora.
- Experience: My first strong display was near Tromsø. The emerald green seemed to ripple across the mountains like a silk curtain.
- Logistics: Fly into Tromsø (TOS).
- Cost Estimate: Mid-range to expensive. Flights (US/Europe to Tromsø) €400-€1000+. Accommodation €100-€300/night. Aurora tours €100-€200+. Expect €1500-€3000+ for a 5-day trip (excluding international flights).
- Pro Tip: Rent a car if comfortable driving on snow. It gives you freedom to chase clear skies.
- Reykjavik & South Coast, Iceland: Land of Fire and Ice
- Why it's great: Combine aurora hunting with incredible landscapes (waterfalls, glaciers, black sand beaches). Easily accessible from North America/Europe.
- Experience: Chasing aurora along the South Coast, with Seljalandsfoss waterfall as a foreground, was truly epic. The aurora mirrored in the icy puddles.
- Logistics: Fly into Keflavik (KEF). Rent a car immediately.
- Cost Estimate: Mid-range to expensive. Flights €300-€800+. Accommodation €100-€250/night. Aurora tours €50-€100 (bus tours) or €150-€300 (small group/jeep tours). Expect €1200-€2500+ for a 5-day trip.
- Pro Tip: Book accommodation with minimal light pollution outside of Reykjavik for better chances.
- Lapland, Finland (Rovaniemi, Kakslauttanen, Levi): Santa's Aurora Playground
- Why it's great: Magical winter wonderland, husky sledding, reindeer safaris, glass igloos! Rovaniemi is home to Santa Claus Village.
- Experience: Staying in a glass igloo and waking up to aurora dancing above my head was surreal. Utter silence, just the crackle of ice.
- Logistics: Fly into Rovaniemi (RVN) or Kittilä (KTT).
- Cost Estimate: Can be very expensive, especially for unique accommodations like glass igloos. Flights €400-€1000+. Accommodation €150-€800+/night (igloos are premium). Activities €100-€300 each. Expect €2000-€5000+ for a 5-day trip.
- Pro Tip: If budget allows, splurge on one night in a glass igloo. It's a once-in-a-lifetime experience.
- Abisko, Sweden: The Blue Hole of Abisko
- Why it's great: Known for its "blue hole" – a patch of sky that tends to remain clear even when surrounding areas are cloudy, thanks to the microclimate of Lake Torneträsk. Home to the Aurora Sky Station.
- Experience: The sheer reliability of Abisko is comforting. I saw aurora here on a night when forecasts elsewhere were bleak.
- Logistics: Fly to Kiruna (KRN), then train or bus to Abisko.
- Cost Estimate: Mid-range. Flights €400-€900+. Accommodation €80-€200/night. Aurora Sky Station tour €90-€150. Expect €1200-€2500+ for a 5-day trip.
- Pro Tip: Pre-book the Aurora Sky Station well in advance, especially during peak season.
- Yellowknife, Canada: North American Aurora Capital
- Why it's great: One of the most consistent places globally to see the aurora due to its location directly under the aurora oval. Offers a different cultural experience.
- Experience: The vastness of the Canadian wilderness under a dancing sky is unparalleled. The sheer intensity of the aurora here is often mind-blowing.
- Logistics: Fly into Yellowknife (YZF).
- Cost Estimate: Mid-range to expensive for international travelers. Flights (from US/Canada) €300-€800+. Accommodation €100-€250/night. Aurora tours €80-€150. Expect €1500-€3000+ for a 5-day trip.
- Pro Tip: Consider staying in one of the aurora lodges outside town for an immersive experience.
Budgeting Tips for Your Aurora Adventure:
- Travel during shoulder seasons: Early September or late March/early April can be slightly cheaper and less crowded.
- Self-drive vs. Tours: Renting a car (with proper winter tires!) can save money if you're comfortable navigating. Tours offer convenience and expert guidance.
- Cook your own meals: Eating out in Nordic countries is expensive. Opt for self-catering accommodations.
- Look for flight deals: Use flight comparison sites and set up price alerts.
- Travel with friends: Split costs for accommodation and rental cars.
Beyond the Camera: Experiencing the Moment
While the goal is to capture stunning photographs, please, please, remember to put your camera down. My most cherished aurora memories aren't just the photos; they're the moments I stood there, hat off, mouth agape, feeling the universe unfold above me.
- Look Up! Spend time just watching with your own eyes. The camera captures light, but your eyes capture the soul of the moment.
- Stay Warm: Seriously, layers, hand warmers, hot drinks. Being cold is distracting and miserable.
- Patience is a Virtue: The aurora can be shy. There will be long periods of waiting. Bring snacks, a thermos of hot chocolate, and good company.
- Safety First: Inform someone where you're going if you're venturing far from civilization. Be aware of your surroundings, especially if you're near frozen lakes or unlit roads.
Editing Your Masterpiece (Briefly)
Once you're back in the warmth, it's time to bring your photos to life. You don't need complex software.
- Lightroom or Photoshop (Paid): Industry standard, offers incredible control.
- GIMP or Darktable (Free): Powerful open-source alternatives.
- Smartphone Apps (Snapseed, Lightroom Mobile): Great for quick edits on the go.
Basic Editing Steps:
- Crop & Straighten: Clean up the composition.
- Adjust White Balance: Fine-tune the colors to your liking.
- Exposure & Contrast: Brighten if needed, add some punch.
- Highlights & Shadows: Recover detail in brighter stars and darker foregrounds.
- Noise Reduction: Apply sparingly, as too much can soften details.
- Sharpening: Enhance details slightly.
Don’t over-edit. The aurora is naturally vibrant; your goal is to enhance, not invent.
The Unforgettable Dance Awaits
Photographing the Northern Lights is more than just a technical challenge; it's an immersive journey into the heart of the Arctic, a test of patience, and an ultimate reward. It's about enduring the cold, embracing the darkness, and being present for one of Earth's most breathtaking spectacles. Each trip I've taken has left me with not just incredible photos, but stories – of frozen fingers, shared thermoses, gasps of wonder, and the profound silence under a sky alive with light.
Are you ready to chase the celestial dragon? To feel the thrill of the hunt and the ecstasy of the capture? To stand under a sky so vibrant it feels like a dream? The aurora is calling. Pack your bags, charge your batteries, and prepare for an experience that will not only fill your camera roll with masterpieces but will etch itself into your soul.
What are your aurora dreams? Have you seen them? Share your stories and tips in the comments below! And don't forget to share this guide with anyone dreaming of capturing this celestial wonder!
---