The Emerald Dance: How Photographing the Northern Lights Changed My Life Forever
The arctic air bit at my exposed cheeks, a sharp, exhilarating sting. My breath plumed in the frigid darkness, illuminated only by the faint glow of my headlamp and the distant, snow-muffled lights of a tiny village. I stood alone on a frozen lake in Finnish Lapland, tripod legs sinking slightly into the fresh powder, my camera poised, waiting. For hours, nothing. Just the vast, inky canvas of the sky, dusted with a million indifferent stars. Doubt gnawed at me. Had I come all this way, braved the extreme cold, invested in all this gear, just to see nothing?
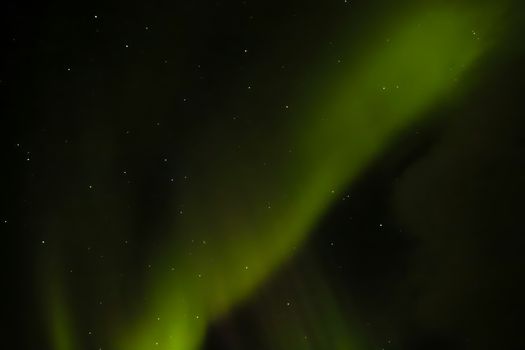
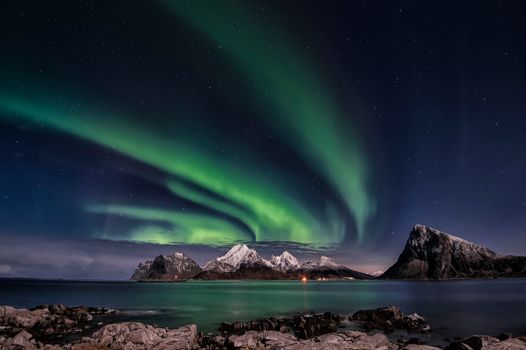
Then, a whisper. A faint, almost imperceptible smudge of green, like a painter’s first tentative brushstroke, appeared on the horizon. It grew, stretching, deepening, until the sky above me erupted in a silent, cosmic ballet of emerald, violet, and electric blue. Ribbons of light pulsed, swirled, and danced with an otherworldly grace, reflecting in the pristine ice below. Tears stung my eyes, but I blinked them away, my fingers numbly adjusting settings, my heart pounding a frantic rhythm against my ribs. This wasn't just a photo opportunity; it was a profound, spiritual encounter. And the images I captured that night? They weren't just pictures; they were tangible proof of a moment that utterly, irrevocably changed my perspective on beauty, on patience, and on the sheer, breathtaking power of our planet. This is my story, and my comprehensive guide, to help you capture your own life-changing aurora borealis experience.
Section 1: The Quest Begins – Planning Your Aurora Adventure
Before you even think about camera settings, you need to think about when and where to go. The Northern Lights are a fickle mistress, demanding patience and a bit of luck.
When to Go: Chasing Darkness The aurora borealis is visible year-round, but you need darkness to see it. This means:
- Late Autumn to Early Spring (September to April): These months offer the longest periods of darkness in the Arctic Circle. My life-changing experience was in late February – perfect, long nights.
- New Moon Phases: While not strictly necessary, a new moon means less moonlight to compete with the aurora, making dimmer displays more visible and photos clearer. Check moon phase calendars when planning.
- Clear Skies: Cloud cover is your biggest enemy. You can have the strongest aurora activity, but if the sky is overcast, you’ll see nothing. Always check local weather forecasts.
Where to Go: The Aurora Zone You need to be within the "aurora oval," a band around the magnetic poles. My top recommendations, based on personal experience and extensive research:
- Iceland: Easily accessible, stunning landscapes perfect for foregrounds (waterfalls, glaciers, black sand beaches). I've chased lights near Jökulsárlón glacier lagoon and around the Snaefellsnes Peninsula. Prices can be high, but self-driving is popular. Expect to pay €150-€250 for a guided tour.
- Northern Norway (Tromsø, Lofoten Islands): Tromsø is a vibrant city, often called the "Gateway to the Arctic," with excellent tour operators. The Lofoten Islands offer dramatic fjords and fishing villages – an absolute dream for photographers. I found the Lofotens to be incredibly picturesque, though the weather can be very unpredictable. Tours from Tromsø range from €100-€200.
- Finnish Lapland (Rovaniemi, Levi, Saariselkä): My life-changing experience was in Saariselkä. This region offers unique experiences like glass igloos and husky sledding, adding to the magic. The vast, snowy landscapes are ideal for wide-angle aurora shots. Rovaniemi is home to Santa Claus Village, a fun bonus! Tours from Rovaniemi start around €90.
- Swedish Lapland (Abisko): Abisko National Park is famous for its "Blue Hole" – a patch of sky that often remains clear even when surrounding areas are cloudy. It has its own Aurora Sky Station, making it a reliable spot. I haven't been personally but know many photographers who swear by it.
- Yukon & Northwest Territories, Canada (Whitehorse, Yellowknife): Less crowded than Europe, offering a truly wild frontier experience. Yellowknife is known for its high aurora visibility.
- Alaska, USA (Fairbanks): Another excellent choice for North Americans, with good infrastructure for aurora chasing.
Aurora Forecasts & Apps: Download apps like "My Aurora Forecast" or "Aurora Alerts" (free, iOS/Android) and bookmark websites like NOAA's Space Weather Prediction Center (swpc.noaa.gov) or aurora-service.eu. These provide KP-index (aurora strength) and cloud cover forecasts. A KP of 3 or higher is generally good, but I’ve seen amazing shows at KP 2!
Section 2: Gear Up – Your Aurora Photography Arsenal
You don't need the most expensive gear, but certain items are non-negotiable for success.
- Camera Body: Low Light Champion
- Full-Frame DSLR/Mirrorless: (e.g., Sony A7 series, Canon R series, Nikon Z series, older Canon 5D/6D, Nikon D750/D850). These have larger sensors that perform exceptionally well in low light, producing less noise at higher ISOs. This is what I used for my best shots.
- Crop-Sensor DSLR/Mirrorless: (e.g., Fuji X-T series, Sony a6000 series, Canon Rebel, Nikon D3500/D5600). Perfectly capable, but you might need slightly higher ISOs or longer exposures, which can introduce more noise. Still, don't let a crop-sensor hold you back!
- Lens: Wide and Fast is Key!
This is arguably more important than your camera body.
- Wide-Angle Lens (14mm-24mm): To capture the vastness of the sky and include foreground elements.
- Fast Aperture (f/2.8 or wider): The wider the aperture (smaller f-number), the more light the lens lets in, allowing for shorter shutter speeds and lower ISOs. My go-to is a 14mm f/2.8, but an f/4 can work in a pinch if the aurora is strong.
- Recommended Lenses:
- Prime Lenses: Samyang/Rokinon 14mm f/2.8 (affordable, excellent quality), Sigma 14mm f/1.8 (premium, incredible), Sigma 20mm f/1.4 Art.
- Zoom Lenses: Tamron 17-28mm f/2.8, Sigma 14-24mm f/2.8, Sony 16-35mm f/2.8 GM.
- Tripod: Non-Negotiable Stability
- A sturdy tripod is essential. You'll be taking long exposures, and any camera shake will result in blurry photos. Carbon fiber is lighter for travel, but aluminum is fine. Make sure it's tall enough to avoid bending awkwardly. I learned this the hard way with a flimsy tripod on a windy night in Iceland – ruined shots!
- Remote Shutter Release:
- Whether wired or wireless, a remote shutter release prevents camera shake from pressing the shutter button. Many cameras have built-in Wi-Fi and can be controlled via a smartphone app, which works great!
- Extra Batteries & Power Bank:
- Cold temperatures drain batteries rapidly. Carry at least 2-3 fully charged spares, preferably in an inner pocket to keep them warm. A power bank for charging phone/headlamp is also a good idea.
- Headlamp with Red Light Mode:
- You'll be fumbling in the dark. A headlamp is crucial, but use its red light mode to preserve your night vision and avoid disturbing other photographers. White light can instantly ruin someone else's long exposure!
- Warm Clothing & Footwear:
- Seriously, overdress. Layers, thermal underwear, wool socks, waterproof insulated boots (like Sorel or Baffin), a heavy parka, waterproof pants, a warm hat, and thick, windproof gloves (with finger tips that can flip open for camera adjustments). I wore three layers of gloves on my best night!
- Other Essentials:
- Microfiber cloths (for condensation).
- Hand/foot warmers.
- Thermos with hot tea/coffee.
- Snacks.
Section 3: Mastering the Manual – Camera Settings for Aurora
This is where the magic happens. You must shoot in manual mode.
- Manual Mode (M):
- No auto settings here. You need full control.
- Focus: Infinity is Your Friend
- Switch to Manual Focus (MF) on your lens and camera body.
- Focus to Infinity: In the dark, your camera's autofocus will struggle. The easiest way is to focus manually to infinity.
- Method 1 (Best): Before it gets completely dark, focus on a distant object (e.g., a mountain, a distant light) and switch to MF. Mark the spot on your lens barrel with a piece of tape.
- Method 2 (In the Dark): Use your camera's Live View, zoom in (5x or 10x) on a bright star, and manually adjust the focus ring until the star is a tiny, sharp pinprick of light. This is my preferred method.
- Method 3 (Lens Markings): Some lenses have an infinity symbol. Line it up. Be aware that this isn't always precisely infinity.
- Aperture: Go Wide Open!
- Set your lens to its widest aperture (smallest f-number). This lets in maximum light.
- For an f/2.8 lens, set it to f/2.8. For an f/4 lens, set it to f/4.
- ISO: Balance the Light & Noise
- ISO determines your camera's sensitivity to light. Higher ISOs mean brighter images but also more digital noise (graininess).
- Start at ISO 1600 or 3200.
- Adjust based on aurora brightness:
- Dim Aurora: ISO 3200-6400 (or even higher on full-frame).
- Bright, Dancing Aurora: ISO 800-1600.
- Experiment! My "life-changing" shot was at ISO 2500.
- Shutter Speed: Capture the Motion
- This determines how long your camera's sensor is exposed to light.
- General Range: 5-20 seconds.
- Fast-Moving, Intense Aurora: Use shorter shutter speeds (5-10 seconds) to capture the distinct shapes and movement without blurring.
- Dim, Slow-Moving Aurora: Use longer shutter speeds (15-20 seconds) to gather more light and make the aurora appear brighter.
- Avoid too long: Anything over 20-25 seconds can start to show star trails (stars appear as lines instead of points) due to Earth's rotation, and can blur the aurora too much.
- The "Rule of 500/300" (for star trails, not aurora): Divide 500 (or 300 for crop sensor) by your focal length to get the maximum shutter speed before stars trail. E.g., 500 / 14mm = ~35 seconds. This is a maximum for stars, but for aurora, you'll generally want much shorter to retain definition.
- White Balance (WB): Color Accuracy
- Auto White Balance (AWB) can be inconsistent.
- Manual Kelvin Setting: Start with 3000K-4000K. This often gives a natural, cool tone to the aurora. Experiment to find what you like. Lower Kelvin values make it cooler (bluer), higher makes it warmer (yellower).
- Tungsten/Incandescent Preset: A good starting point if you don't want to use Kelvin.
- Shoot RAW! This allows you to adjust white balance perfectly in post-processing without losing quality, so don't stress too much about getting it perfect in-camera.
- Shoot in RAW, Not JPEG:
- RAW files capture much more data than JPEGs, giving you far greater flexibility in post-processing to recover details, adjust colors, and reduce noise without degradation. It’s non-negotiable for serious aurora photography.
- In-Camera Noise Reduction:
- Some cameras have "Long Exposure Noise Reduction." While it can help, it essentially takes a second "dark frame" exposure of the same length, doubling your waiting time. I usually turn it off and handle noise reduction in post-processing for faster shooting.
Section 4: Field Techniques & Composition – Beyond the Settings
Getting the settings right is half the battle. The other half is what you do on location.
- Find the Darkest Spot:
- Get as far away from city lights as possible. Light pollution washes out the aurora. Use a light pollution map online to find dark skies.
- My spot in Saariselkä was a frozen lake, miles from any significant light source. The reflections of the aurora on the ice were incredible!
- Compose with Foreground Elements:
- Don't just point your camera at the sky! Including a compelling foreground adds depth, scale, and interest to your photos.
- Ideas: Silhouetted trees, snow-covered mountains, frozen lakes/rivers (for reflections!), cabins, ice formations, even a human silhouette (if they can stand perfectly still for 10-20 seconds!).
- My iconic shot includes the dark line of distant pine trees, contrasting with the vibrant sky and the mirror-like ice.
- Patience is a Virtue (and a Necessity):
- The aurora can appear and disappear. There will be lulls. Don't pack up too early. My "life-changing" display happened after two hours of waiting in freezing temps.
- Keep checking the sky, and your aurora forecast apps.
- Check Your Shots:
- After a few shots, zoom in on your camera’s LCD screen (100% view) to check for:
- Sharpness: Are the stars pin-sharp? If not, adjust your focus.
- Exposure: Is it too dark or too bright? Adjust ISO or shutter speed.
- Noise: If it's too noisy, try reducing ISO and increasing shutter speed slightly.
- Stay Warm and Safe:
- Seriously, frostbite is no joke. Take breaks in a warm car if possible. Move around to keep your blood flowing.
- Be aware of your surroundings – especially on ice or in unfamiliar terrain. Don’t wander off alone into the wilderness without knowing the area or informing someone.
Section 5: My Life-Changing Moment – The Emerald Dance of Saariselkä
I remember that night in Saariselkä like it was yesterday. It was late February, around 10 PM. The temperature had plummeted to -25°C (-13°F). My guide, a grizzled Sami local named Pekka, had dropped me off at a remote spot near a frozen lake, promising to return in a few hours. "The sky will open," he'd grunted, a glint in his eye.
For what felt like an eternity, it was just me, the cold, and the vast silence. I set up my Canon 5D Mark IV with the Samyang 14mm f/2.8 lens on my trusty Manfrotto tripod. My fingers, even inside thick mittens, were stiff. I ran through my settings: Manual mode, f/2.8, ISO 2500, 15-second exposure. Focus manually set to infinity using a distant star. White balance at 3800K. RAW.
Then, the first hint of green. It was so faint, I almost dismissed it as my eyes playing tricks. But it grew, a shimmering curtain slowly unfurling across the northern sky. My heart leaped. I started shooting, each click of the remote shutter release a prayer.
Suddenly, the sky exploded. Not just a curtain, but vibrant, swirling columns of light, stretching from horizon to zenith. They pulsed, they danced, they shifted from electric green to flashes of magenta and deep violet. It was like watching the universe's most spectacular light show, choreographed by an unseen hand. The reflections on the perfectly still, snow-dusted ice of the lake were breathtaking, creating a double aurora effect.
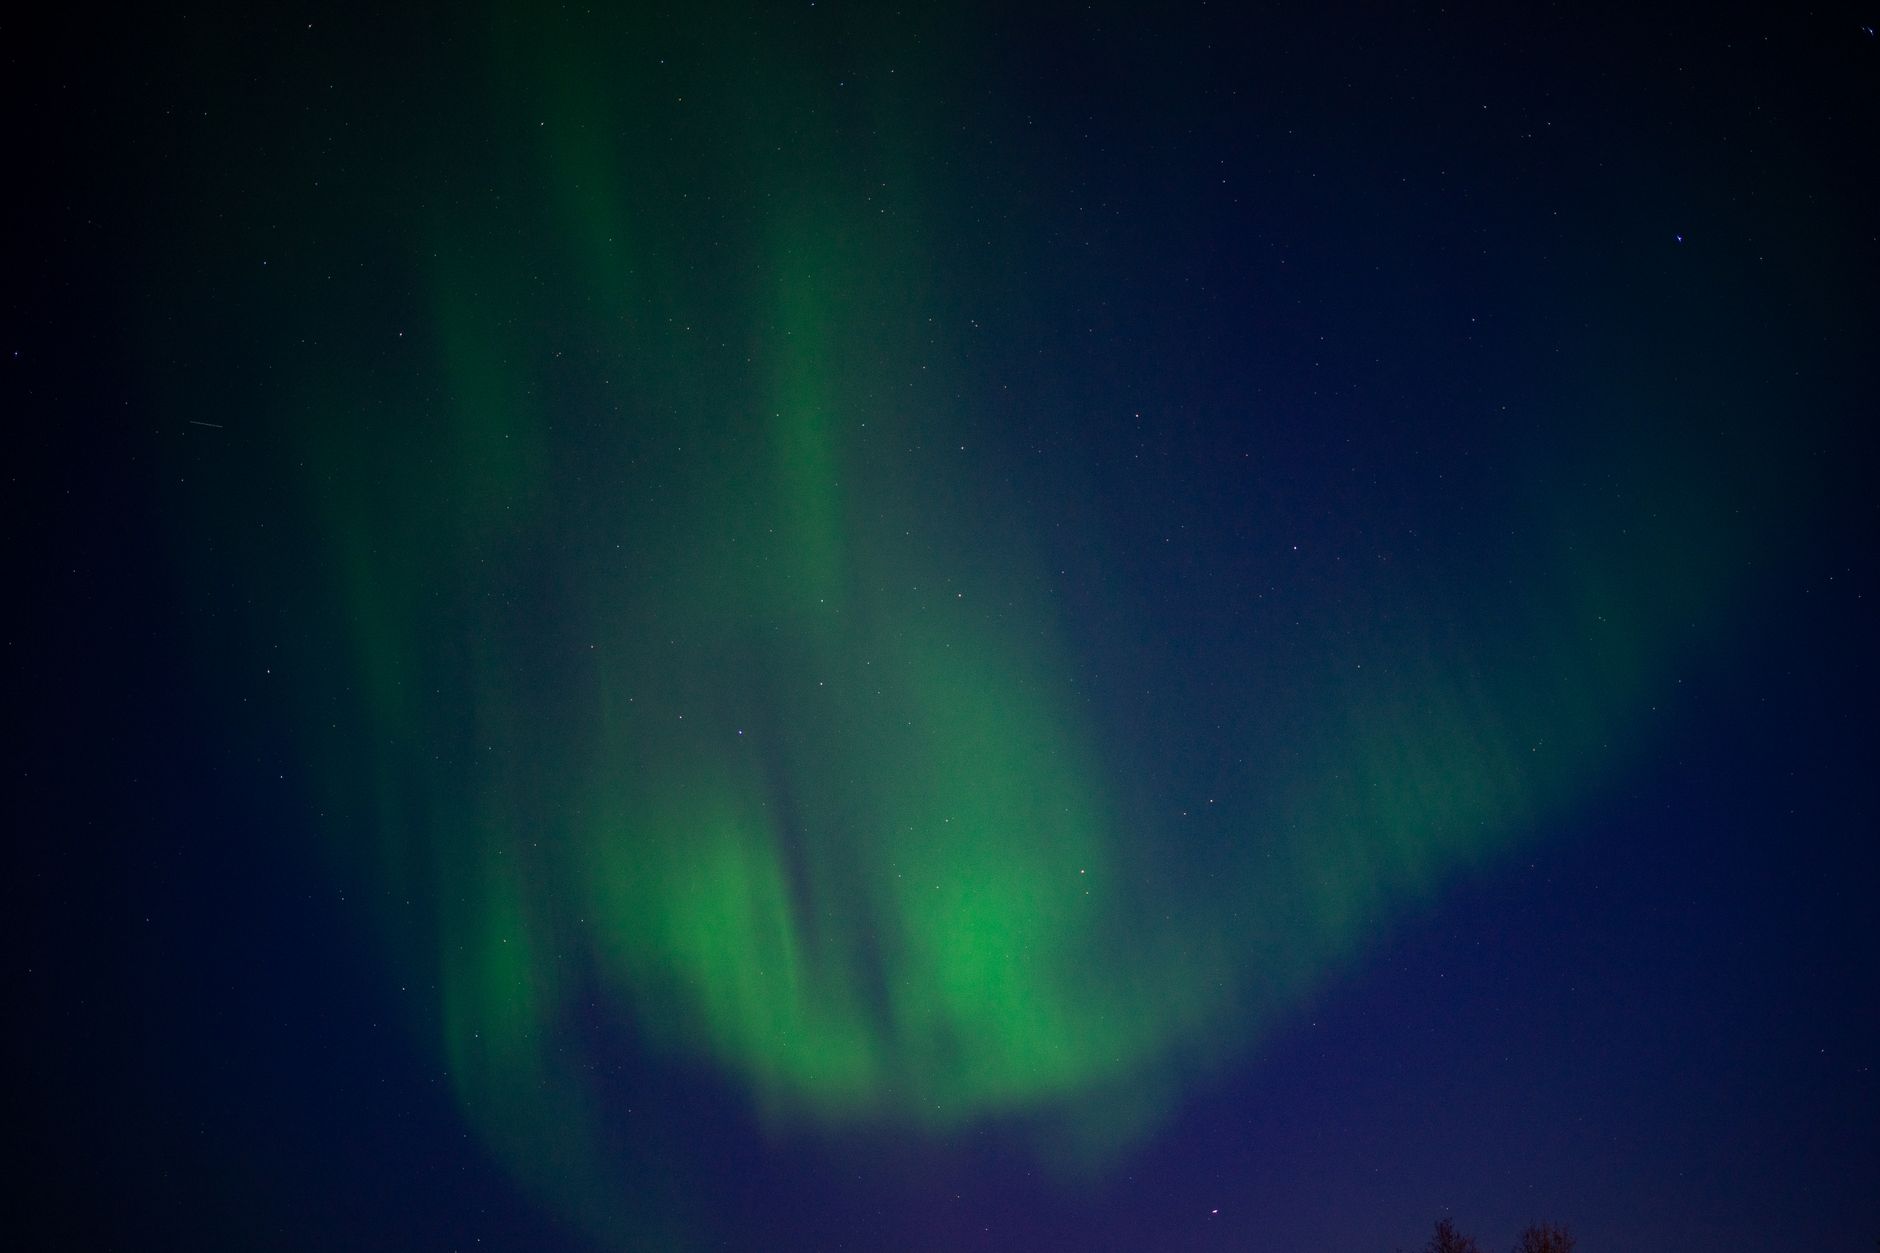
I forgot the cold. I forgot the hours of waiting. I just shot, mesmerized, tears streaming down my face (and instantly freezing). I captured frames with distant silhouetted trees, the aurora reflected in the ice, and one particularly powerful image where the aurora seemed to engulf the entire frame, a vibrant green fire consuming the heavens. That night, I didn't just take photos; I absorbed an experience so profound it reshaped my understanding of nature's majesty. It instilled in me a deeper sense of wonder and a renewed passion for capturing the fleeting beauty of our world. It was a reminder that sometimes, the greatest rewards come after the longest waits and the toughest conditions.
Section 6: Post-Processing – Bringing Your Aurora to Life
RAW files are like digital negatives – they need development. Post-processing can elevate your aurora photos from good to absolutely stunning. I use Adobe Lightroom Classic primarily.
- Import & Cull:
- Import your RAW files. Go through and select your best shots. Don't be afraid to delete blurry or poorly composed images.
- Basic Adjustments:
- Exposure: Adjust slightly if needed. Don't push too far.
- Highlights & Shadows: Bring down highlights to recover detail in bright aurora; lift shadows to reveal foreground detail.
- Whites & Blacks: Adjust to set your black and white points for contrast.
- Contrast: Add a touch to make the aurora pop.
- White Balance:
- This is where shooting RAW pays off. Fine-tune your White Balance (Temp & Tint sliders) to get the most natural-looking colors. Often, a slightly cooler tone works well.
- Color Adjustments:
- Vibrance & Saturation: Use sparingly. A slight increase in vibrance can enhance the aurora's colors without making it look artificial. Avoid over-saturating.
- HSL Panel: Adjust individual color hues, saturations, and luminances if specific colors (e.g., green, purple) need a boost or correction.
- Noise Reduction:
- Even with a full-frame camera, high ISOs introduce noise.
- In Lightroom, go to the Detail panel. Increase Luminance Noise Reduction (start around 20-30 and adjust). Be careful not to overdo it, as it can soften details.
- Color Noise Reduction (usually 25) is also helpful.
- Sharpening:
- After noise reduction, add a touch of sharpening to bring back detail. (Amount: 40-60, Radius: 0.5-1.0, Detail: 25-50). Hold ALT/Option while dragging the Masking slider to see where sharpening is applied.
- Lens Corrections:
- Enable Profile Corrections to fix lens distortions and chromatic aberration.
- Cropping & Straightening:
- Crop to improve composition. Straighten the horizon if it's tilted.
- Local Adjustments (Optional but Recommended):
- Use the Radial Filter or Graduated Filter to selectively enhance parts of the image, e.g., slightly brighten a dark foreground or add a touch of clarity to the aurora itself.
- Use the Adjustment Brush to paint in adjustments to specific areas.
Remember, the goal is to enhance the natural beauty of the aurora, not to fabricate it. Your post-processing should reflect the awe you felt in person.
The Unforgettable Call of the Lights
Photographing the Northern Lights is more than just a technical exercise; it's a profound journey that tests your patience, challenges your skills, and ultimately rewards you with an experience that transcends the ordinary. That night in Saariselkä, standing beneath those impossible, dancing lights, I wasn't just a photographer; I was a witness to something ancient and magnificent, a fleeting moment of cosmic wonder. It ignited a spark within me, a deeper appreciation for the wild, untamed beauty of our world.
So, pack your bags, charge your batteries, and prepare for an adventure. The aurora awaits, ready to weave its magic and, perhaps, change your life forever too. When you capture that first breathtaking shot, share it with the world! Tag Tripsora and tell us your story. The next emerald dance could be yours.
Call to Action: Have you chased the Northern Lights? Share your experiences and tips in the comments below! Planning a trip? Ask your questions – I'm here to help! Don't forget to bookmark this guide for your aurora adventure and share it with fellow travel enthusiasts.