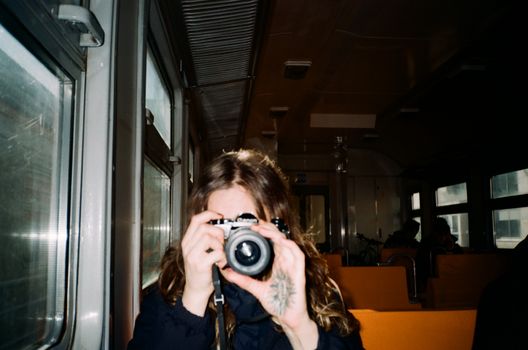
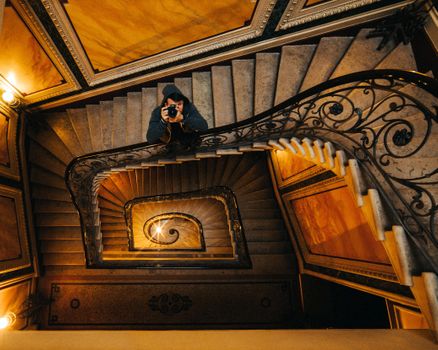
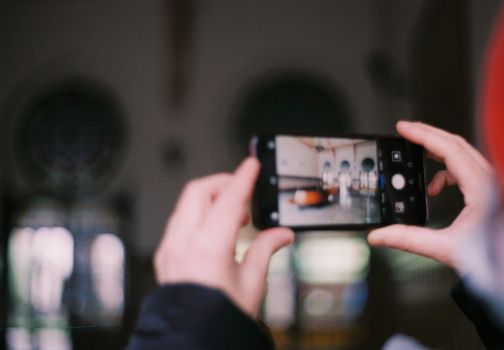
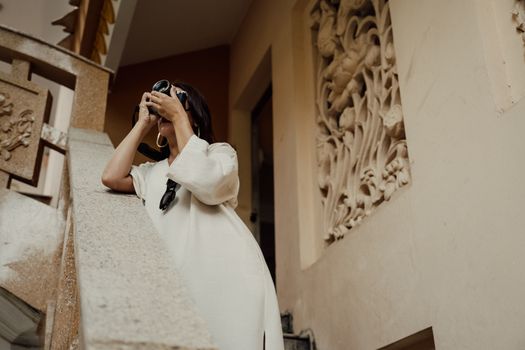
We’ve all been there. You walk into a stunning, dimly lit ancient temple in Kyoto, a cozy, atmospheric cafe in Paris, or a bustling, spice-scented market in Marrakech. Your eyes drink in the beauty, the intricate details, the vibrant colors, and the undeniable vibe. You pull out your phone or camera, eager to capture that magic forever, only to be met with a grainy, dark, utterly disappointing image. It looks nothing like what you saw, nothing like the effortless, magazine-worthy shots you see locals posting. Frustrating, right?
For years, I played this game of photographic roulette, often losing. My indoor shots were either blurry, washed out by an aggressive flash, or so dark they might as well have been taken in a cave. I’d see local photographers, or even just savvy residents, snapping away with seemingly no effort, producing images that glowed with authenticity, light, and depth. It felt like they possessed some secret knowledge, a hidden language of light that tourists like me were simply not privy to. And in a way, they do.
But here’s the good news: after countless hours of observation, experimentation, and a few fortunate encounters with generous local artists, I’ve cracked the code. These aren't just technical camera settings; they’re nuanced observational skills, subtle tricks, and a deep understanding of how light behaves in different cultural contexts. These are the "lighting secrets locals don't want tourists to know" – not because they're gatekeeping, but because they're so ingrained in their daily perception, they might not even realize it’s a secret. They just see it.
And today, I’m sharing them all with you. Get ready to transform your indoor travel photography from forgettable snapshots to shareable, stunning works of art that truly capture the soul of a place.
---
1. The Invisible Hand: Mastering Ambient Light Like a Local
Forget the harsh flash. The first, and arguably most crucial, secret to incredible indoor shots is to become a master of ambient light. Locals don’t bring studio lights into a centuries-old church; they understand how the existing light interacts with the space.
The Window Whisperer: My turning point came in a tiny, family-run trattoria in Rome, tucked away on a cobbled side street near the Pantheon. The interior was dark, rustic, and incredibly charming, but my first few attempts at photographing my cacio e pepe were dismal. Then I noticed a young Roman couple at a table by the window. Their pasta glowed. Their wine sparkled. The light streaming in from the street, diffused by a sheer curtain, acted like a giant, natural softbox, gently illuminating everything on their table.
Actionable Tip: Always scout for the best natural light source. This usually means windows or open doorways.
- Position your subject (or yourself): If photographing food or an object, move it closer to the window. If taking a portrait, have your subject face the window for soft, even light.
- Embrace the shadows: Don't be afraid of shadows created by window light. They add depth and drama. Use them to frame your subject or highlight specific details.
- Early morning or late afternoon: Just like outdoors, the "golden hour" indoors exists too. The softer, warmer light filtering through windows during these times can be magical. Imagine a Parisian cafe, the morning sun slanting across the marble tables, creating long, beautiful shadows and highlighting steam rising from a croissant. That’s the money shot.
Local Insight: Locals often choose their seats based on light, instinctively knowing where the best light falls for conversation, reading, or simply enjoying the ambiance. Pay attention to where people naturally congregate or where items are displayed to their best advantage – chances are, there’s good light there.
---
2. The Art of Subtlety: Discreet Lighting Tools That Don't Scream "Tourist!"
Sometimes, ambient light isn't enough, or the angle isn't quite right. This is where subtle, portable light sources come into play. The key word here is subtle. No one wants to see a tourist blinding everyone with a massive flash.
The Smartphone Ninja: I was once in a dimly lit, incredibly romantic tapas bar in Seville, trying to photograph the vibrant colors of a seafood paella. My phone flash made it look flat and unappetious. I watched a local photographer, almost imperceptibly, pull out his phone, turn on its flashlight, and then cup his hand over it, diffusing the light ever so slightly. He then aimed it at a slight angle, bouncing it off the white tablecloth, creating a soft, directional glow on the dish. Genius!
Actionable Tips:
- Your Smartphone Flashlight (with a twist): This is your secret weapon. Don't point it directly.
- Diffuse it: Place a thin white tissue, a napkin, or even your finger over the flashlight for a softer glow.
- Bounce it: Aim the diffused light at a nearby light-colored wall, ceiling, or even a white menu to bounce soft light onto your subject. This creates a much more natural, flattering light than direct flash.
- Angle it: Don't shine it head-on. Try a 45-degree angle from the side or slightly above to create dimension.
- Mini LED Panels (Lume Cube or similar): These tiny, powerful lights are a game-changer. They’re no bigger than a matchbox and can be easily tucked into a pocket.
- Low power, warm tone: Set them to a low brightness and a warm color temperature (if adjustable) to blend with existing indoor lighting.
- Off-camera: Never attach it directly to your phone. Hold it slightly off-camera, again, at an angle, and bounce or diffuse it.
- The Improvised Reflector: A white menu, a silver-lined snack bag, or even a shiny piece of cutlery can act as a mini-reflector, bouncing existing light back into the shadows of your shot. I’ve used a white paper coaster more times than I can count to brighten up a shadowed side of a delicious pastry.
Local Insight: These tools are about enhancing, not replacing, the existing ambiance. They are used surgically, to highlight a specific detail – the texture of a fabric, the sheen of a glaze, the sparkle in an eye – without disrupting the mood of the space.
---
3. Understanding the Local Vibe: Light as a Cultural Element
This is perhaps the most profound "secret" of all. Light isn't just about brightness; it's deeply tied to culture, architecture, and the intended mood of a space. Locals understand this intrinsically because they live within it. Tourists often miss this context, trying to impose a standard photographic ideal onto environments designed with a different lighting philosophy.
The Moroccan Riad & Japanese Tea House Revelation: I remember being utterly captivated by the intricate play of light and shadow in a riad in Marrakech. Sunlight filtered through ornate screens (mashrabiya), creating dancing patterns on the walls and floors. My initial instinct was to brighten everything, but then I watched a local woman effortlessly move through the space, her silhouette briefly highlighted against a sunlit archway. The beauty wasn't in uniform brightness; it was in the dramatic contrast, the mystery of the shadows, the way light revealed and concealed.
Similarly, in a traditional Japanese tea house, the light is often soft, diffused, and intentionally subdued, creating a sense of calm and introspection. Trying to blast it with artificial light would destroy the very essence of the experience.
Actionable Tips:
- Embrace the Mood: Is the space designed to be dramatic (like a Gothic cathedral with stained glass and deep shadows), serene (a Japanese temple), or vibrant (a bustling market)? Let the existing light guide your composition.
- Observe Shadow Play: Shadows are not your enemy! They create depth, texture, and mood. Look for interesting patterns cast by light, or use shadows to frame your subject.
- Warm vs. Cool: Notice the color temperature of the light. Many Asian temples use warm, diffused lamps, creating an inviting glow. European cathedrals might have cooler, more dramatic light. Adjust your camera's white balance (or edit later) to match the intended warmth or coolness to maintain authenticity.
- Silhouettes & Highlights: Look for opportunities where a bright light source (a window, a lamp) can create a silhouette of your subject, or where a single beam of light highlights a specific artifact or person.
Local Insight: Locals don't fight the light; they work with it. They understand that the light is part of the story, part of the cultural expression of the space. They intuitively know which details the light is meant to reveal.
---
4. The "Secret Sauce": Editing Magic (That Looks Natural)
Even with the best lighting techniques, indoor shots, especially in low light, often need a little post-processing love. But here’s the key: the goal isn't to create light where there isn't any, but to enhance and refine what you've already captured, making it look natural and polished, not overtly edited. This is where many tourists go wrong, over-saturating or cranking up the brightness to unnatural levels.
The Istanbul Spice Market Transformation: I once took a photo in the Grand Bazaar in Istanbul. The stalls were overflowing with vibrant spices, but the overhead light was a bit dull, making the colors less punchy. The raw shot was okay, but a bit flat. A few subtle edits transformed it into a masterpiece that truly reflected the sensory explosion of the market.
Actionable Tips (using mobile apps like Lightroom Mobile, Snapseed, or your phone's built-in editor):
- Exposure First: Start by gently increasing the overall exposure. Be subtle.
- Highlights & Shadows: This is your best friend for indoor shots.
- Reduce Highlights: If there are bright windows or lamps, reducing highlights can bring back detail.
- Boost Shadows: Gently increasing shadows can reveal details in darker areas without making the whole image look flat.
- Whites & Blacks: Adjust these to add contrast and "pop" without overdoing it.
- Color Temperature & Tint: If the light was too warm (yellow/orange) or too cool (blue), adjust the color temperature. A slight shift can make the image feel more inviting or authentic.
- Clarity & Dehaze: A tiny bump in "Clarity" can add sharpness and definition, especially to textures. "Dehaze" can help cut through any atmospheric haze.
- Noise Reduction: Low-light photos often have digital "noise" (graininess). Most editing apps have a noise reduction slider. Use it sparingly, as too much can make the image look plasticky.
- Selective Adjustments: Use brushing tools (available in most apps) to brighten or darken specific areas, like a face or a key detail, without affecting the whole image.
Local Insight: Professional photographers and savvy locals often spend as much time editing as they do shooting. It's not cheating; it's part of the craft, ensuring the final image matches the memory and the intended mood. The trick is to make it look like you didn't edit at all.
---
5. Beyond the Obvious: Creative Angles and Compositions with Light
Once you understand the technical aspects of light, you can start playing with it creatively. This is where your photos move beyond mere documentation and become truly artistic and shareable. Locals, having a deeper familiarity with their surroundings, often find these unique perspectives naturally.
The Lisbon Bookstore Discovery: I stumbled upon a tiny, labyrinthine bookstore in Lisbon, crammed with books and bathed in the warm glow of strategically placed lamps. My first instinct was to shoot straight on. But then I noticed how the light from a single antique lamp created a spotlight on a rare edition, while the rest of the shelves faded into soft shadow. I lowered my camera, shooting from a slight upward angle, framing the book with the light, and captured a shot that felt incredibly intimate and evocative.
Actionable Tips:
- Frame with Light: Use a pocket of light, a window, or an illuminated archway to frame your subject. This draws the viewer's eye exactly where you want it.
- Look for Leading Lines of Light: Sometimes, light itself can create lines – a beam across a floor, a strip of light on a wall. Use these to lead the viewer into your image.
- Reflections as Compositions: Look for reflections in mirrors, polished floors, or even wet surfaces. These can add another layer of visual interest and often multiply the available light.
- Perspective Shifts: Don't just shoot at eye level. Get low, get high, shoot through objects. A low angle can emphasize a grand ceiling illuminated by hidden lights, while shooting through a doorway can frame a brightly lit room beyond.
- Spotlight Effect: Use your subtle light sources (or existing lamps) to create a "spotlight" on a particular detail – a piece of art, a menu, a person's hands.
Local Insight: Locals know their spaces intimately. They know where the light hits best at certain times of day, which corners have interesting shadows, and which reflections offer a unique perspective. It’s about being present, observing, and experimenting.
---
6. Gear Up (Minimally) & Practice, Practice, Practice!
You don't need a bulky DSLR or an expensive lighting kit to apply these tricks. Your smartphone is incredibly powerful, and with a few cheap accessories, you’ll be set.
Essential Minimal Gear:
- Smartphone: Modern phones (iPhone 13/14/15, Google Pixel, Samsung Galaxy S23/S24) have incredible low-light capabilities.
- Mini LED Light: (e.g., Lume Cube Mini, or similar brands on Amazon, usually $20-$50) – small, portable, often with adjustable color temperature.
- Small, Collapsible Reflector: (e.g., Neewer 5-in-1 reflector, 8-12 inches, around $15-$25) – often has white, silver, gold, black, and diffuser surfaces. The white or silver side is invaluable.
- A White Napkin or Tissue: Free and incredibly versatile for diffusing light!
Practice Makes Perfect: These aren't just theoretical tips. You need to practice! Experiment in your own home, in local cafes, or even just with objects on your desk. Understand how light falls, how shadows form, and how your phone/camera reacts. The more you practice, the more intuitive these "secrets" will become.
---
Conclusion: See the Light, Capture the Soul
The next time you step into a captivating indoor space on your travels, don't just see the objects or the architecture. See the light. Observe how it enters, how it shapes, how it plays with shadows, and how it informs the very mood of the place. These "secrets" aren't about complicated gear; they're about developing an eye, an intuition, and a respect for the ambiance that locals inherently possess.
By mastering ambient light, using subtle enhancements, understanding cultural lighting, and refining your shots with natural-looking edits, you’ll not only capture stunning, shareable images but also deepen your appreciation for the places you visit. Your travel memories will no longer be trapped in dark, grainy photos, but will glow with the authentic light and soul you experienced.
So, go forth, explore, and illuminate your travel stories! Which of these tricks are you most excited to try first? Share your experiences and tag @Tripsora on Instagram with your newfound indoor photography skills! Let's show the world the beauty of light, one stunning shot at a time.